
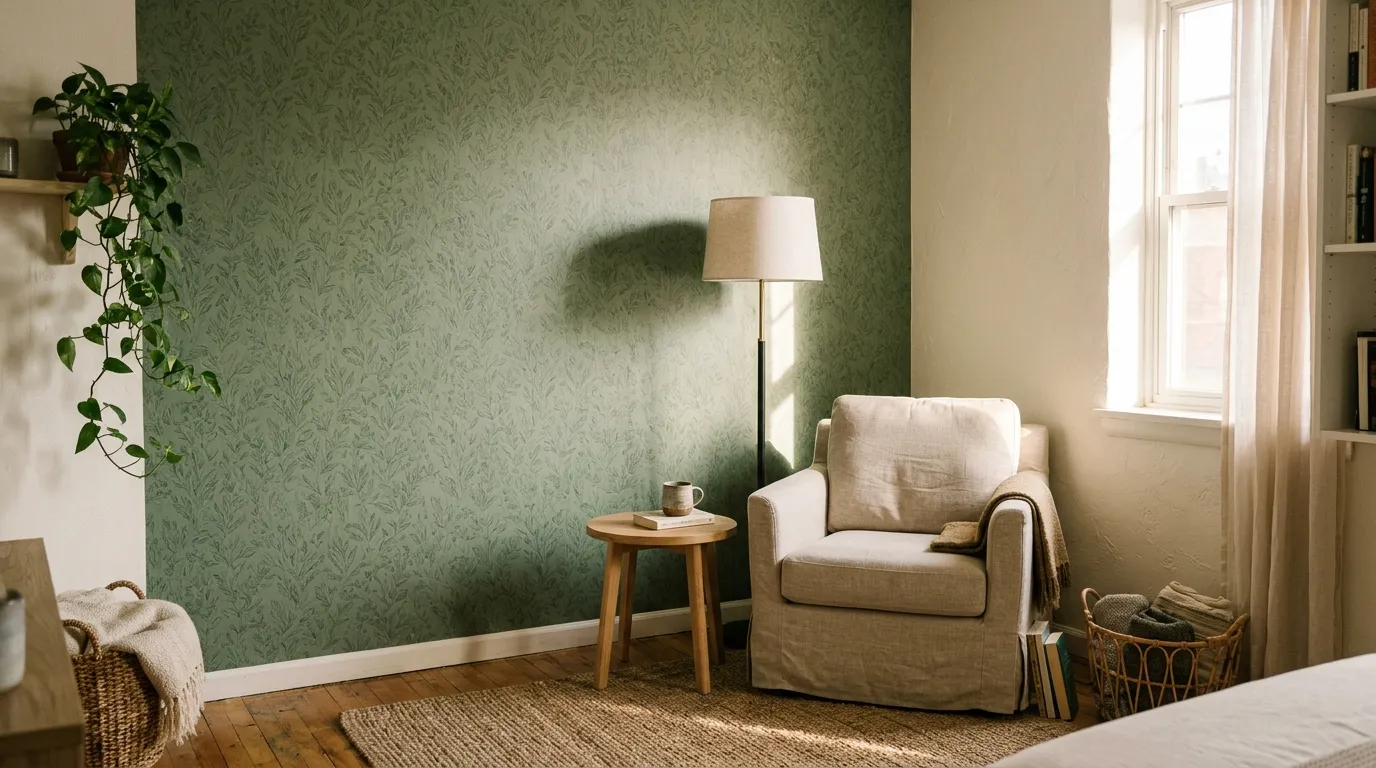
You finally have a rental wall that deserves some personality, but all you’ve got is flat beige and a lease that says no paint. A careful peel and stick wallpaper install is one of the few changes that looks like a real renovation and still comes off when you move out.
What you need is a plan that protects the wall as much as it decorates it: a quick test, accurate measuring, clean walls, a straight first strip, and a patient removal. Skip any of those and the project stops being reversible.
I’d treat this as a one-afternoon project for a single wall. Here are the six steps I’d follow, in order.
Before You Start: Materials and Time
- Time: about 3 to 4 hours for one standard wall, plus a 24-hour sample test
- Difficulty: moderate
- Budget level: mid-range
- Caution level: take care (lease check and outlet covers)
What You’ll Need
- A sample or spare strip of your chosen wallpaper
- Tape measure and pencil
- Level or plumb line
- Plastic smoothing tool or squeegee
- Sharp craft knife with fresh blades
- Metal straightedge
- Painter’s tape
- Microfiber cloths, mild dish soap, and water
- Step stool
- Hair dryer for removal day
1. Check the Lease and Test a Sample
Before you order enough wallpaper for a whole wall, find out whether your lease allows it and whether the adhesive gets along with your paint. Skipping this step is how a reversible project turns into a repainting bill.
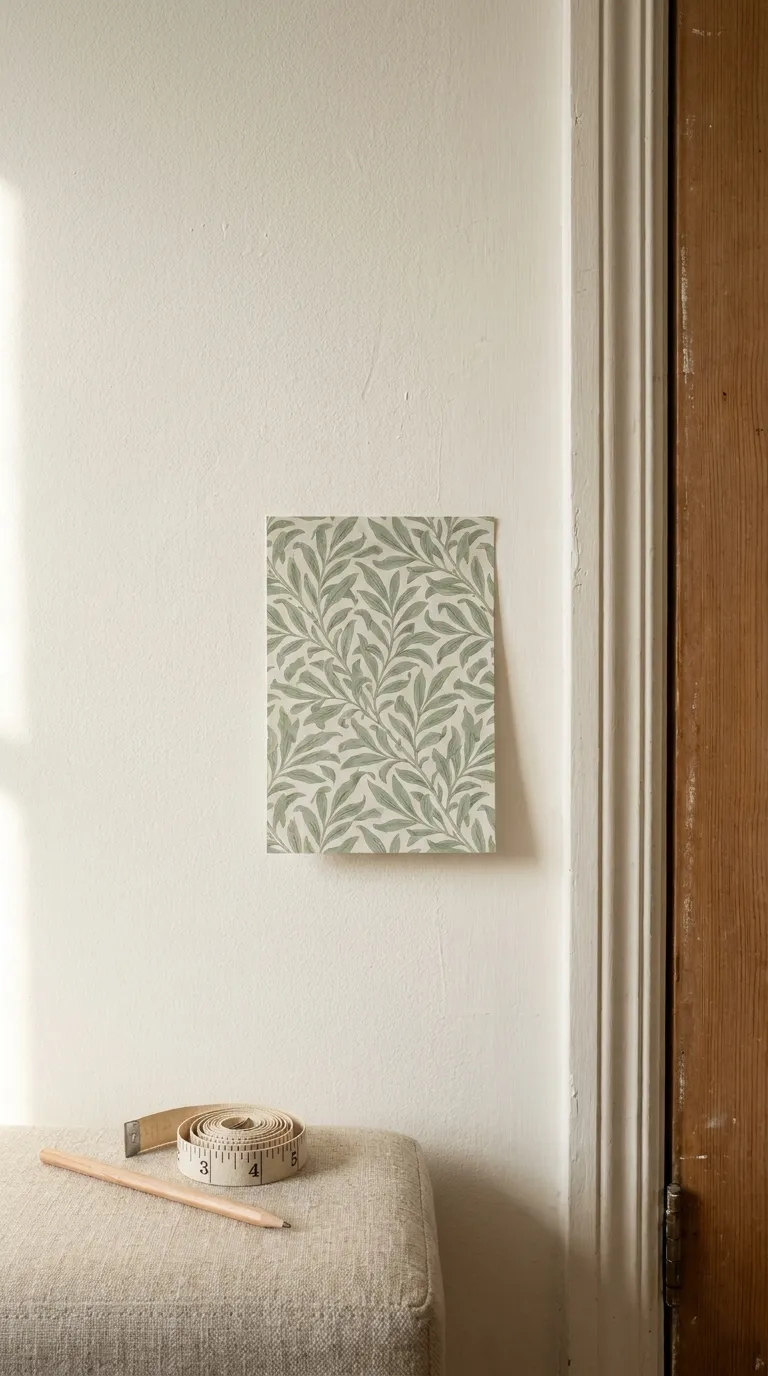
Some landlords are happy with removable wallpaper, and others want a yes in writing. Check your lease first, and ask if the wording isn’t clear. Then let a small sample show you what the adhesive will actually do on your walls.
How to Do It
- Read your lease for any rule about wall coverings, and ask your landlord in writing if it’s unclear.
- Order a sample or spare strip of the exact wallpaper you plan to use.
- Choose a hidden spot with the same paint as your main wall, such as inside a closet or behind a door.
- Press the sample on with a smoothing tool and leave it for at least 24 hours.
- Peel it off slowly at a low angle and check the paint underneath for lifting or marks.
Why It Works
A sample shows you how the adhesive behaves on your exact paint before any visible wall is at risk. Paint that stays put in a hidden spot usually behaves the same way on the main wall.
Common Mistakes to Avoid
- Testing on a different paint than the main wall
- Peeling the sample off in a hurry
- Assuming “removable” means safe on every kind of paint
A Simple Rule to Remember
No 24-hour test, no full wall.
Renter Note
Keep your landlord’s reply together with a copy of your lease. If anyone asks about the wall at move-out, you’ll have the answer ready.
2. Measure and Order Your Rolls
Running short halfway across a wall is a frustrating way to learn that rolls from different print batches can differ slightly in color. Accurate measuring up front lets you buy everything at once, so every strip comes from the same batch.
The pattern repeat is the part people forget. It’s the distance before a design starts over, and it’s why how much wallpaper you need isn’t just wall area divided by roll area. Bold patterns need more extra length than plain ones, because every strip has to line up with the one beside it.
How to Do It
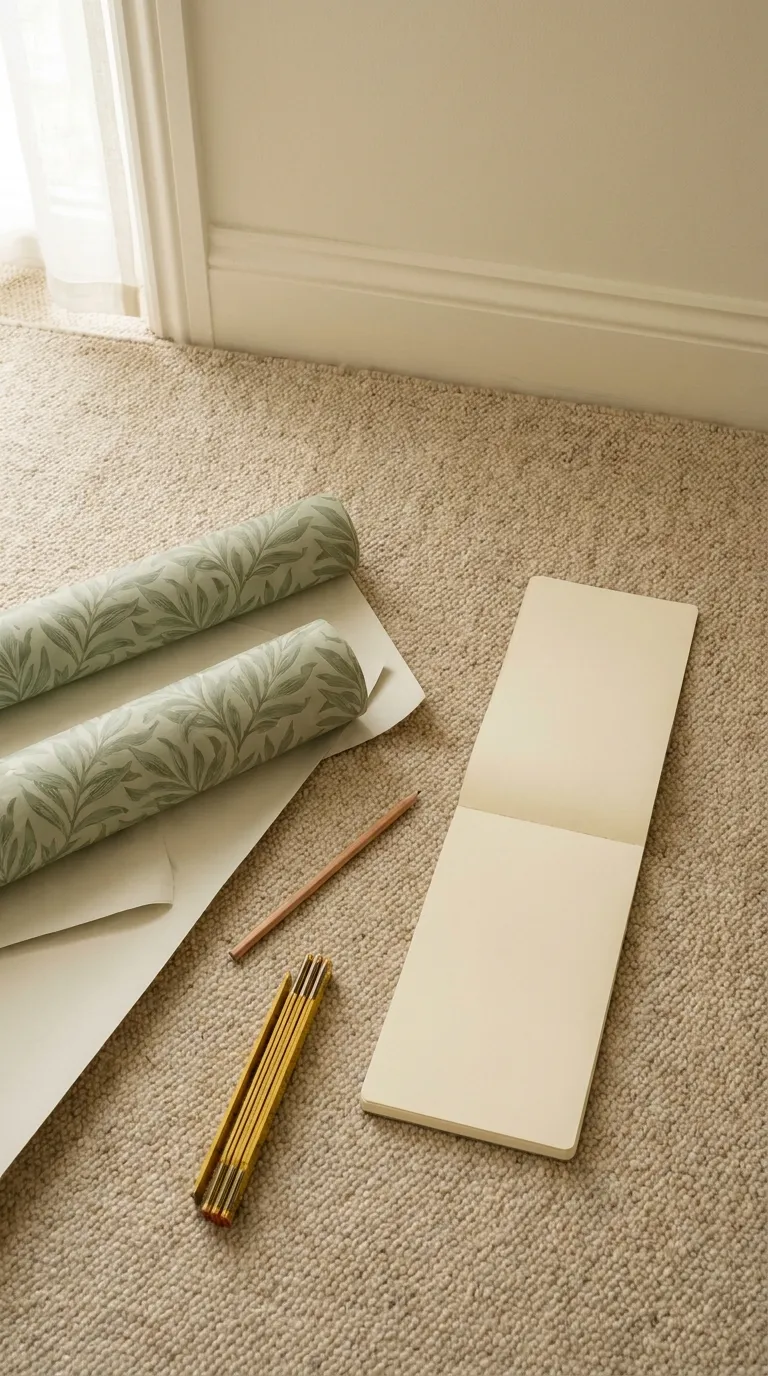
- Measure the wall width in feet at the top, middle, and bottom, and use the largest number.
- Measure the wall height at both ends and in the middle, and use the largest number.
- Read the roll width, roll length, and pattern repeat on the product label. Many rolls are about 20½ inches wide and 16½ feet long, but yours may differ.
- Enter those numbers below to see how many rolls to buy.
- Add one extra roll if your budget allows, to cover mistakes and future repairs.
Enter your wall width and height, the roll size from the label, and the pattern repeat (use 0 if there isn’t one).
Why It Works
Ordering everything in one go keeps the print batch consistent, and measuring at three points covers walls that aren’t perfectly square. Rental walls rarely are.
Common Mistakes to Avoid
- Measuring only once, at one height
- Ignoring the pattern repeat on a bold design
- Planning a second order later to fill a gap
A Simple Rule to Remember
Measure twice, order once.
3. Prep and Clean the Walls
Peel-and-stick adhesive grips the surface of the wall, not what’s behind it. Dust, grease, and fresh paint are the most common reasons a strip bubbles or slides down.
Smooth, fully cured paint holds best. Heavy texture, bare drywall, and flat or matte paint all need extra care, so look at your wall honestly before you begin.
How to Do It
- Take down art, hooks, and tape from the wall, and set them somewhere safe.
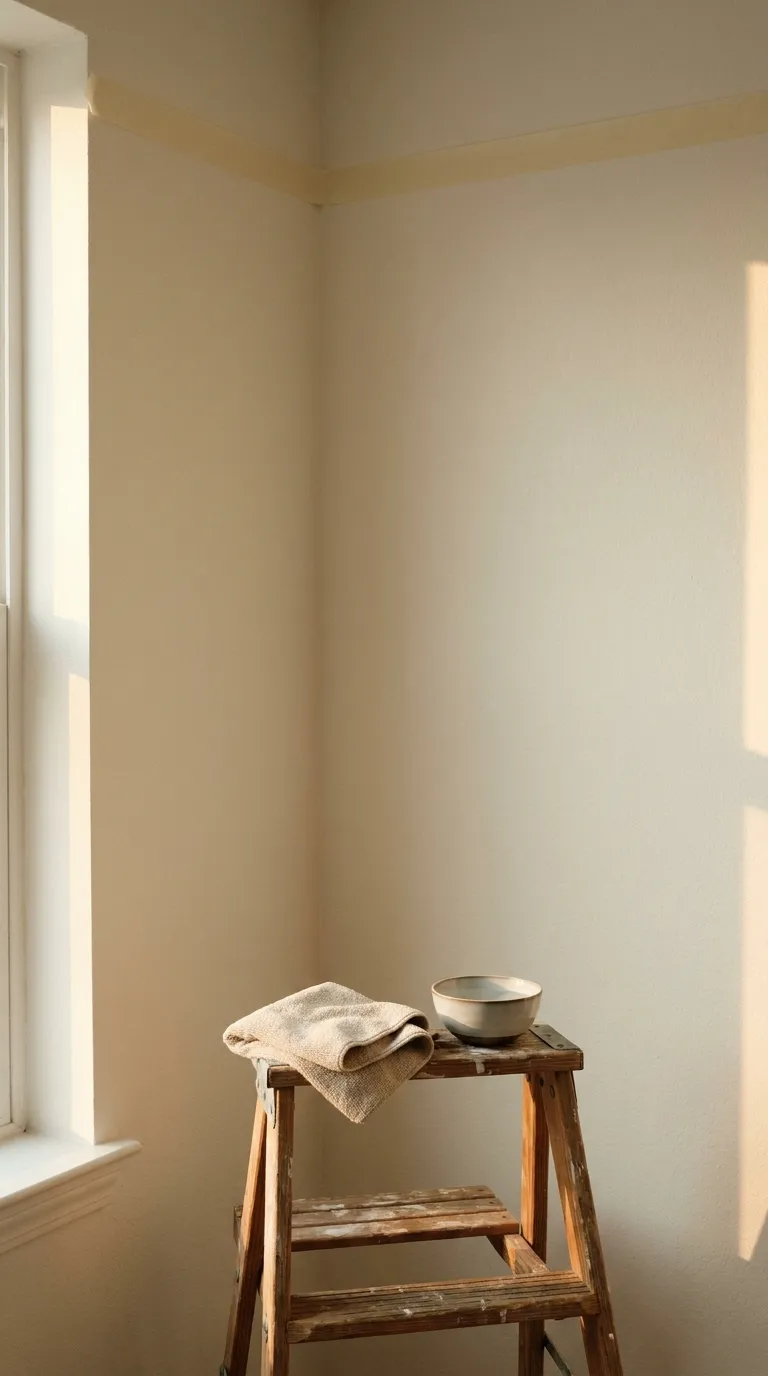
- Wipe the wall with a microfiber cloth dampened with mild dish soap and water.
- Wipe again with a cloth dampened with plain water to remove soap residue.
- Let the wall dry completely before you touch it.
- Run your palm over the surface to find bumps, drips, or rough patches.
- Mask the ceiling line and baseboards with painter’s tape.
Try it: pick your wall details to see whether the wall is ready for wallpaper.
Why It Works
Adhesive bonds far better to a clean, smooth surface than to dust or texture, so a few minutes of prep protects both the wallpaper and your paint. Fresh paint hasn’t finished curing, so give it time before anything sticks to it.
Here is how common wall surfaces tend to behave:
| Wall Surface | Sticks Well? | What to Do |
|---|---|---|
| Satin, eggshell, or semi-gloss paint | Yes | Clean, dry, and hang |
| Flat or matte paint | Sometimes | Test a sample first |
| Light texture | Poorly | Expect weak edges, test first |
| Heavy texture or brick | No | Choose a smoother wall |
| Bare drywall or new plaster | No | Adhesive can tear the surface |
| Paint under 4 weeks old | Not yet | Wait until 4 weeks pass |
Common Mistakes to Avoid
- Hanging on paint that’s under 4 weeks old
- Skipping the water rinse after soap
- Starting on a wall that’s still damp
A Simple Rule to Remember
Clean, dry, and smooth, or don’t stick.
Renter Note
Leave existing nail holes and wall damage alone unless your lease says otherwise, and don’t fill or sand anything without checking first. Tell your landlord about any damage you find before you start, so it isn’t blamed on the wallpaper later.
4. Hang the First Strip Straight
The first strip sets the line for the whole wall, and rental walls and ceilings are rarely perfectly square. If that first strip drifts even slightly, every strip after it drifts too, and you’ll see it most at the top corner.
So start from a straight pencil line, not from the corner or the ceiling. A level gives you the only true vertical in the room, and it takes about two minutes to mark.
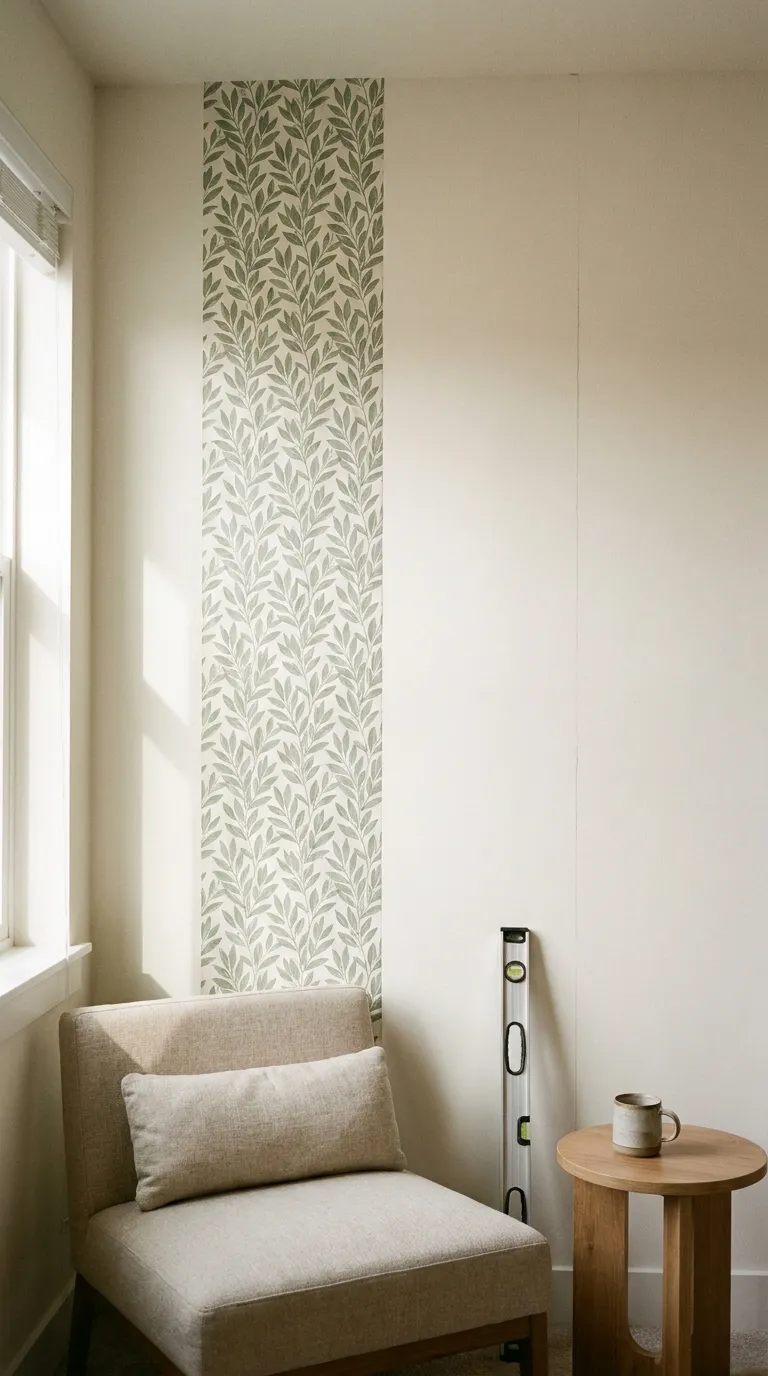
How to Do It
- Measure one strip’s width from the corner, subtract ½ inch, and mark that point near the top of the wall.
- Hold a level on the mark and draw a faint vertical pencil line from ceiling to floor.
- Cut a strip about 4 inches taller than the wall, so you have 2 inches extra at the top and bottom for trimming.
- Peel back the top 12 inches of backing, line the strip’s edge up with the pencil line, and press the top onto the wall.
- Pull the backing down gradually as you smooth with the squeegee, working from the center out to the edges.
Why It Works
The pencil line is a true vertical, so aligning to it keeps the pattern straight even when the corner or ceiling isn’t. Working from the top down also lets you lift and reposition the strip before the last section is stuck down, since most peel-and-stick products are repositionable (check the label).
Common Mistakes to Avoid
- Using the corner as your guide
- Removing all the backing at once
- Stretching the strip while pressing it on
A Simple Rule to Remember
Level line first, strip second.
5. Match Seams and Trim Edges
Seams are where wallpaper either looks seamless or looks DIY. Pattern alignment and clean trimming matter more than speed here, so slow down and check each strip against the last one.
Outlets and switches are the other trouble spot. Plan for them before you reach them, so you aren’t improvising with a blade near a cover plate.
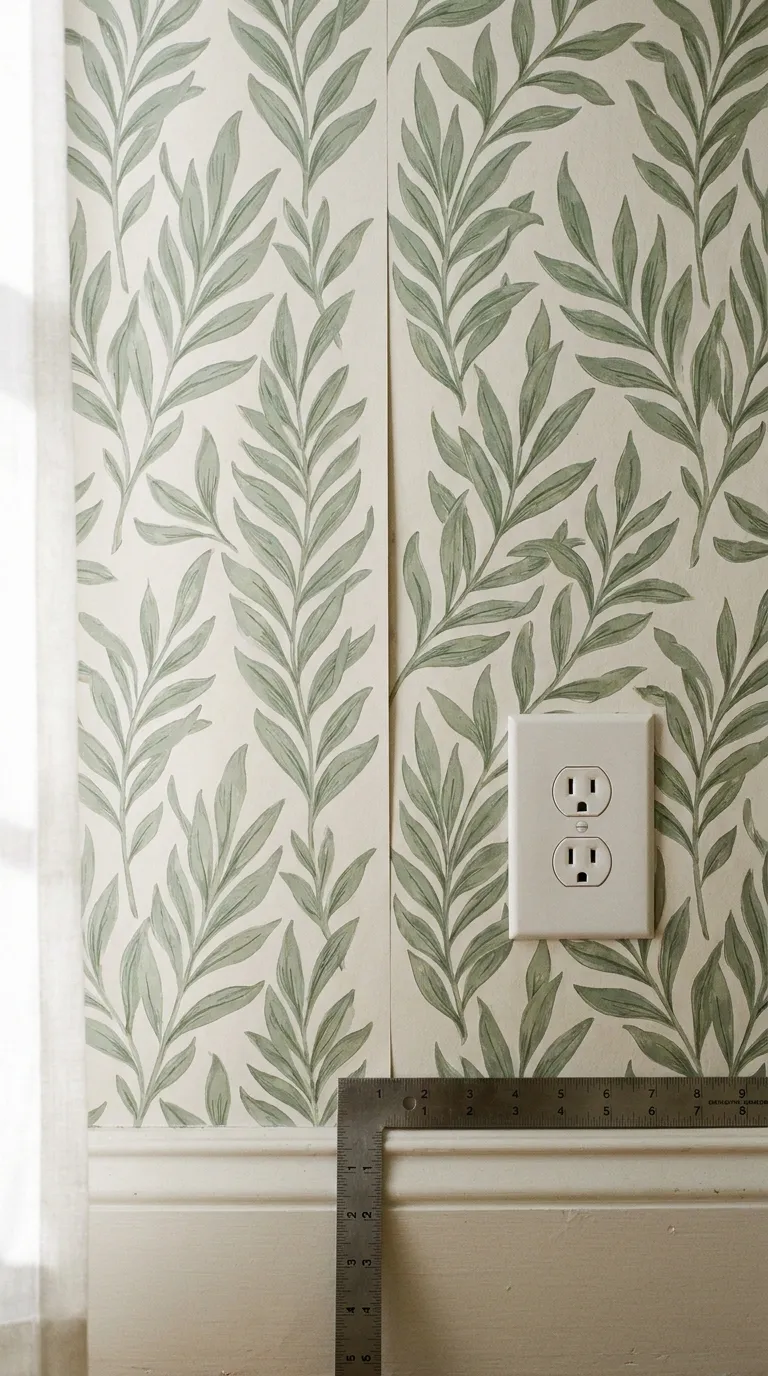
How to Do It
- Hang the next strip by lining up the pattern at the top, and butt its edge against the first strip without overlapping.
- Smooth along the seam from top to bottom, pressing gently along the join.
- Turn off the power at the breaker, then unscrew the outlet cover plate before you wallpaper over it.
- Cut a small X over the outlet opening, trim the flaps to size, and screw the cover plate back on.
- Press a metal straightedge against the ceiling and baseboard, and trim the extra 2 inches with a sharp blade using light passes.
Why It Works
Butting seams edge to edge avoids the ridge an overlap leaves behind. A straightedge guides the blade in a straight line, and light passes keep the paint underneath from getting scored.
Common Mistakes to Avoid
- Overlapping seams, which leaves a visible ridge
- Cutting freehand without a straightedge
- Reusing a dull blade that tears the edge
A Simple Rule to Remember
Match the pattern at the top, then smooth down.
Renter Note
Outlet cover plates belong to your landlord’s fixtures, so put them back exactly as you found them. Turn the power off first, and hire a licensed electrician for anything beyond removing and replacing a cover plate.
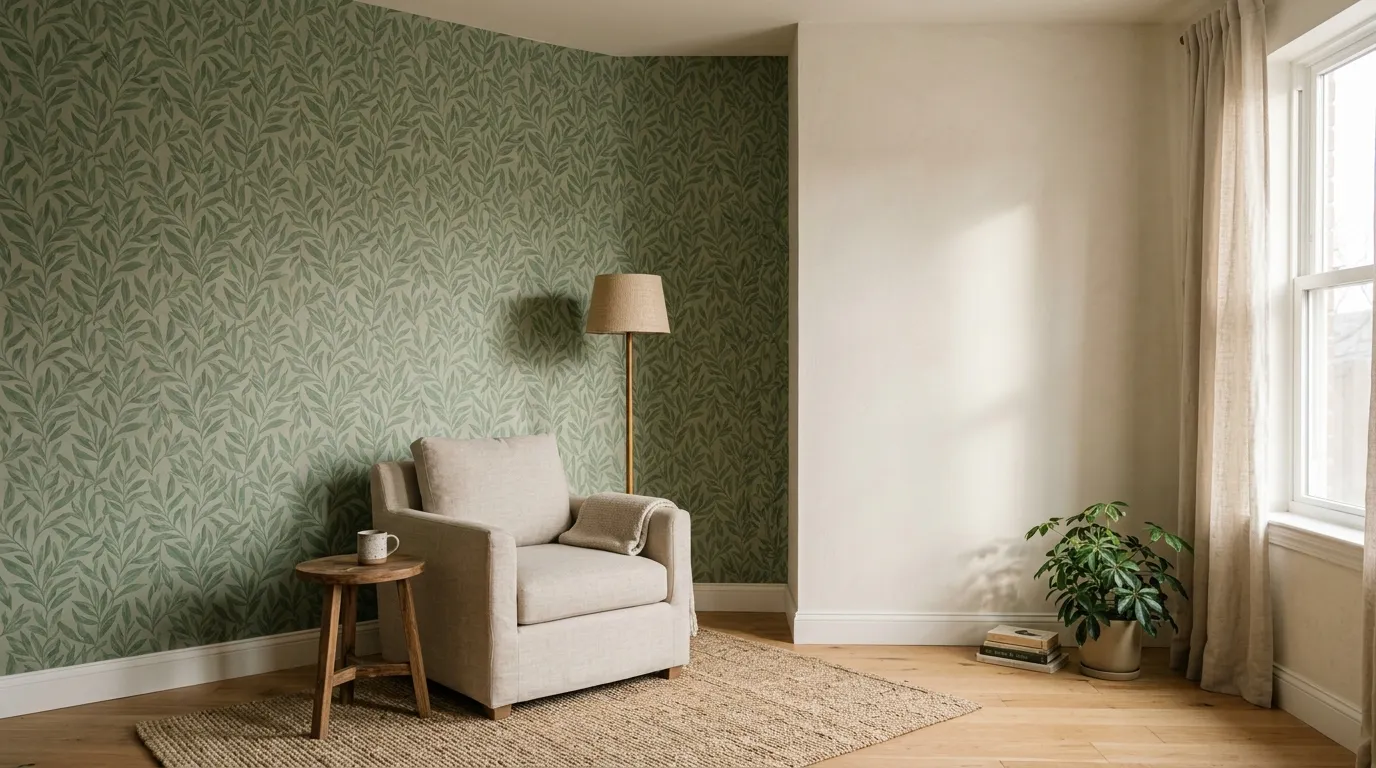
6. Remove It Without Damage
The last step is the one that protects your deposit. Wallpaper that comes off cleanly is what makes the whole project reversible, so don’t treat removal as an afterthought.
Patience matters more than force here, because pulling fast is exactly what lifts paint. If you remember only one thing from this guide, make it this step.
How to Do It
- Start at a top corner and lift an edge with a fingernail, not a blade.
- Pull the strip back on itself at a low angle, close to the wall, slowly instead of straight out.
- If the adhesive resists, warm it with a hair dryer on low heat from several inches away, and keep peeling as it softens.
- Work down in sections, and stop right away if you see paint starting to lift.
- Wipe any leftover residue with a microfiber cloth dampened with mild soapy water.
Why It Works
Pulling at a low angle spreads the force across the wall instead of tugging at a single point. Gentle heat softens the adhesive so it lets go of the paint instead of taking some of it along.
Common Mistakes to Avoid
- Pulling straight out toward you
- Using the hottest dryer setting
- Scraping residue with a blade
A Simple Rule to Remember
Low angle, low heat, no rush.
Renter Note
Take clear photos of the clean wall before you start and again after removal, in good light. They’re useful if there’s ever a question about the wall’s condition at move-out.
Quick Step Cheat Sheet
Keep this table handy while you work, and match each step to its quick fix.
| Step | Why It Works | Quick Fix |
|---|---|---|
| 1. Check the lease and test | Shows how adhesive reacts to your paint | Test a hidden spot for 24 hours |
| 2. Measure and order | Keeps every strip in one print batch | Add one extra roll |
| 3. Prep and clean | Clean, smooth walls hold the adhesive | Wipe, rinse, and dry fully |
| 4. Hang the first strip | A level line keeps the pattern straight | Redraw the line if it drifts |
| 5. Match seams and trim | Butted seams avoid visible ridges | Use a straightedge and fresh blade |
| 6. Remove it | Slow peeling protects your paint | Warm stubborn spots on low heat |
The Principles Behind These Steps
Plan your peel and stick wallpaper install before you open a roll
Choose your pattern and color scheme before you order, because it’s far easier to change your mind on a screen than on a wall. Do the lease check, test, and measuring first, and the actual hanging becomes the easy part.
Work in order
Each step protects the next one. A clean wall makes the strip stick, a straight line keeps the pattern straight, and neat seams make the trimming simple.
Test small before committing
A sample strip costs far less than a full wall of wrong wallpaper. If the sample lifts paint or won’t hold, you’ve learned that for almost nothing.
Leave room for adjustments
Leave 2 inches extra at the top and bottom, keep the backing on until you’re ready, and press seams only once the pattern lines up. Small cushions make small mistakes fixable.
Common Peel-and-Stick Wallpaper Mistakes Worth Skipping
Hanging on fresh paint
It’s easy to do when you’re excited about a new wall. The fix: wait until the paint is at least 4 weeks old, and check the paint can for its cure time.
Skipping the sample
A sample feels like a delay, but it’s the cheapest insurance you can buy. The fix: leave it on a hidden spot for 24 hours before you decide.
Rushing the removal
Pulling fast is the quickest way to lift paint. The fix: peel at a low angle with low heat, and stop if paint starts to move.
Ordering just enough
Ordering exactly what the numbers say leaves no margin for a crooked cut. The fix: add one extra roll, and keep the leftovers for repairs.
Final Tips for Success
Check the edges after a day
Look over the seams and corners after 24 hours, and press down any lifted edge with the smoothing tool. Most lifting shows up early.
Keep leftovers for repairs
Save a leftover strip for patching a corner that lifts later. Label it with the room and date so you can find it.
Basics worth owning
- Plastic smoothing tool
- Sharp craft knife with spare blades
- Level
- Metal straightedge
- Microfiber cloths
- Step stool
Work in good light
Daylight or a bright lamp shows bubbles and crooked seams before they set. Check the wall from a few steps back as you go.
Conclusion
A good peel and stick wallpaper install is mostly preparation: a lease check, a sample, accurate measurements, a clean wall, and a straight first strip. The hanging itself takes an afternoon.
The part that protects your deposit is the part at the end. Remove it slowly, at a low angle, with a little gentle heat.
Do the steps in order and you’ll end up with a wall that feels like yours, and a wall you can hand back unchanged. Save this guide for the next time you want a new look without a new lease.