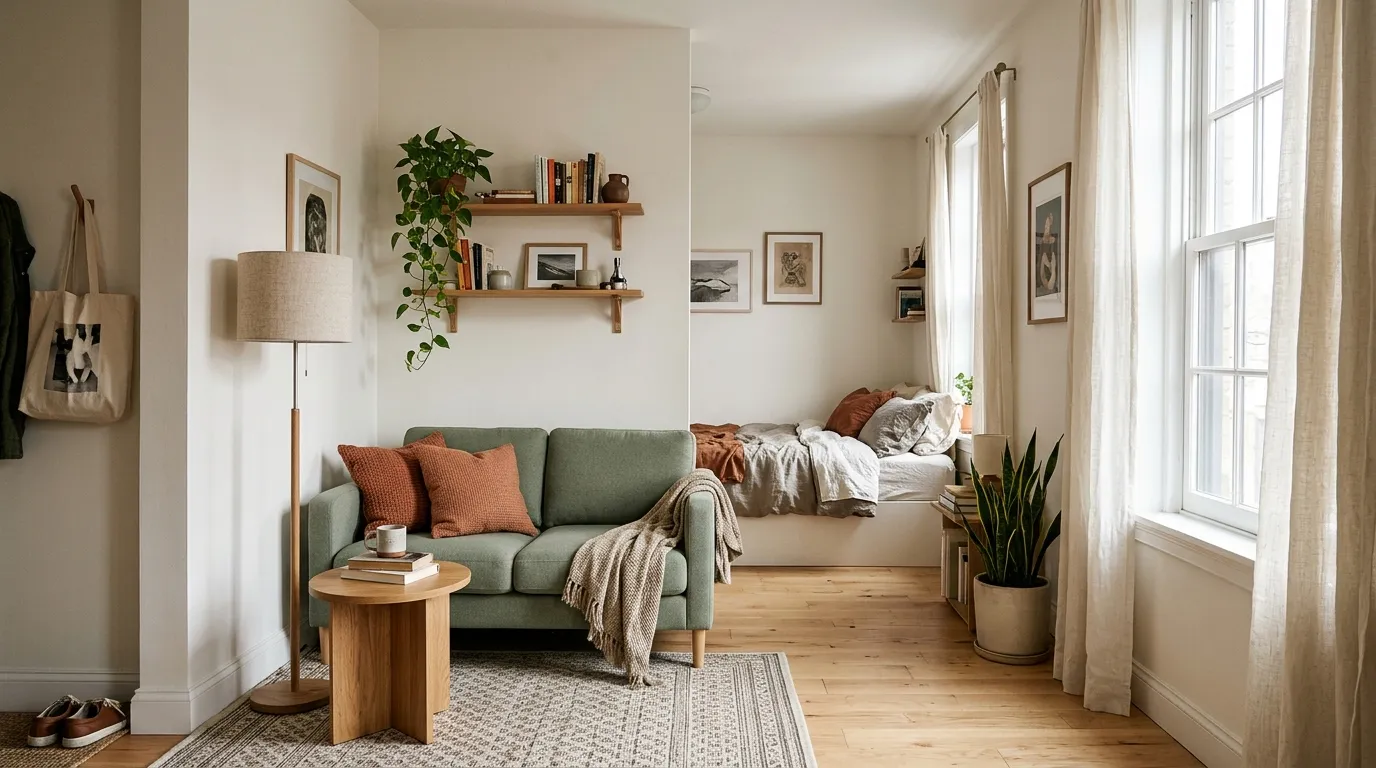


You open a cart with a rug, a lamp, and a set of shelves, and suddenly the total is higher than you meant to spend. Nothing in the cart is wrong. There just was never a limit to measure it against. A home decor budget by room gives every purchase a ceiling before you click, so you can stop second-guessing and start finishing spaces.
What you actually need is a simple order of operations: one total, a short list of rooms, and a clear sense of which spaces deserve the most money. That works in a studio, a rental, or a house, and it never asks you to spend more than you have.
I like to keep this to six steps you can finish in one evening. Grab a notebook, and I’ll walk you through each one.
Before You Start: Materials and Time
- Time: about one evening, plus a few minutes each week to check in
- Difficulty: easy
- Budget level: budget-friendly
- Caution level: see the note below
What You’ll Need
- A notebook or notes app
- A simple calculator
- A tape measure
- Recent receipts or order confirmations
- A list of what you already own
1. Set Your Total and Buffer
Start with the number you can spend without stress, not the number a room “should” cost. Look at your monthly money, decide how much can go toward your space, and write down one total. Skipping this step is how a lamp here and a chair there quietly add up to more than you planned, and you only notice when the cart is already full.
Then hold back 10% of that total as a buffer. Delivery fees, a missing screw, or a rug that turns out too small will show up, and the buffer absorbs them so no single room runs dry. The other 90% is what you divide up. Your room shares and your buffer should always add up to 100%.

How to Do It
- Look at your monthly spending and note what you can set aside for your space.
- Write one total in your notebook and circle it.
- Multiply that total by 10% and label the result “buffer.”
- Subtract the buffer to find the amount you will divide across rooms.
- Note anything you already own and plan to keep, since free pieces stretch the plan.
Why It Works
One fixed total turns shopping into a series of small, calm choices instead of one big worry. The buffer keeps surprises from pulling money out of the rooms you care about most.
Common Mistakes to Avoid
- Setting the total after you start shopping
- Skipping the buffer because the plan feels tight
- Counting money you might receive later
A Simple Rule to Remember
Total first, buffer second, rooms last.
2. List Every Room and Zone
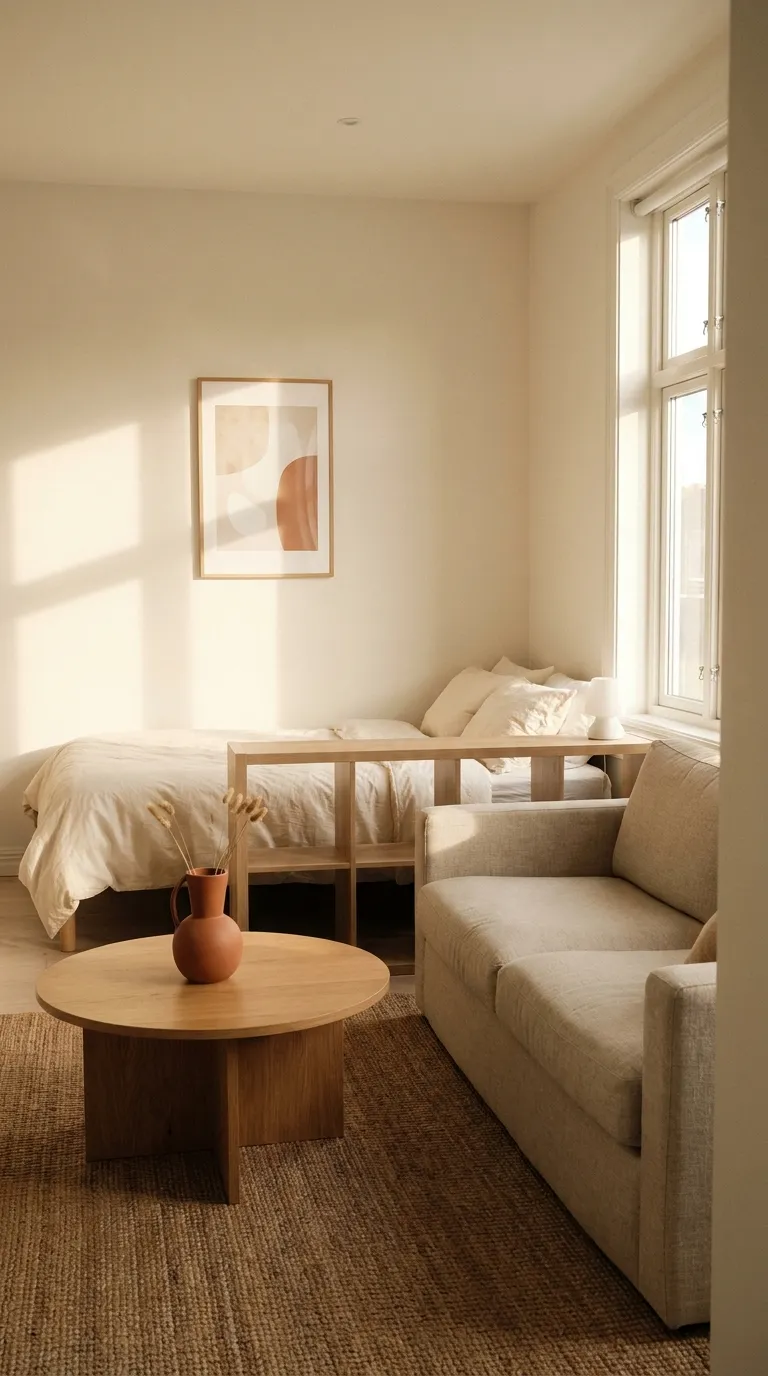
Write down every space you plan to spend money on, including the ones people forget: the entryway, a balcony, a desk corner, even a bathroom shelf. A space you leave off the list will still ask for money later, usually at an awkward moment, and then it comes out of a room you had already planned.
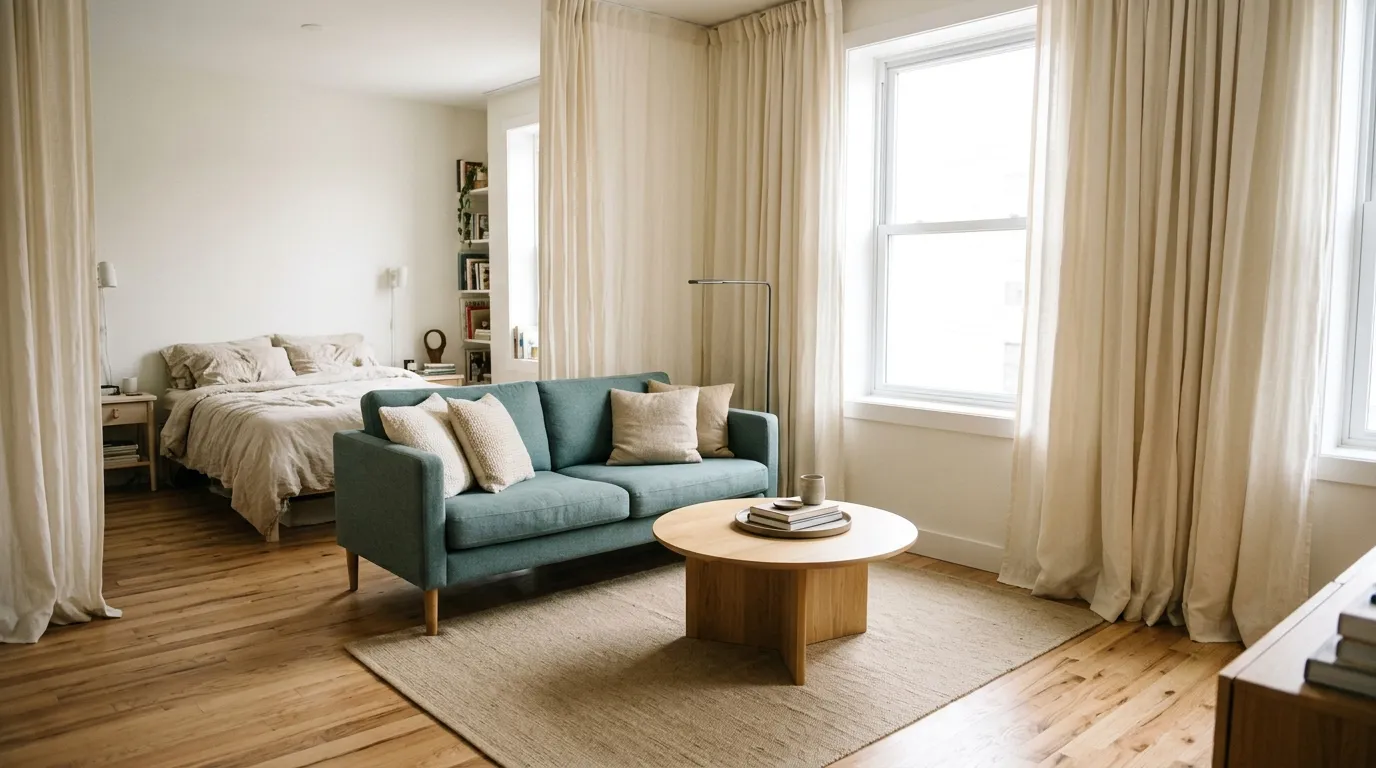
If you just moved in, a first apartment checklist can help you spot basics and spaces you missed. In a studio, treat each zone as its own “room”: sleeping, sitting, eating, and working. The list is only a sorting step, so keep it quick and honest.
How to Do It
- Walk through your home with a notebook and list each room or zone.
- Add one short line about what still feels unfinished in each.
- Mark anything you already own and plan to keep.
- Cross out spaces that need nothing right now.
- Park rarely seen spaces on a “later” list.
Why It Works
A full list shows the real size of the project. You divide money across the spaces that exist, not just the ones you thought of first, which makes every later step more accurate.
Common Mistakes to Avoid
- Listing only the living room
- Writing wish-list items instead of spaces
- Forgetting small zones like an entryway
A Simple Rule to Remember
Every space gets a line, even if the line says “nothing yet.”
3. Rank Rooms by How You Use Them
Now rank your list by how often you actually use each space, not by how it looks in photos. The room where you sit, work, or sleep every day deserves more money than a corner you see twice a month. Skipping this step spreads money evenly and leaves your favorite room half finished.
Number your rooms from most used to least used, and let your shares follow the same order: the most-used room gets the largest share and the least-used room gets the smallest. Whatever you choose, your room shares plus the 10% buffer must reach 100%.
Try it: drag each slider to give every room a share, then check your split.

How to Do It
- Number every room on your list from most used (1) to least used.
- Ask which space you walk into and think, “this still feels unfinished.”
- Write a short reason next to each of your top three rooms.
- Check that your top-ranked room is the one you see most each day.
Why It Works
Ranking turns “everything needs money” into a clear order. Your biggest share lands in the space where you feel the result every single day.
Common Mistakes to Avoid
- Ranking by how photogenic a room is
- Giving every room the same share
- Letting a guest-only space outrank daily spaces
A Simple Rule to Remember
The room you use most gets the largest share.
4. Split the Total Across Rooms
Turn your ranking into shares. Take the 90% left after the buffer and divide it in ranked order, with the biggest slice going to the room you use most. Think in percentages first, then convert them to money in your notebook, so the plan still works if your total changes later.
Inside each room, the split matters too. Give the largest part to anchor pieces like a bed or sofa, then share the rest among lighting, textiles, storage, and small accents. Adjust to your own space: a renter with furnished basics will spend differently than someone starting from an empty room.
Enter your total and choose a starting point to see one way a split can look, then adjust the percentages to match your ranking.
How to Do It
- Subtract the 10% buffer to find the 90% you will divide.
- Give each room a percentage in ranked order, biggest first.
- Check that all room shares plus the buffer add up to 100%.
- Convert each percentage to a money amount in your notebook.
- Inside each room, give the largest part to anchor pieces.
- Round amounts to easy numbers so they are simple to track.
Why It Works
Percentages scale with your total, so the plan holds up whether you have a little or a lot to spend. Every room ends up with a clear limit before you shop.
Common Mistakes to Avoid
- Splitting evenly to keep things “fair”
- Forgetting the buffer when adding up shares
- Spending a whole room’s share on one item
A Simple Rule to Remember
Room shares plus buffer must equal 100%.
5. Pick What to Buy First in Each Room
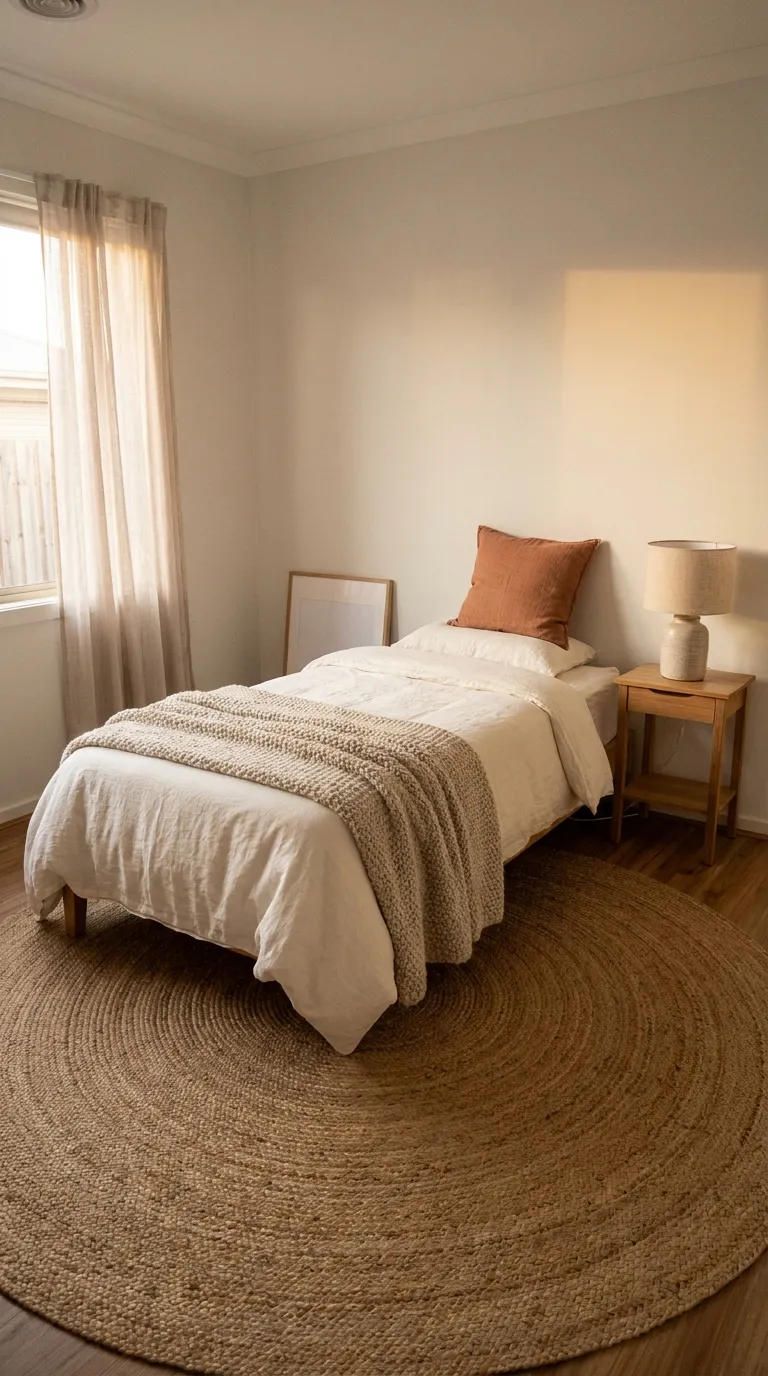
With limits in place, decide what each room gets first. Start with items you use daily that solve a real problem: a comfortable bed, a lamp that makes evenings usable, a rug that defines the sitting area. Decorative pieces wait until those basics are covered, or the pretty extras eat the share meant for essentials.
Look at secondhand options first. Thrift stores, flea markets, online marketplaces, and local swap groups often have solid furniture, frames, and baskets. Buy new for items where fit or hygiene matters, like bedding. For any secondhand textile, check the care label before you use it.
How to Do It
- List every item each room still needs.
- Mark each item as need now, nice soon, or later.
- Fund every “need now” item before anything else.
- Search secondhand sources first for furniture, frames, and baskets.
- Move “nice soon” items to next month’s list.
- Write a planned cost next to each item and keep the total within the room’s share.
Why It Works
Buying in order of daily use makes each room livable sooner. It also keeps small decorative buys from using up money that bigger pieces needed.
Common Mistakes to Avoid
- Buying art before a lamp or rug
- Paying full price when a secondhand piece would work
- Buying a matching set just to finish faster
A Simple Rule to Remember
Fix daily problems first, decorate second.
Renter Note
Check your lease before painting, drilling, or changing fixtures. Spend part of the share on reversible options like plug-in lighting, rugs, textiles, and art leaned on a shelf, and use adhesive hooks only within their stated weight limit.
6. Track Spending and Adjust
Once you start buying, write every purchase next to its room the same day. Delivery fees and small extras count. A five-minute weekly check shows which rooms are running ahead of plan before a share disappears without you noticing.
If one room needs more, move money from a room you can wait on instead of dipping into the buffer. The buffer is for surprises, not for covering the gap when a plan gets exciting. When a purchase doesn’t fit, wait a few days and decide again with a clear head.

How to Do It
- Make a simple note for each room with planned and actual columns.
- Log each purchase the day you make it, including delivery.
- Once a week, compare actual spending to each room’s share.
- If a room runs over, move money from a room you can wait on.
- Touch the buffer only for true surprises, and note when you do.
- When a room is finished, pass any leftover money to the next room in line.
Why It Works
Regular check-ins catch small overruns early. Moving money between rooms keeps the total steady while the plan stays flexible.
Common Mistakes to Avoid
- Logging purchases once a month
- Using the buffer to cover planned items
- Ignoring leftover money in finished rooms
A Simple Rule to Remember
Move money between rooms before you touch the buffer.
Quick Step Cheat Sheet
Use this table to remember the six steps and what to do when one goes sideways.
| Step | Why It Works | Quick Fix |
|---|---|---|
| 1. Set Your Total and Buffer | One limit calms every purchase | Pick a number, hold back 10% |
| 2. List Every Room and Zone | Shows the full scope | Add forgotten small zones |
| 3. Rank Rooms by Use | Puts money where you live | Reorder by daily use |
| 4. Split the Total Across Rooms | Percentages scale with any total | Make shares plus buffer equal 100% |
| 5. Pick What to Buy First | Basics make rooms livable | Move art to the later list |
| 6. Track Spending and Adjust | Catches overruns early | Move money before using the buffer |
The Principles Behind These Steps
Prepare First, Then Spend
Settle your total, buffer, and rooms before you open a single shopping tab. Decisions made at your desk are almost always cheaper than decisions made at checkout.
Work in Order
Each step feeds the next. You can’t rank rooms you haven’t listed, and you can’t split a total you haven’t set, so resist the urge to skip ahead.
Test Small Before Committing
If the plan feels uncertain, run it on one small room first. You will see quickly whether the shares feel right before you apply them to the whole home.
Why a Home Decor Budget by Room Beats One Big Number
One big number hides which rooms are getting the money. A plan broken down by room shows you where each purchase belongs and where you are running ahead.
Common Room-by-Room Budget Mistakes Worth Skipping
Treating the Buffer as Spare Money
The buffer exists for surprises. If you spend it early, the next surprise lands on a room’s share. Keep it in a separate note and leave it alone until you truly need it.
Splitting Money Evenly
Equal shares feel fair but waste money on rooms you barely use. Follow your ranking instead, even if it means a favorite spot gets less than you expected.
Planning Without Checking What You Own
Money often disappears on things you already have. List your current pieces before you add anything new, and let them count toward each room’s needs.
Final Tips for Success
Start With One Room
If the whole plan feels like a lot, run it for a single room first. Set the total, add a 10% buffer, and see how the shares feel before you plan the rest of your space.
Revisit the Plan Every Few Months
Your total, your habits, and your favorite room can all change. Redo the ranking and shares whenever they do, and the plan stays useful instead of turning into a forgotten note.
Basics Worth Owning
- A notebook or notes app
- A simple calculator
- A tape measure
- A running list of what you already own
- A short wish list with planned costs
Conclusion
A room-by-room plan doesn’t make decorating smaller. It makes it finishable. You set one total, hold back 10%, rank your spaces, and give the biggest share to the room you use most.
When you set a budget for each room, every purchase has a place to land. You stop wondering whether a lamp is “too much” and start asking whether it fits the share you already chose.
Keep the plan simple, log what you spend, and move money between rooms before you touch the buffer. Your home will come together one finished space at a time.
Save this guide for the next time you rearrange the room or add something new to your cart.