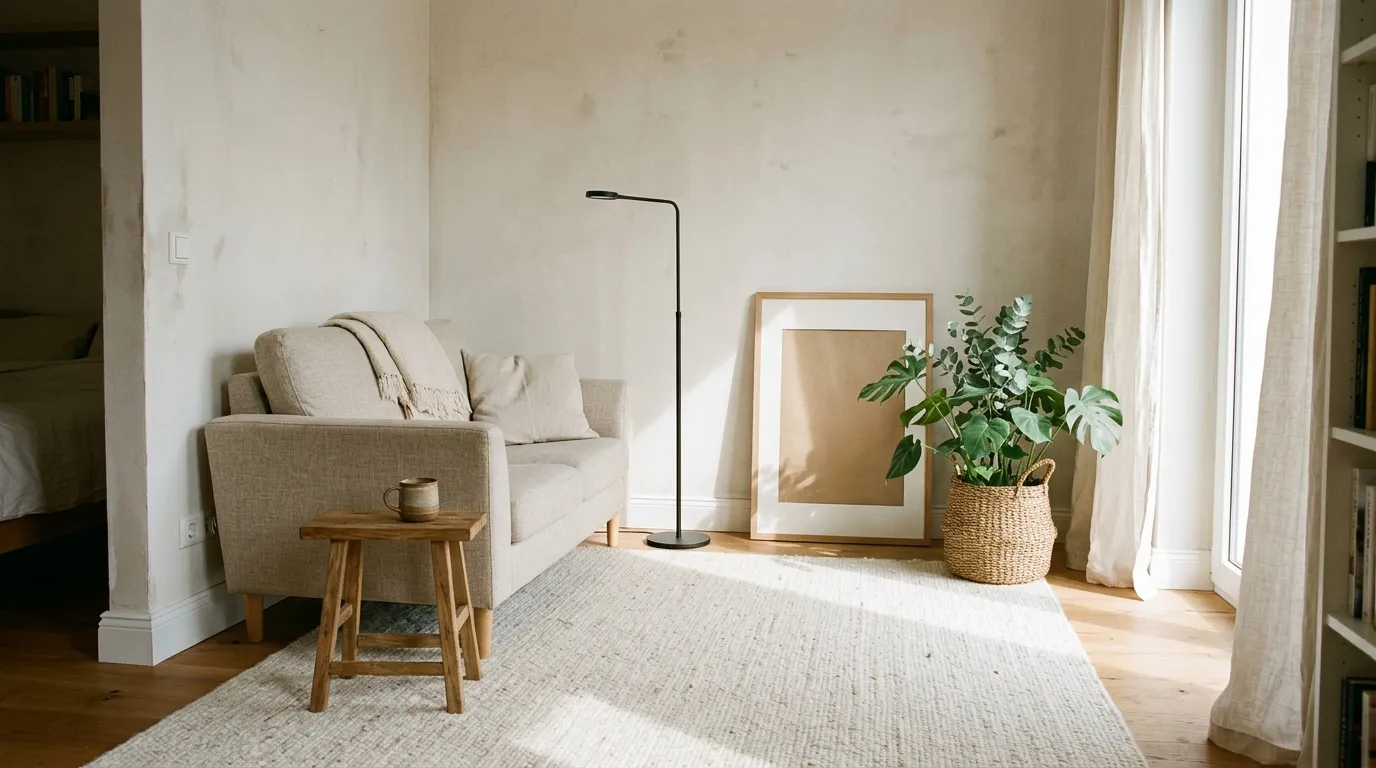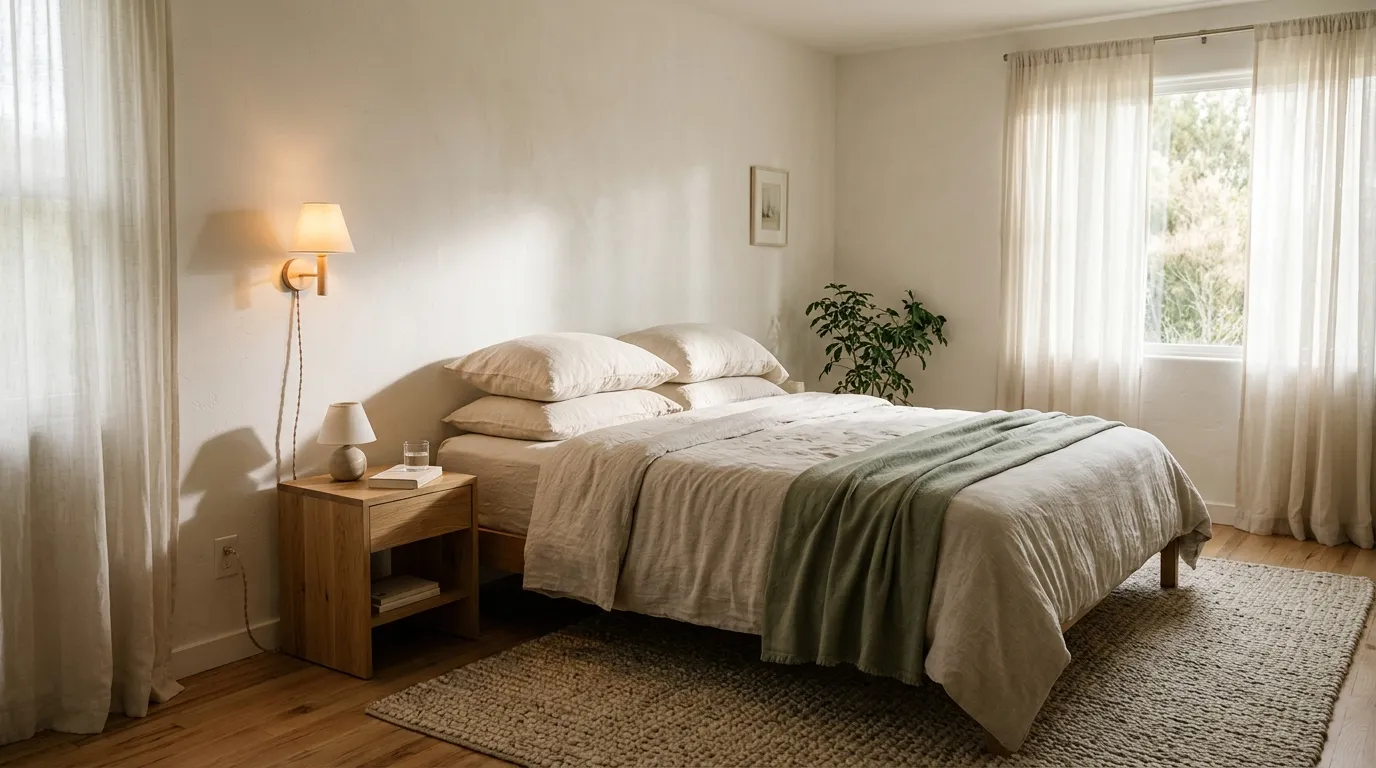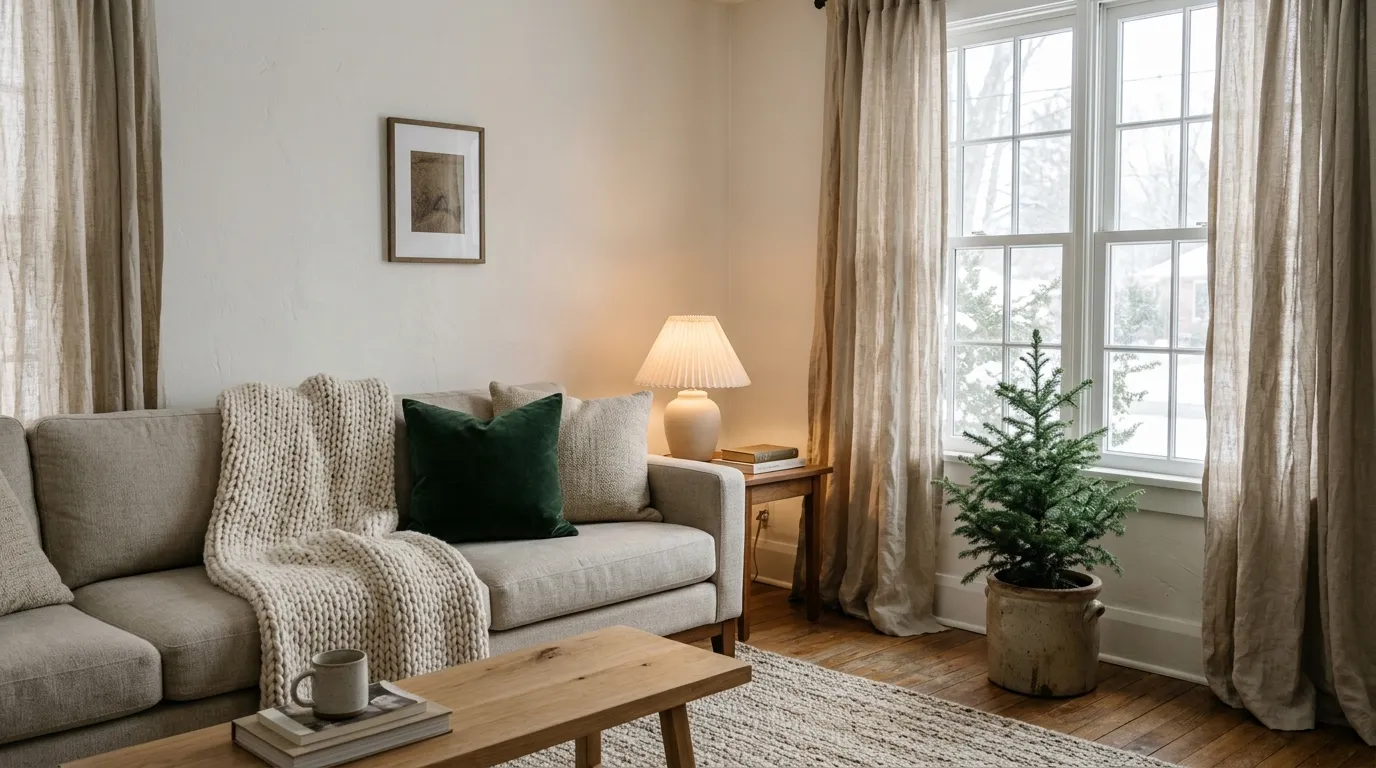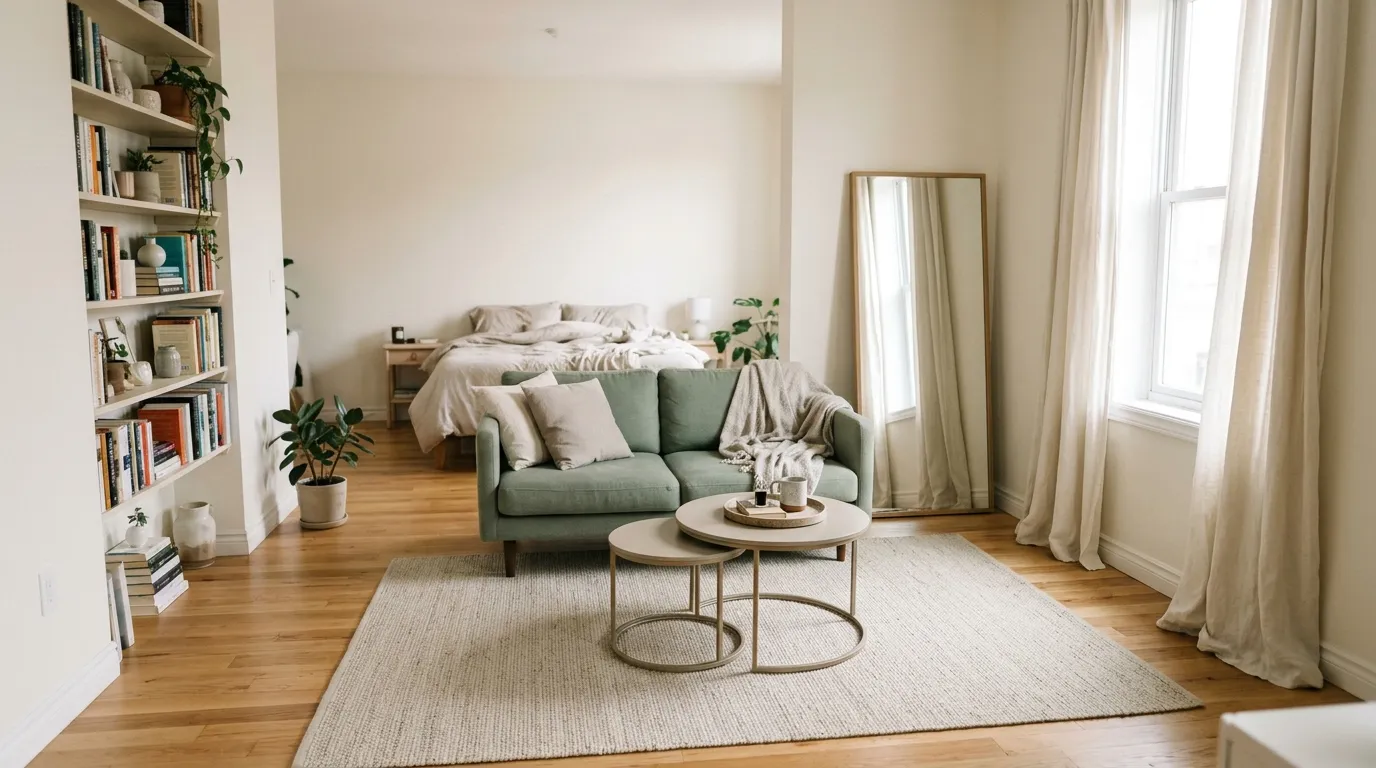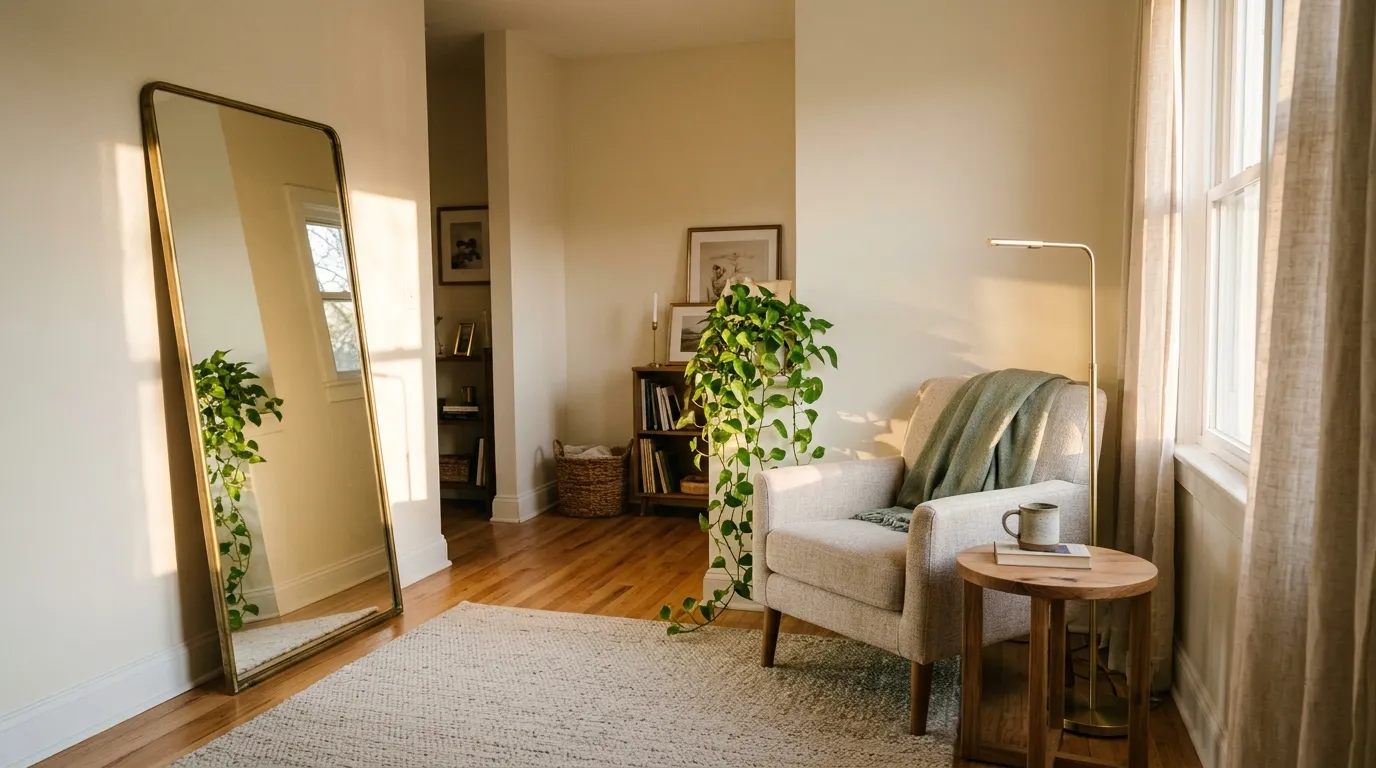

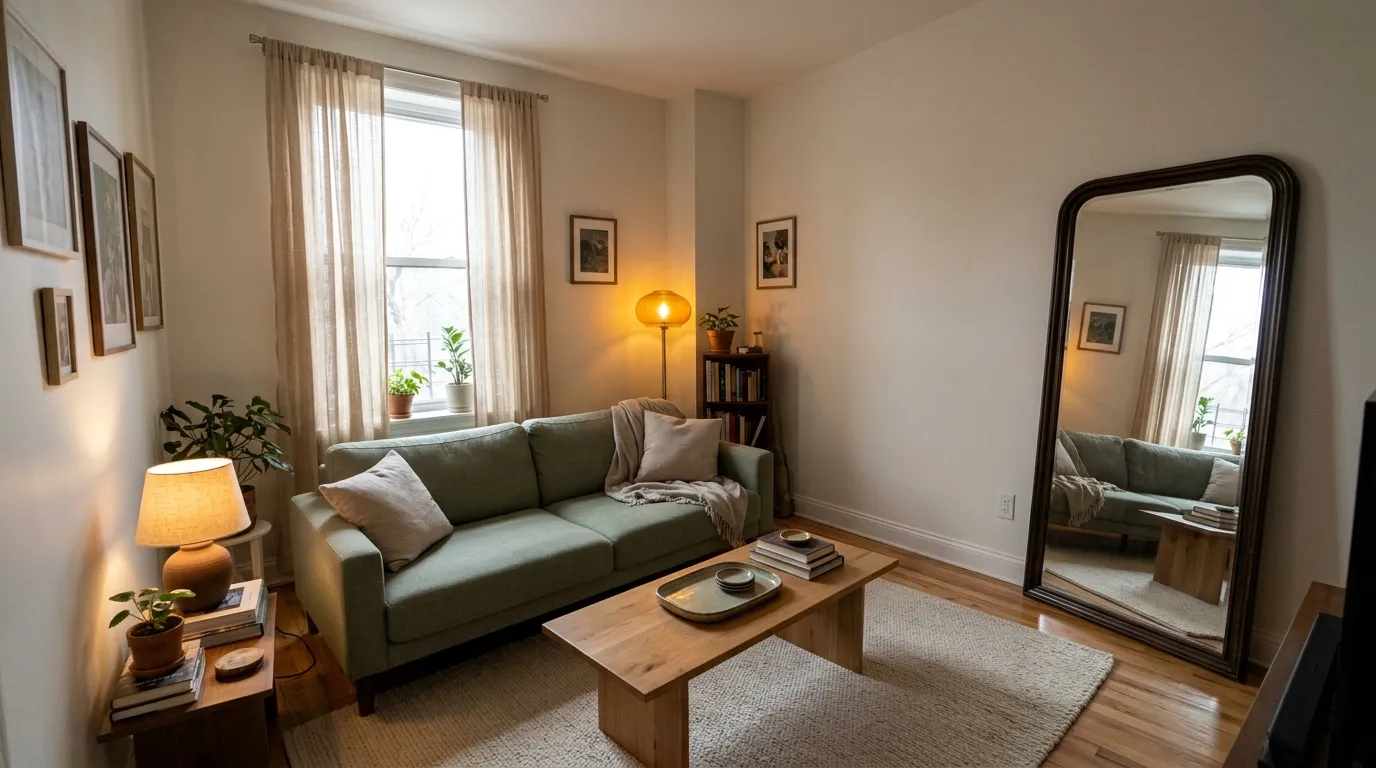
The listing photos made your place look bright and airy, but the truth shows up around two in the afternoon, when you switch on a lamp just to find your keys. If you want to decorate dark apartment rooms without a renovation, the goal is not to fight the shadows. It is to move the little daylight you have around the room and make up the difference yourself.
So the job is part detective work and part arranging. You work out where the dark really sits, open a path for whatever sun gets in, and then build light in layers. Pale surfaces, a well-aimed mirror and a few glossy touches finish things off, and every step below suits a small budget.
I’d follow the six steps in this order, since each one tells you where the next should go.
Before You Start: Materials and Time
- Time: a free weekend, or a handful of weeknight sessions
- Difficulty: easy
- Budget level: budget-friendly
- Renter-friendly: check your lease for paint and wall hardware
What You’ll Need
- A phone with a camera
- Pencil and scrap paper
- Sticker dots or painter’s tape
- Sheer panels and a tension rod
- Wall-plug lamps in varied heights, two or three in total
- Bulbs in a warm white tone
- A mirror sturdy enough to lean
- Paint cards or fabric scraps in pale shades
- A glazed tray or small ceramic bowl
1. Photograph Your Dim Zones
Your eyes adjust to a dim room, so they are poor judges of where the shadows really sit. A camera is not fooled, which makes it the fastest honest test you can run before spending anything. Skip it and you end up lighting the cheerful corner while the gloomy one stays untouched.
Do this on an ordinary weather day, not on the one sunny afternoon of the month. You want the room as it usually is, because that is the version you live in.
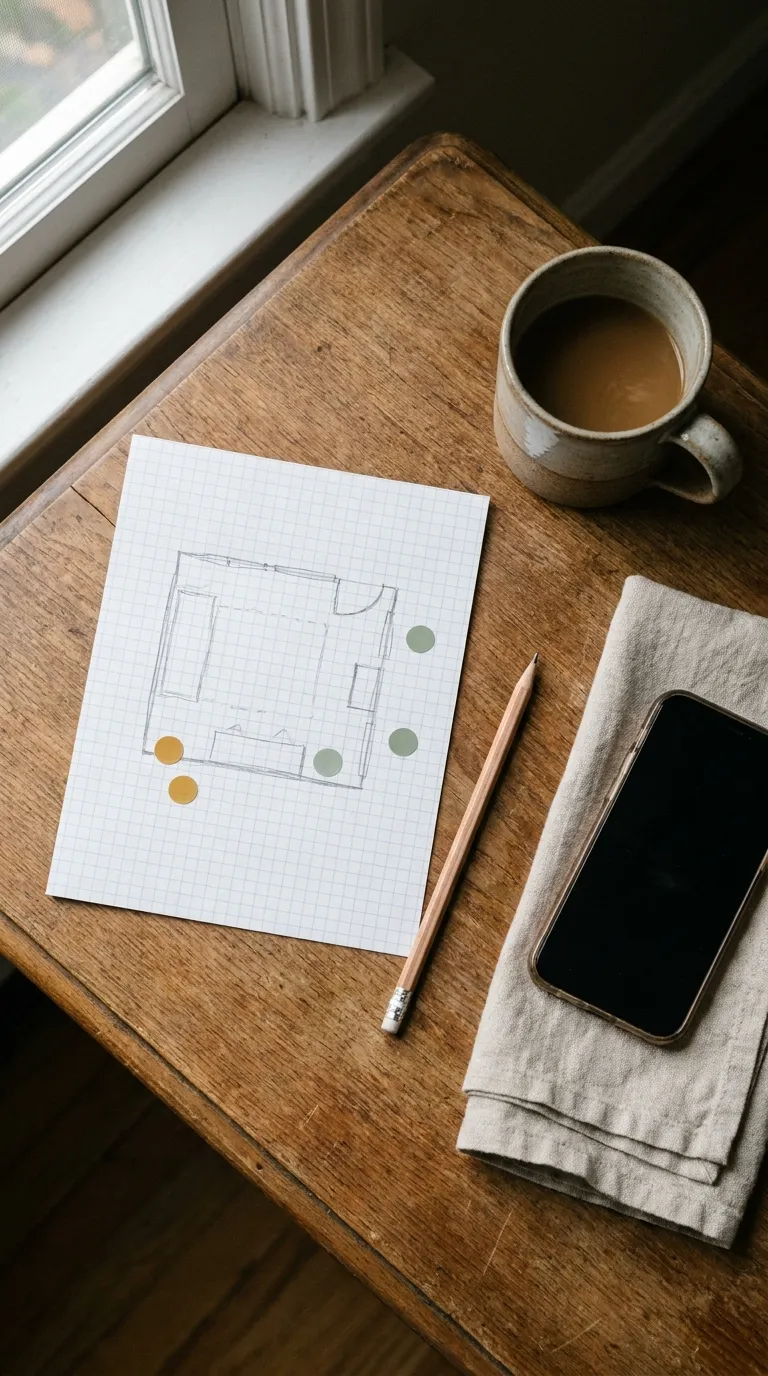
How to Do It
- Turn every light off and stand in the doorway with your phone
- Shoot the room in the morning, around noon and at dusk
- Flip through the photos and put a sticker on the murkiest patch
- Draw the room’s outline, then add the window, the door and your stickers
- Turn on your usual lighting, shoot once more and note which stickered spots still look flat
Why It Works
Side-by-side photos turn a vague feeling into a clear answer about which patch is darkest, so every later step lands in the right place.
Common Mistakes to Avoid
- Shooting only when the sun is strongest
- Trusting your eyes after the lamps are on
- Writing off the entire room when a single corner is the culprit
A Simple Rule to Remember
Light the gloomiest corner before you buy anything for the rest of the room.
2. Clear the Window’s Path
Before you add a single bulb, make sure the daylight you already have can travel. In many dark apartments the window is not small, it is buried: heavy drapes sit over the glass, a tall bookcase leans on the frame and a dark sofa back blocks the lower half.
Opening that path costs almost nothing and often does more than any lamp. Low pieces with open sides let light slide across the floor, while tall boxy ones stop it. If a lower sofa or bench would help, measure the doorway and the floor spot first so you can check if it fits before delivery day.
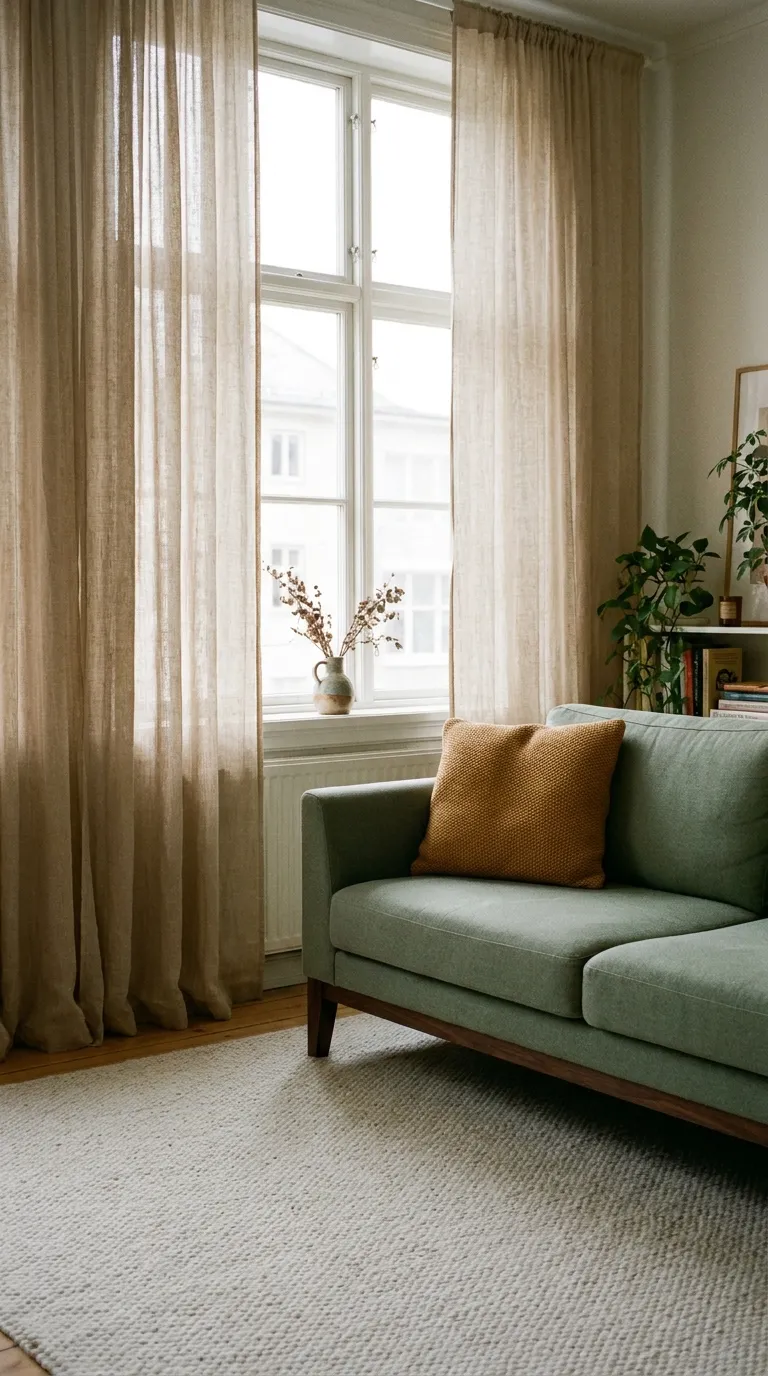
How to Do It
- Swap thick or dark curtains for sheer or pale panels
- Set the rod about 6 inches beyond each side of the frame so the whole pane shows
- Shift tall furniture to a side wall
- Park low pieces with visible legs, or a bench, in front of the window
- Leave the sill nearly bare, with one small object at most
Why It Works
Daylight stops being filtered through fabric and furniture, so the room gets its full share before a lamp is even on. Sheer panels still give privacy, which is why the glass can stay uncovered all day.
Try it: decide whether each piece should stay by the window or move away from it.
Common Mistakes to Avoid
- Setting the rod flush with the frame so fabric covers the pane
- Leaning a tall, dark bookcase on the window wall
- Letting bags and boxes pile up on the sill
A Simple Rule to Remember
Low and open near the glass, tall and solid toward the walls.
Renter Note
Use a tension rod so the wall stays untouched, and read your lease first if you ever want to drill for brackets.
3. Lighten the Biggest Surfaces
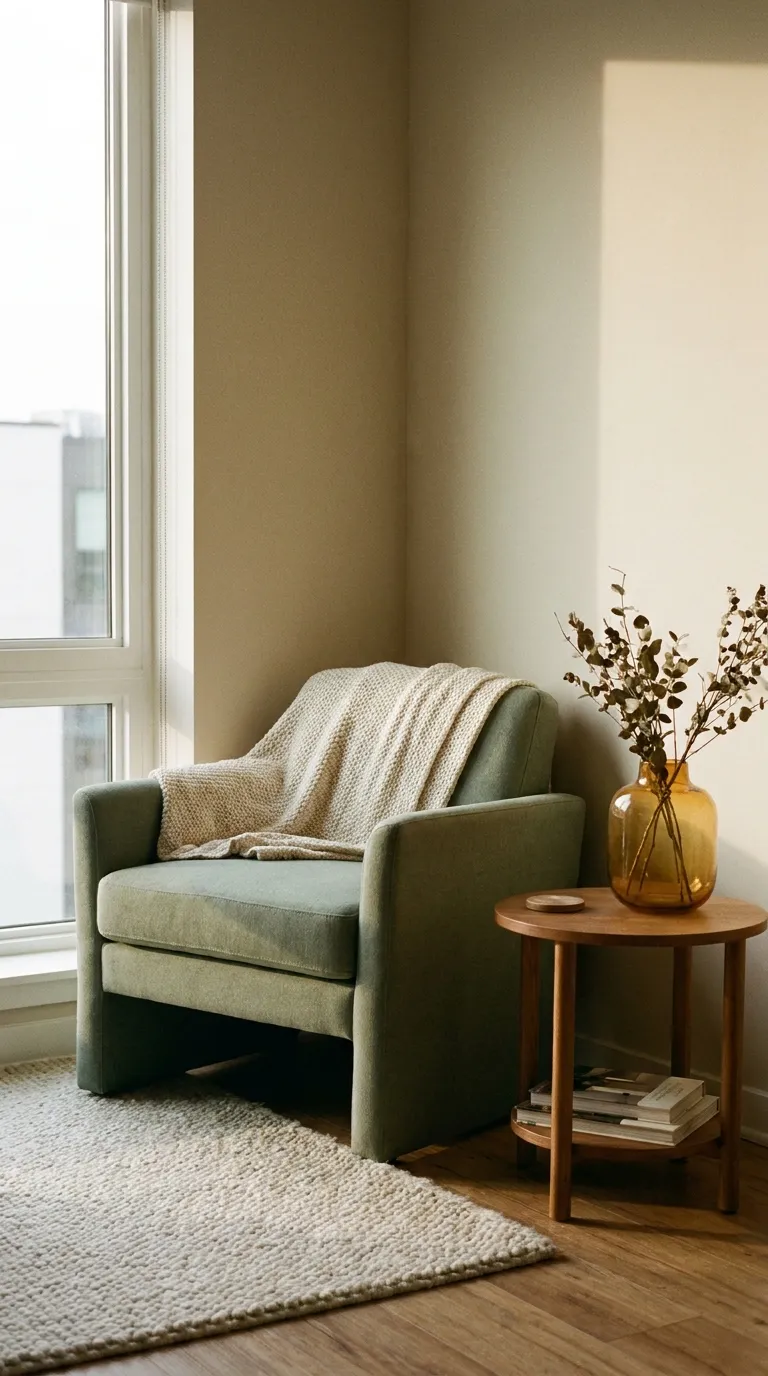
Large areas decide how bright a room feels more than small accessories do. Walls, the floor and the biggest piece of upholstery act like panels that either send light back or soak it up. A charcoal wall in a dim room behaves like a sponge.
You do not have to paint to change this. A rug, a throw, pale bedding and a light slipcover can lift a room in an afternoon, and they come with you when you move. Repainting is worth it only when your lease allows it and the current color is truly heavy.
How to Do It
- Stick two or three paint cards on the wall that looked murkiest in your photos
- Look at them at breakfast time and again at dusk
- Go for warm and pale, such as oatmeal, buttercream or pale greige, in a gentle sheen
- Can’t paint? Let a rug, a throw and the bedding carry the pale tone instead
- Match the ceiling and trim to the same light family so nothing chops the room up
Why It Works
Pale finishes reflect rather than absorb, which means the same window and the same lamps produce a noticeably brighter room.
Common Mistakes to Avoid
- Picking a shade under the paint shop’s lighting
- Choosing cool grays, which can look flat when sun is scarce
- Committing without a sample at home
A Simple Rule to Remember
Judge a color in your own room, at your own dimmest hour.
Renter Note
Many leases require walls returned to their original color, so ask before painting. If you get the go-ahead, follow the product label and ventilate the room; if not, rely on textiles and a large piece of art in pale tones.
4. Stack Three Layers of Lamps
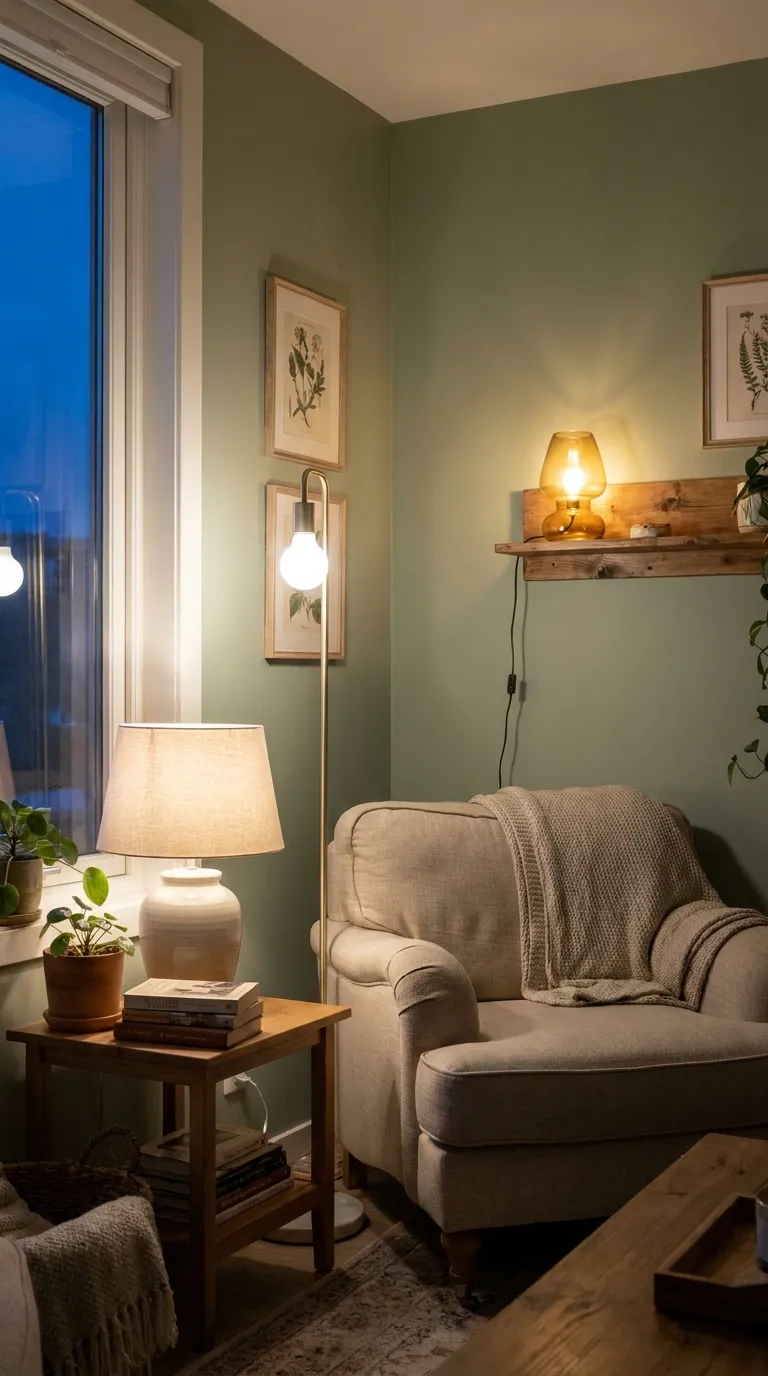
A single ceiling fixture lights the middle of a room and leaves the edges in shadow. Lamps set at varied heights reach those edges, and after dark they give the room a gentler feel than a lone ceiling light can.
Plan for three layers: one broad glow, one beam for the spot where you read or cook, and one small accent lamp for a shelf or the dimmest corner from step 1. Warm white bulbs keep the glow homey instead of harsh.
How to Do It
- Put a floor lamp or tall table lamp next to your favorite seat for the room’s general glow
- Aim a focused lamp at wherever you read, work or chop vegetables
- Rest a small accent lamp on a shelf, or in the corner you stickered
- Screw the same warm white bulb tone into all of them
- Come back at dusk and nudge each lamp until no corner looks flat
Why It Works
Lamps at floor, table and shelf height reach the spots an overhead fixture misses. Because room size, ceiling height and wall color all shift how many lumens you need, check the total before you buy bulbs.
Fill in the room’s dimensions, its type and the shade of its walls to see a lighting target.
Common Mistakes to Avoid
- Counting on the overhead fixture to do everything
- Combining cool white and warm white bulbs
- Dark, dense shades that smother the glow
A Simple Rule to Remember
Three heights, one bulb color.
Renter Note
Lamps that plug in need no drilling, which makes them the easiest option for a rental. Anything hardwired belongs to a licensed electrician, and your lease may need to approve it first.
5. Aim a Mirror at Real Light
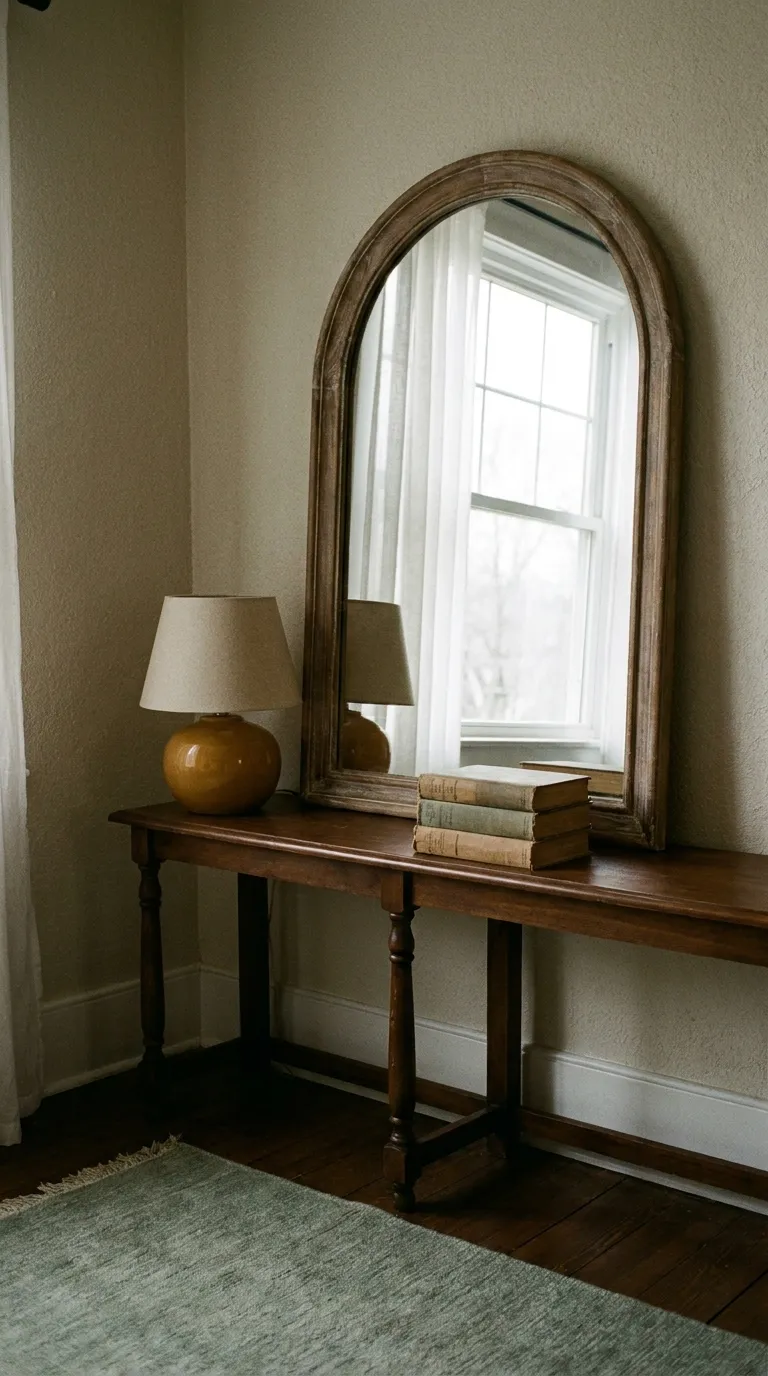
A mirror borrows light. Facing a window or a lit lamp, it throws that brightness back across the room like a second source. Facing a blank wall or a crowded shelf, it adds almost nothing.
That makes placement the whole game. A big mirror in the wrong spot is just a rectangle, while a modest one angled toward a bright source can open up a gloomy corner.
How to Do It
- From your favorite chair, find the brightest source in sight, whether a window or a lit lamp
- Hold the mirror up where you think it belongs and check what it shows
- Pick a position facing or beside the window rather than a bare wall
- Lean a big mirror against the wall, or hang a lighter one with hardware rated for its weight
- Tilt it until the glow lands on the dim patch from step 1
Why It Works
Mirrors redirect the light already in the room instead of adding new light, so a dull corner can borrow the brightness of the window.
Common Mistakes to Avoid
- Hanging it opposite a bare wall
- Catching a messy shelf in the reflection
- Buying a mirror too small to gather much
A Simple Rule to Remember
If the mirror cannot see light, it cannot share it.
Renter Note
Nothing needs drilling if the mirror leans, but tether it or wedge it so it cannot tip. If you do hang one, read your lease first, choose anchors rated for its weight and follow the instructions that come with it.
6. Finish With Glow and Texture
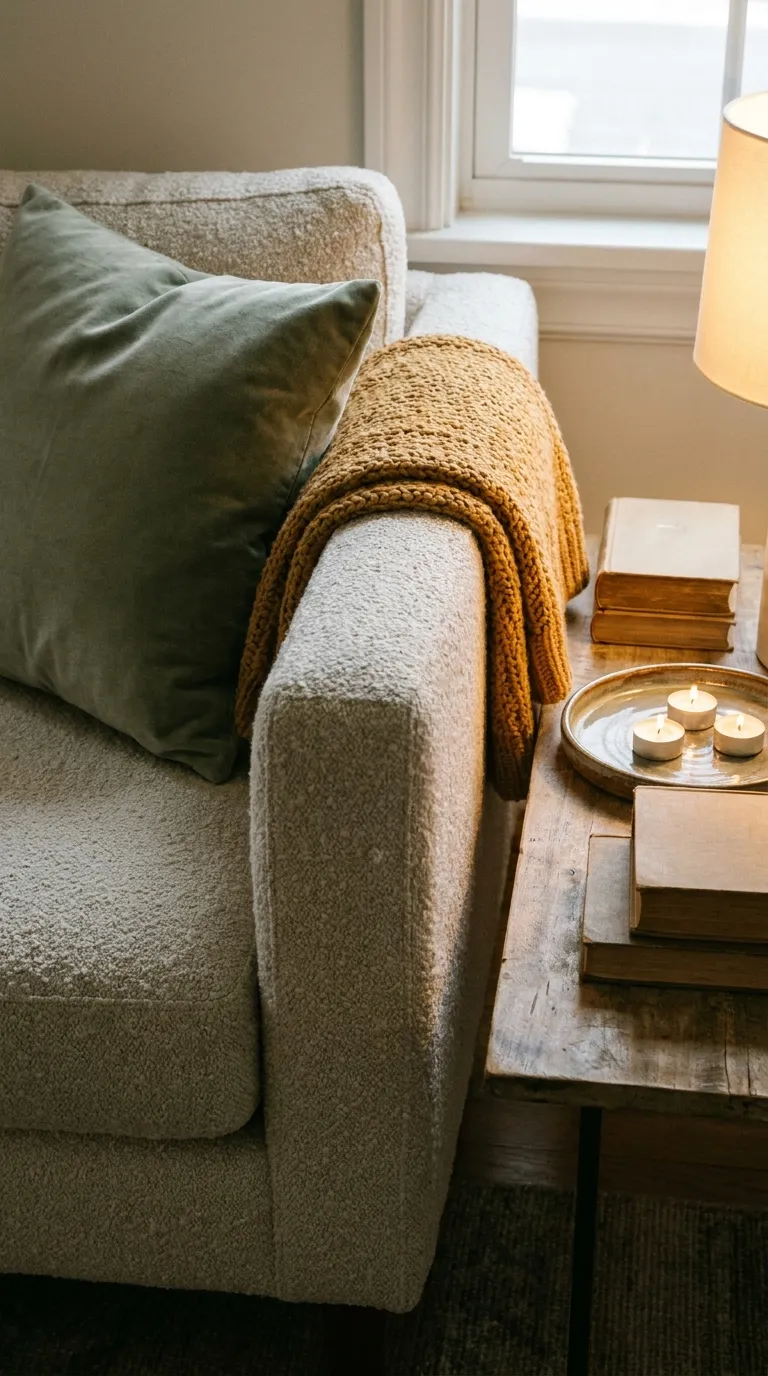
Once the light is working, texture keeps a dim room from looking flat. Soft fabrics, warm tones and a few shiny surfaces give the eye something to catch, so corners feel layered instead of empty.
Keep it deliberate. A handful of well-placed pieces beats a crowded shelf, since clutter casts more shadows. Honey, amber and muted sage all read as warm and soft in low light without feeling heavy.
How to Do It
- Drape one honey or amber throw over the sofa for warmth
- Put a glazed or brass tray on the coffee table to catch the lamp glow
- Mix two or three textures, such as boucle, linen and velvet
- Gather objects into one tight cluster, such as a bowl, a candle and a book
- Keep one surface empty on purpose, so the eye has a place to pause
Why It Works
Layered fabrics give shadows something to sit against, and a glossy tray repeats the lamp glow so dim areas gain dimension.
Common Mistakes to Avoid
- Packing each shelf edge to edge
- Relying on cool tones that look flat
- Choosing matte black accents that swallow light
A Simple Rule to Remember
Texture is the finish, not the foundation.
Quick Step Cheat Sheet
Use this table when you only need a quick reminder of what each step is for.
| Step | Why It Works | Quick Fix |
|---|---|---|
| Photograph dim zones | Reveals the real shadow spots | Shoot three times, stick one dot |
| Clear the window | Daylight can reach the room | Hang sheers beyond the frame |
| Lighten surfaces | Reflects light instead of absorbing it | Add a pale rug or throw |
| Stack lamps | Reaches spots overhead light misses | Add lamps at three heights |
| Aim a mirror | Redirects light already there | Angle it at a bright source |
| Add glow and texture | Gives dim corners depth | One throw plus a glossy tray |
The Principles Behind These Steps
Look Before You Spend
Your room changes through the day, so a few photos and a sketch beat guessing. They also stop you from buying for the wrong corner.
Open the Path, Then Add Light
Daylight is free, so clear its route before you add bulbs. Lamps then fill the gaps instead of doing the whole job.
Reuse the Light You Already Have
Pale surfaces, mirrors and glossy trays send existing light around the room, which is cheaper than adding more fixtures.
Trial a Single Corner
Before you redo everything, try one lamp, one mirror angle or one paint card in the stickered corner. Small trials are easy to reverse, which helps if you rent.
Common Low-Light Decorating Mistakes Worth Skipping
Spreading Lamps Evenly Instead of Where You Sit
A lamp in every corner is not the same as light where you read. Put the first one beside your main seat, then add outward.
Letting Furniture Crowd the Glass
Bulky pieces near the window are the quickest way to lose daylight. Slide them back toward a wall.
Skipping the Tape Measure
A great sofa is no help if it blocks the window or is too wide for the doorway. Measure the doorway and the wall before you buy.
Final Tips for Success
Begin With Lamps You Can Plug In
If you only have an hour and a small budget, add lamps at two different heights. It is the fastest change, and it works for renters.
Trade One Dark Fabric for a Pale One
Replace a single dark curtain, throw or pillow and see how the room reads before you change anything else.
Basics Worth Owning
- Lamps at two heights
- Bulbs in one warm tone
- A tension rod and sheer panels
- A mirror with a stable lean
- A pale rug
Decorate Dark Apartment Corners One at a Time
Do not try to fix the whole room in one go. Pick a corner, finish it and take another photo before you move on.
Check the Room on a Gray Day
Dark apartments change character with the weather, so visit your setup on an overcast afternoon too. If a corner still looks flat, nudge a lamp a few inches or turn the mirror.
Conclusion
Little daylight is a design brief, not a defect to hide. It asks for light in layers, and you now have a six-step order for providing it.
Start by photographing the dim zones, then free the window, lighten the big surfaces, stack the lamps, aim a mirror and finish with texture.
Nothing here needs a contractor. Even if you only manage the lamps and the sheer panels this month, you will decorate dark apartment corners that no longer feel like afterthoughts.
Pick the dimmest corner from your photos and change one thing tonight. Save this guide for the next time you rearrange the room.