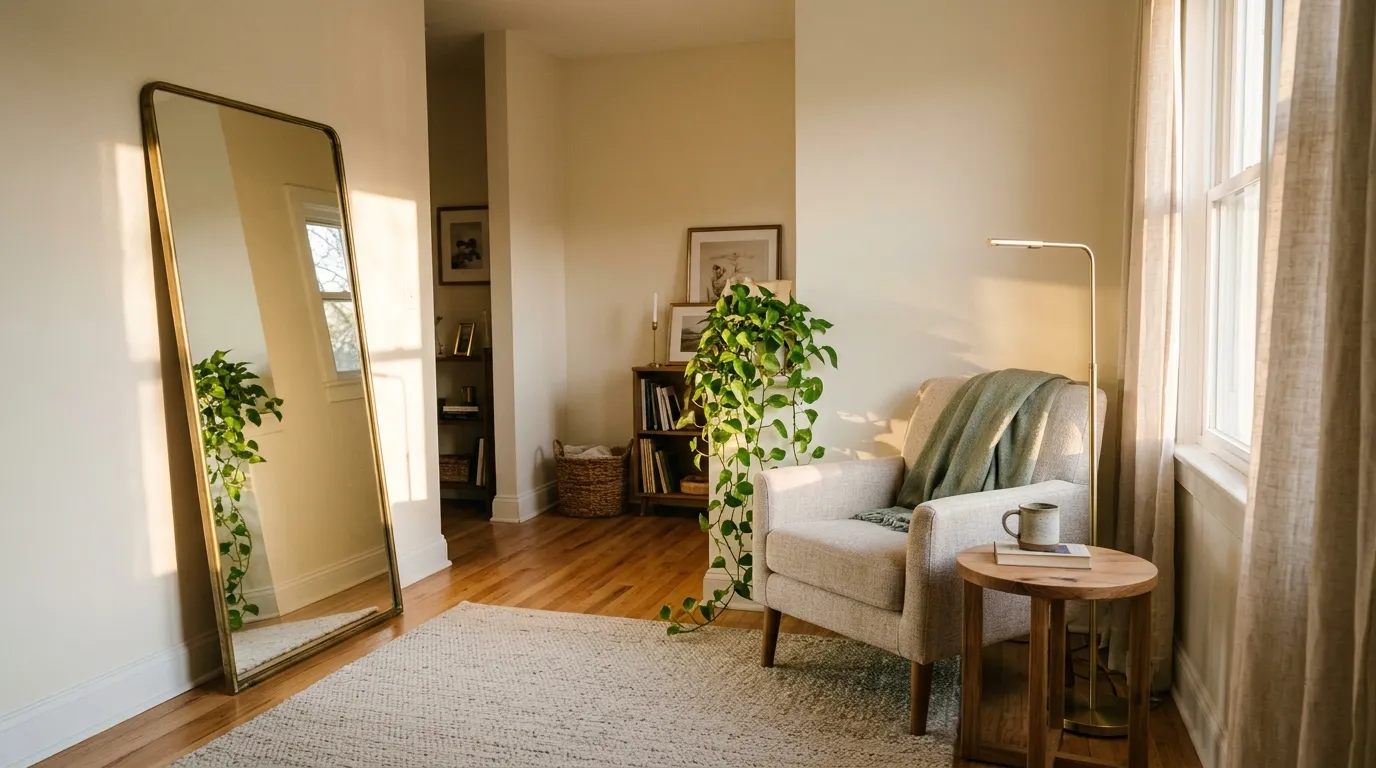

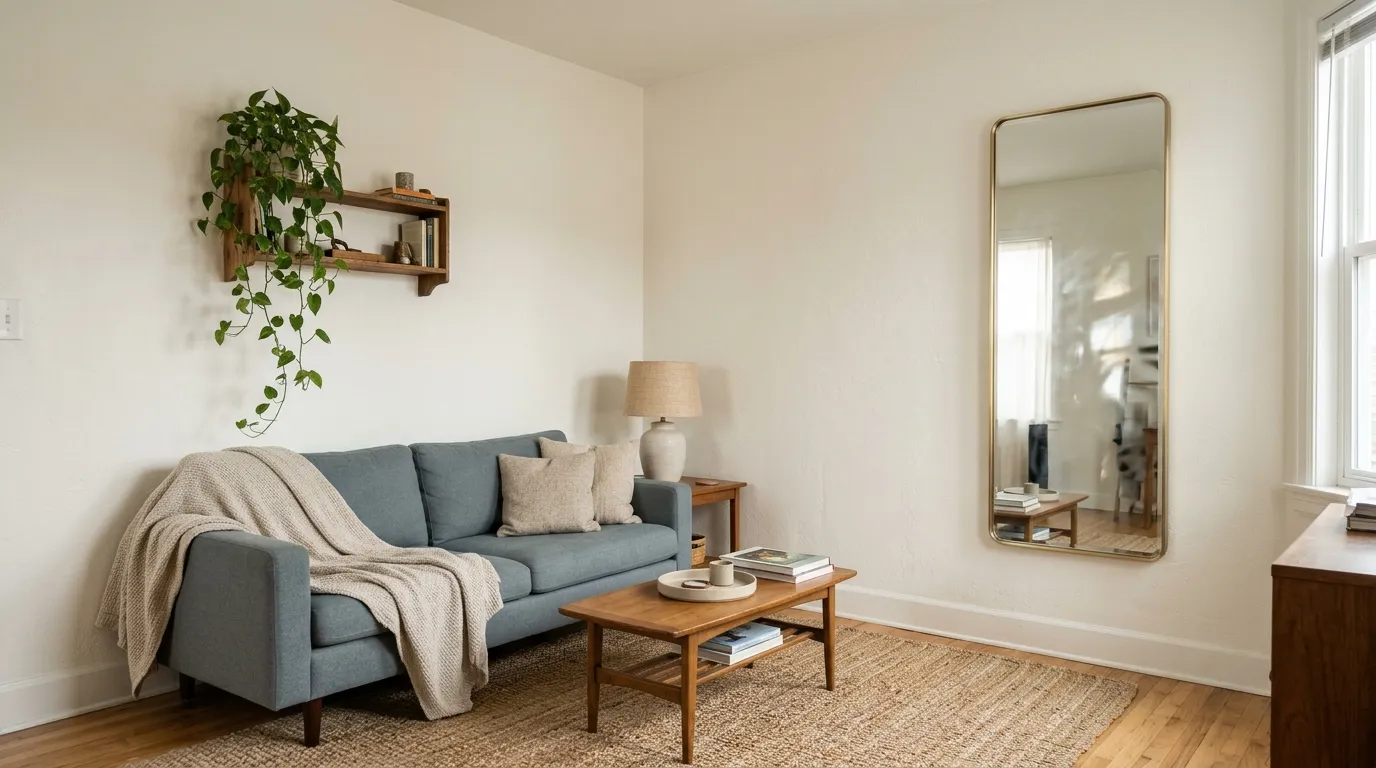
You bought the rug, you found the right throw pillows, and the room still looks flat on a cloudy Saturday because the only window faces an air shaft. Knowing how to use mirrors in decor won’t create daylight, but it can carry the little you get much farther into the room.
What you need is simple: a clear picture of where light enters, a mirror sized for the wall, a view worth reflecting, and a hang or lean that stays put. Most of it takes nothing more than tape and a tape measure.
I’d work in this order: trace the light, choose the view, size the glass, aim it, add a lamp, and then lock it in place.
Before You Start: Materials and Time
- Time: about 2 hours of hands-on work, plus a few glances at the room across one day
- Difficulty: moderate, since mirror glass is heavy
- Budget level: budget-friendly
- Renter-friendly: check your lease, and lean the mirror if drilling is off the table
What You’ll Need
- A mirror, in the size you settle on in step 3
- A small hand mirror or makeup compact
- Painter’s tape and a pencil
- A tape measure and a level
- Heavy-duty wall anchors, if the mirror will hang
- Felt pads or rubber stoppers and an anti-tip strap, if it will lean
- One or two plug-in lamps with shades
- A soft cloth for the glass
1. Trace Light With a Hand Mirror
A mirror repeats light; it can’t make any. So before you buy or drill anything, find out where daylight actually travels in your apartment. Skip this, and you can end up with a lovely piece of glass that reflects a dim wall and nothing else.
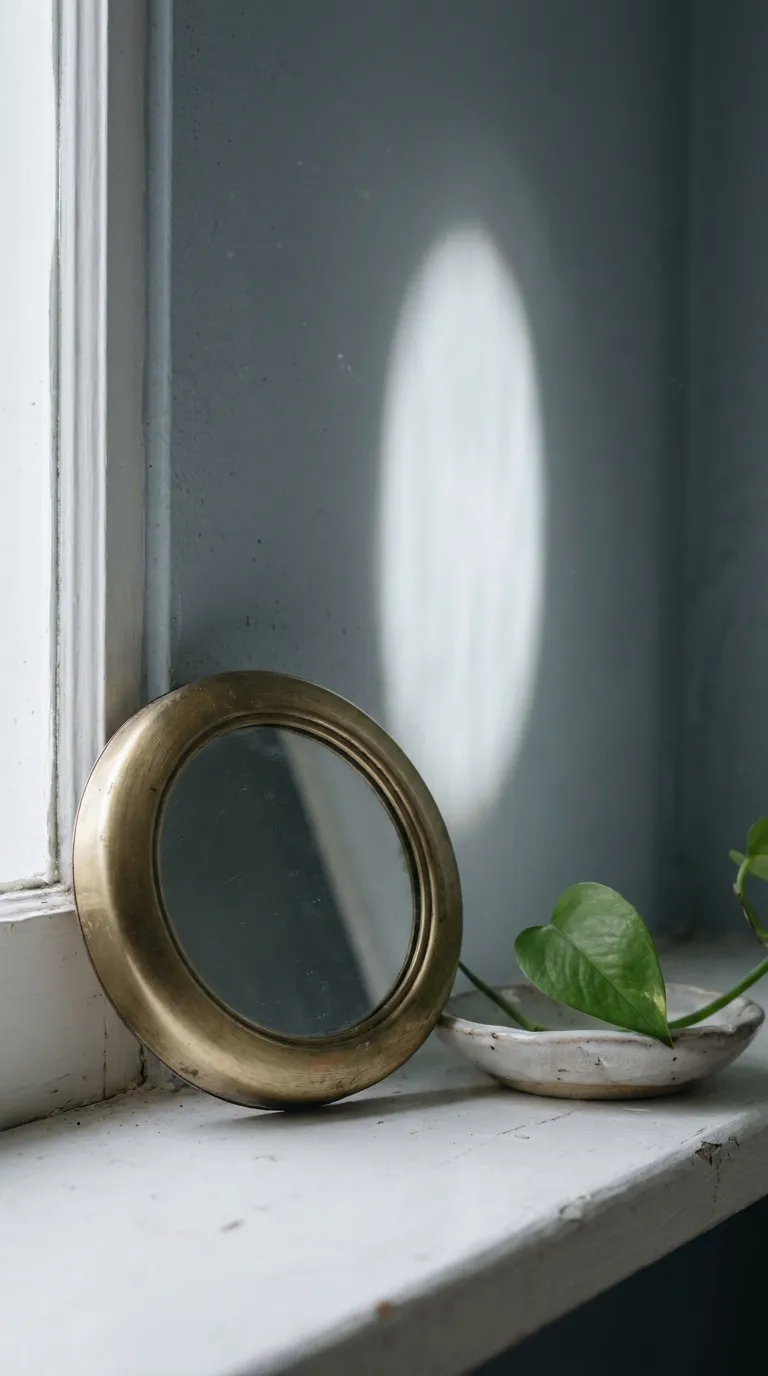
The easiest test costs nothing. A small hand mirror held in the window shows you, within seconds, where a bigger mirror’s bounce would land. The trade-off is patience: the bright patch moves through the day, so one quick look isn’t enough.
How to Do It
- Sketch the room on paper and mark the window, the door, and any hallway opening
- Visit the room at three times of day: morning, midday, and late afternoon
- Hold the hand mirror at the window each time and watch where the bounce lands, keeping it out of your eyes and away from neighbors’ windows
- Put a strip of painter’s tape on every wall spot that catches a bright patch
- Pencil in the places where you actually sit: sofa, desk, bed
Why It Works
Glass sends light back at the same angle it arrives, so a mirror is only as bright as what it can see. If your room gets almost no daylight at all, the mirror will help less, and the lamp in step 5 does more of the work.
Common Mistakes to Avoid
- Judging the room at one time of day, when the bright patch moves
- Forgetting that a door or hallway can borrow light from another room
- Noting the bright wall but not where you actually sit
A Simple Rule to Remember
If the glass can’t see a bright spot, it has nothing to give back.
2. Choose the View Worth Doubling
A mirror shows whatever sits in front of it, so decide what you want to see twice before you decide where the glass goes. A tidy shelf looks calm when it’s doubled; a heap of laundry just looks like two heaps.
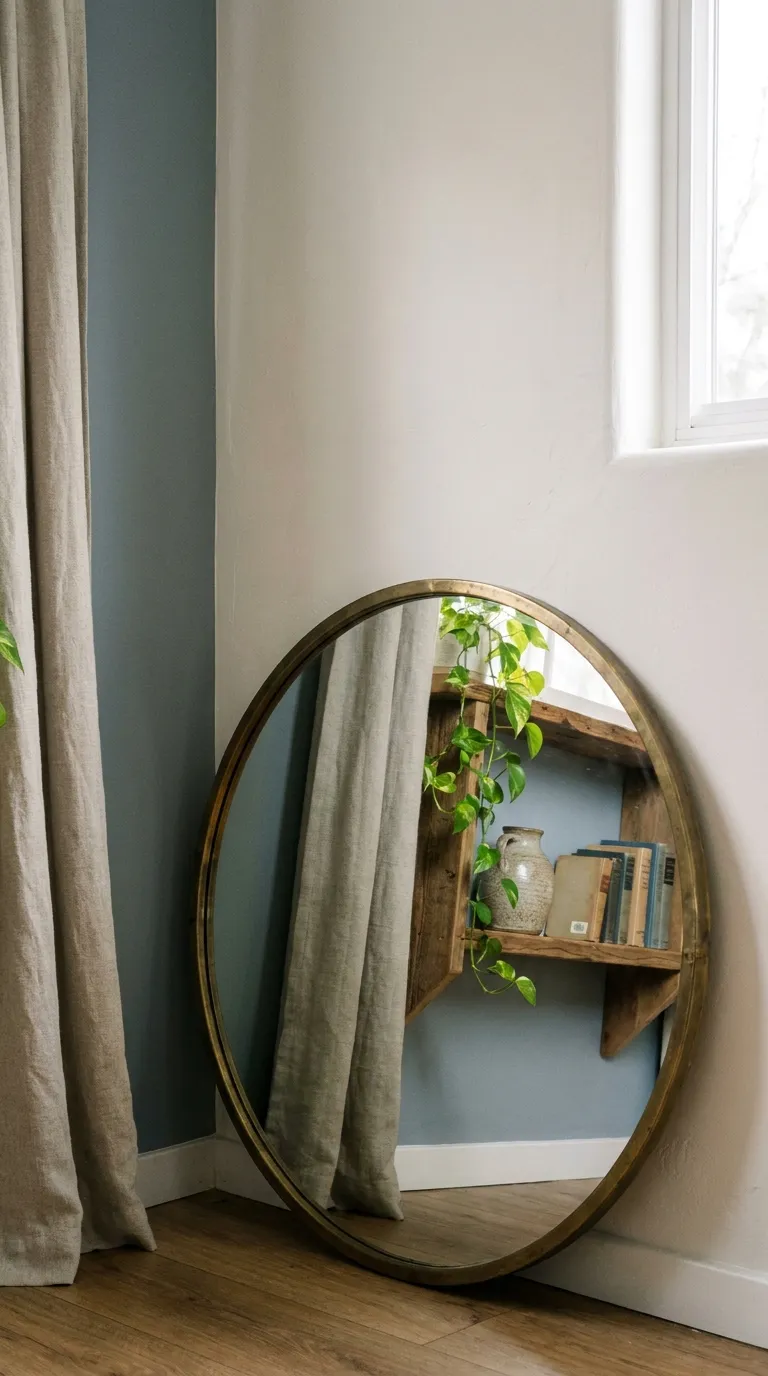
This is also the quickest step to fix later, because you can change the view in minutes without touching the mirror. If the only thing a spot can reflect is a blank wall, move the mirror, or hang one framed print across from it so the glass has something pleasant to catch.
How to Do It
- Stand where the mirror will sit and look straight across the room
- Write down everything the glass would show back, from cords to curtains
- Clear or hide the clutter in that sightline, such as cords, drying racks, and piles
- Add one calm focal point in the line of sight, like a plant, a vase, or a framed print
- Before buying a plant for the reflected spot, make sure it’s safe for pets if an animal shares your home
Why It Works
The reflection becomes part of the room’s design, so a calm view reads as extra depth, while a messy one reads as extra mess. A single focal point, such as one leafy plant, is enough to give the glass a pleasant subject.
Common Mistakes to Avoid
- A television screen or a pile of cardboard boxes in the sightline
- Crowding the reflected area with lots of small objects
- Aiming the glass at a bare, shadowed wall
A Simple Rule to Remember
If you wouldn’t photograph it, don’t double it.
3. Size the Glass to the Wall
A mirror that’s too small catches only a thin slice of the window’s light, while one that’s too big can swamp a narrow wall. Size matters more than the frame, so settle it first and let the shape follow your wall.
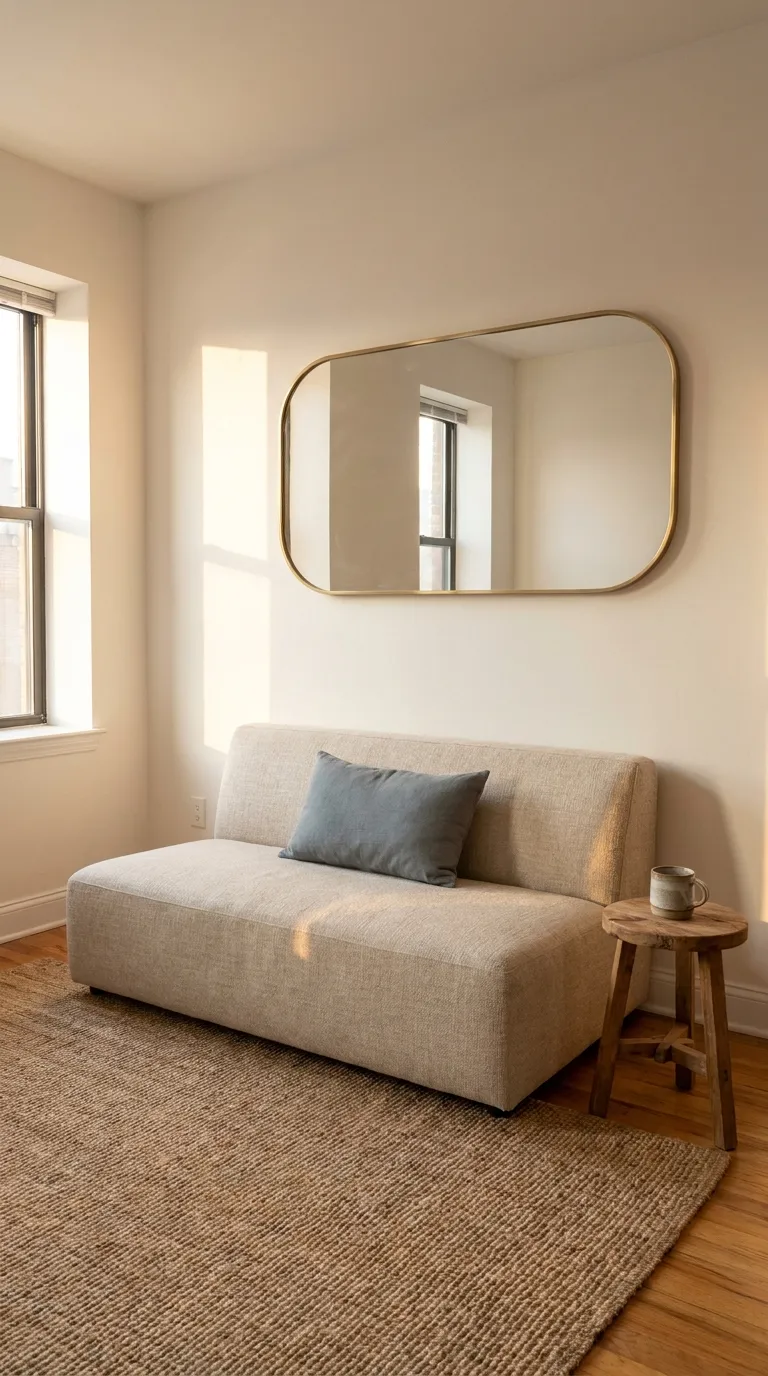
Over a sofa, bed, or console, a good starting point is a mirror that’s ⅔ to ¾ of the furniture’s width. For a 72-inch sofa that means 48 to 54 inches of glass, a 60-inch bed takes 40 to 45 inches, and a 48-inch console takes 32 to 36 inches. Past ¾, the mirror starts to crowd the piece below it.
How to Do It
- Measure the width of the wall and of the furniture beneath the mirror spot
- For a mirror above furniture, multiply the furniture width by ⅔ and by ¾ to get your range
- For a floor mirror, pick the tallest one the wall can take, then look at where the door swings and where outlets and baseboards sit
- Tape the outline on the wall and step back to see how it feels
- Pick a shape: a tall rectangle for narrow walls and halls, a round mirror to soften a boxy corner (it covers less area), or a wide horizontal over a sofa or bed
Why It Works
More glass catches more of the window’s light and sends it across a wider part of the room. The shape only decides how that surface fits the wall, and a slim frame keeps the glass looking larger than a chunky one.
Try it: slide the mirror to the right width for each piece of furniture.
Common Mistakes to Avoid
- Buying small and planning to add more later
- Choosing a thick, dark frame that shrinks the visible glass
- Overlooking the door swing, outlets, and baseboards near the spot
4. Aim It Toward the Window
Where the mirror goes matters more than which mirror you buy. Put it on the right wall and it pulls daylight into the middle of the room; put it on the wrong one and all you get back is a dim corner.
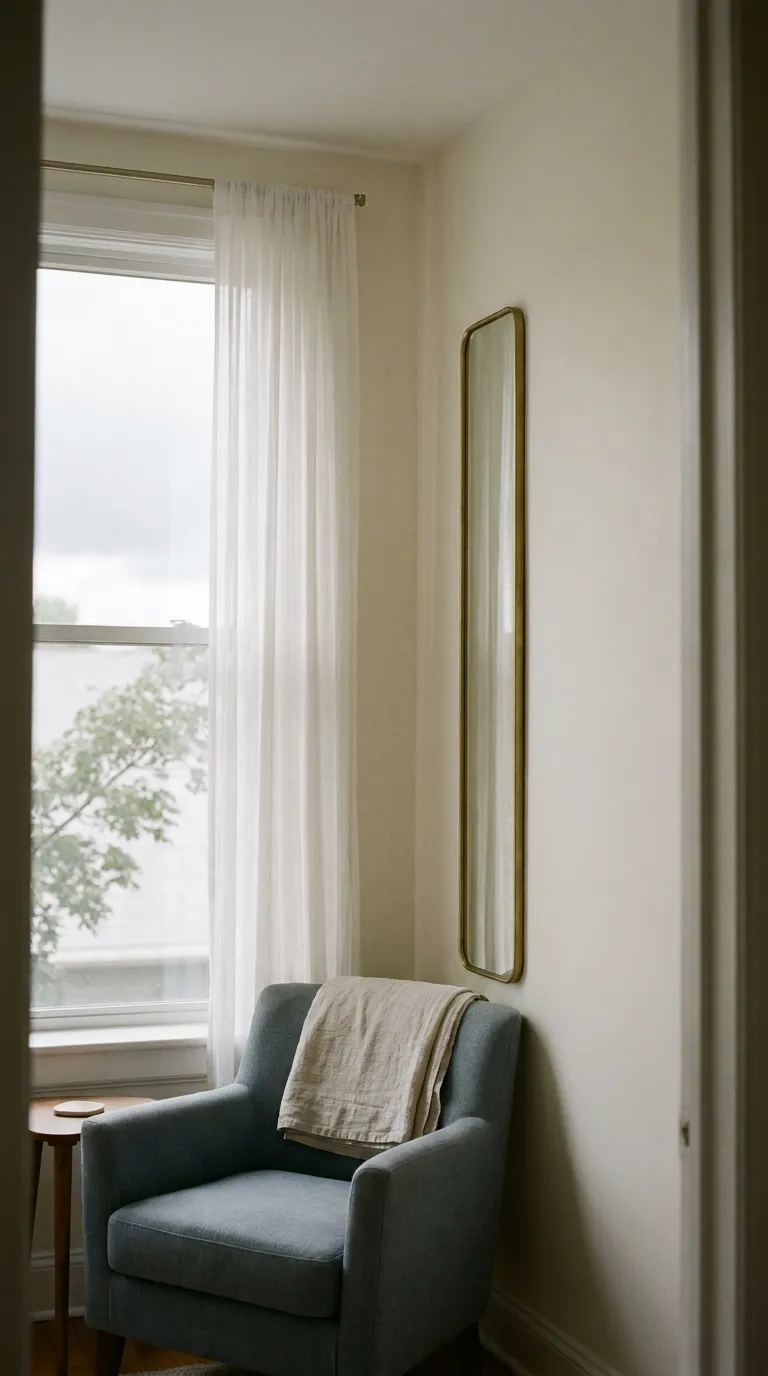
The best position is usually directly opposite the window, with the wall beside the window a close runner-up. Avoid the window’s own wall, since the glass would only show you the shadowy side of the room facing it.
How to Do It
- Tape one outline on the wall facing the window and a second outline on the side wall beside it
- Sit in your usual seat and look at each outline in turn
- Note which one would show the window, the sky, or a bright patch
- Drop any spot that would bounce afternoon sun straight at your seat or show a cluttered corner
- If the mirror will lean, tilt it a little until the glare softens
Why It Works
Light bounces off glass at the angle it arrives, so a mirror facing the window pushes daylight deeper into the room, where walls, ceiling, and furniture can spread it around.
Common Mistakes to Avoid
- Hanging the mirror on the same wall as the window
- Aiming afternoon sun at your sofa, desk, or bed
- Picking the spot from a photo instead of from your seat
A Simple Rule to Remember
Put the glass where the window can see it.
5. Add a Lamp for After Dark
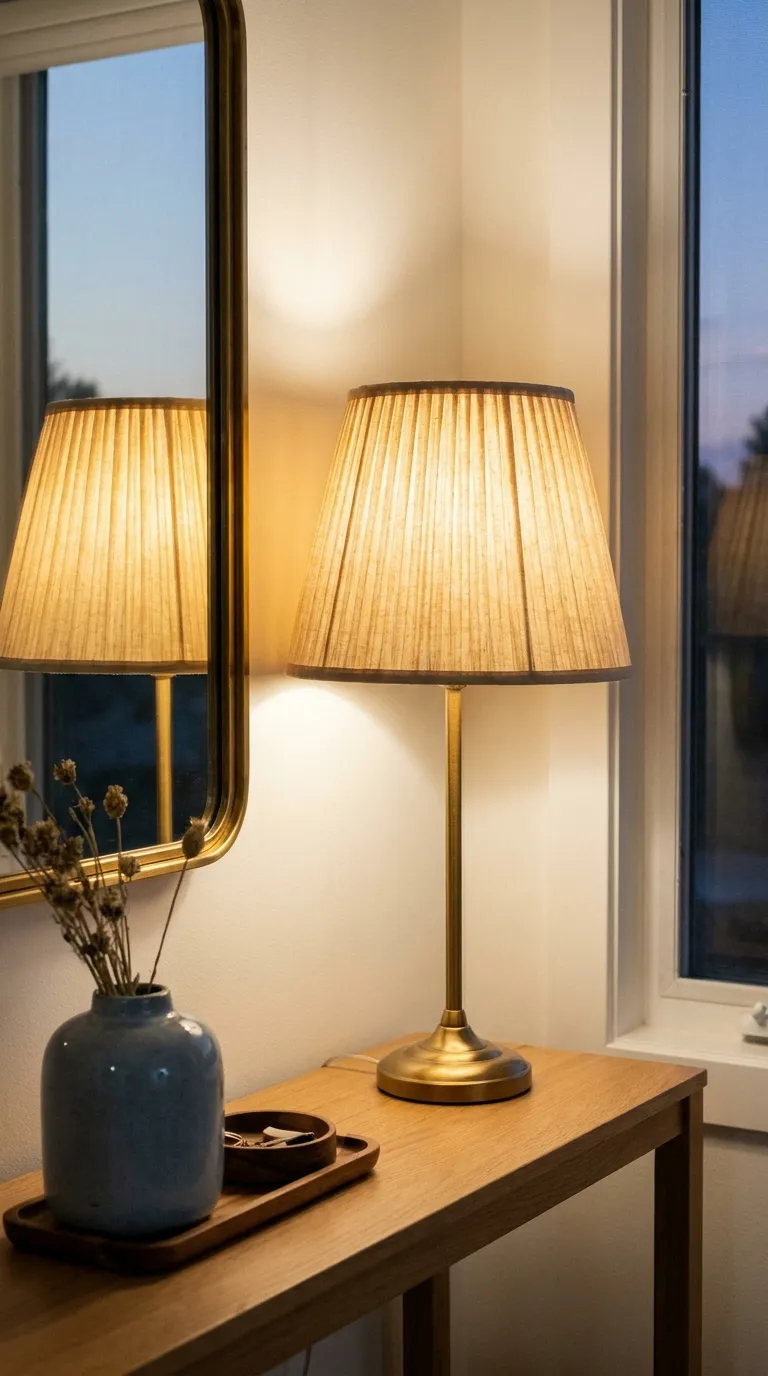
Even a perfectly placed mirror is only as good as the light reaching it, and a window gives out early on overcast afternoons and every evening. A lamp near the glass keeps the effect going during the hours you’re actually home.
Before you shop for bulbs, work out how many lumens the room needs in total, since dark walls absorb more light than pale ones. Divide that total between two lamps rather than relying on a single ceiling fixture. The catch: lamps need a nearby outlet and some cord tidying, so pick the spot before you buy.
How to Do It
- Set a plug-in lamp beside the mirror so its glow lands in the glass
- Choose a shade that hides the bare bulb from the reflection
- Pick warm-toned bulbs, and read the box for the bulb’s brightness and for the wattage the lamp can safely take
- Put a second lamp across the room to spread the glow
- Hire a licensed electrician for any new wiring or fixtures, and stay with plug-in lamps otherwise
Why It Works
A lamp gives the glass a second light source to carry across the room after sundown, and a shade with a warm bulb keeps that glow soft instead of harsh.
Enter your room size, ceiling height, room type, and wall color to see a light total you can split across your lamps.
Common Mistakes to Avoid
- Letting a bare bulb show in the mirror
- Relying on a single overhead fixture
- Choosing a bulb stronger than the lamp’s rating allows
6. Lock It In, Then Test
Glass is heavy, and a mirror that slips is a real hazard, so go slowly here. If you’re not sure your wall can carry the weight, lean the mirror instead.
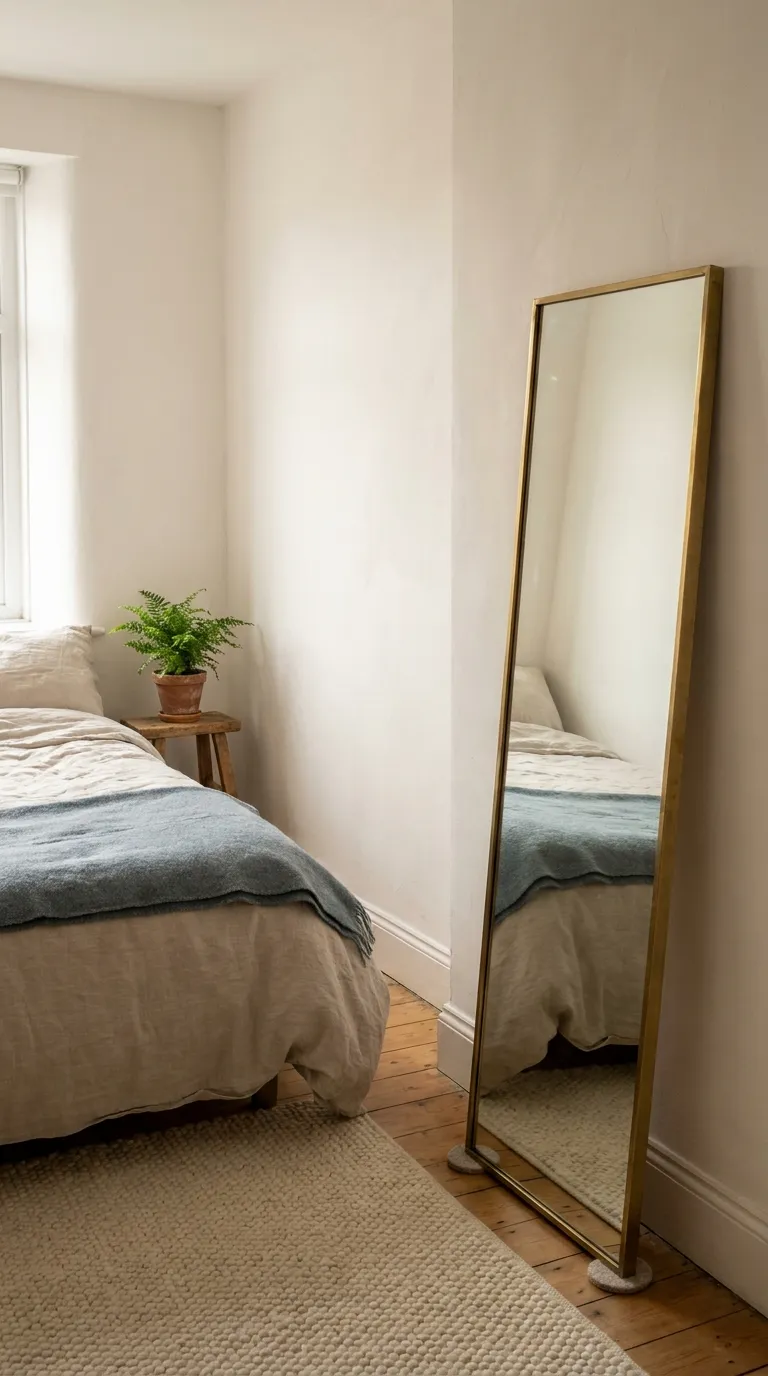
Leaning suits renters and big mirrors, while hanging frees the floor and looks cleaner but needs the right hardware. The usual hanging height is about 57 inches from the floor to the center of the mirror, which keeps the middle of the glass near eye level.
How to Do It
- Decide whether to hang or lean, based on the mirror’s weight and your lease
- To hang, mark the center at 57 inches from the floor and confirm it with a level
- Install anchors rated for the mirror’s weight and follow the product’s instructions
- To lean, set the bottom edge on felt pads or rubber stoppers, tilt it slightly back, and add the anti-tip strap
- Give the frame a gentle nudge to confirm it feels stable
- Wipe the glass with a soft cloth, then check the result once in daylight and once after dark
Why It Works
A secure, level mirror stays exactly where you aimed it, and a center at eye level makes the reflection feel natural as you pass. Checking after dark confirms that the lamp and the window both pull their weight.
Common Mistakes to Avoid
- Trusting drywall alone to hold a heavy mirror
- Leaning a tall mirror with no pads or strap
- Skipping the level, which makes the reflection look crooked
A Simple Rule to Remember
If you doubt the wall, lean the mirror.
Renter Note
Read your lease before you drill. If holes are off the table, lean the mirror on felt pads, which you can undo completely. Adhesive hooks only suit light frames, and only up to the weight limit printed on the package.
Quick Step Cheat Sheet
Use this table as a refresher once the mirror is up.
| Step | Why It Works | Quick Fix |
|---|---|---|
| 1. Trace Light With a Hand Mirror | Shows where daylight really lands | Tape the brightest patch |
| 2. Choose the View Worth Doubling | A calm view feels deeper | Clear the sightline |
| 3. Size the Glass to the Wall | More glass catches more light | Aim for ⅔ to ¾ |
| 4. Aim It Toward the Window | Pushes daylight deeper inside | Move it across from the window |
| 5. Add a Lamp for After Dark | Gives the glass evening light | Shade the bare bulb |
| 6. Lock It In, Then Test | A level mirror stays aimed | Lean it on felt pads |
The Principles Behind These Steps
Light First, Glass Second
Every choice here follows the daylight. A mirror tucked behind a door or hidden by a bookcase is decoration, not a light source.
Start With One Large Mirror
A single mirror of the right size in the right place does more than a cluster of small ones. Hold off on a second until the first is earning its spot.
How to Use Mirrors in Decor Without Crowding the Wall
Two mirrors is a sensible ceiling in a small apartment. Beyond that, the room starts to feel like a showroom, and the shine outweighs the brightness.
Leave Bare Wall Around the Frame
Give the frame a few inches of clear wall on each side, so it reads as a calm surface and not one more object in the pile.
Common Mirror Placement Mistakes Worth Skipping
Playing It Safe With a Small Mirror
A small mirror feels like the cautious choice, but it rarely changes the room. Cut a paper template in a larger size and tape it up for a day before you decide.
Skimping on Hardware
Mirror glass adds up fast. Match the hardware to the weight printed on the packaging, and if the numbers worry you, switch to a lean.
Letting Glare Land on Your Seat
Afternoon sun can bounce straight onto a sofa or desk. Slide the mirror sideways, or tilt a leaning one until the glare eases.
Final Tips for Success
Live With the Tape for a Few Days
Leave the taped outline up, or lean the mirror in place, before you drill. Watch it in morning light and again after dark.
Keep the Glass Clean
Fingerprints scatter the very light you’re chasing. Follow the care label and use a soft cloth now and then.
Basics Worth Owning
- Painter’s tape
- A tape measure and a level
- Anchors rated for the weight you hang
- Felt pads and an anti-tip strap for leaning
- A soft cloth
Recheck as the Seasons Shift
The sun sits at a different angle through the year, so repeat the hand mirror test now and then. A small nudge can win back light you had last spring.
Conclusion
Learning how to use mirrors in decor mostly means testing before you commit. Tape, a hand mirror, and a few looks at the room across one day will tell you more than any shopping list.
A dark apartment doesn’t call for a renovation. A mirror that faces the window, a shaded lamp next to it, and a view you like will do most of the work, even on a gray day.
Begin with the hand mirror, trust what you see in your own room, and adjust as the seasons move the light.
Save this guide for your next rearrange, and come back to step 1 when the seasons change.