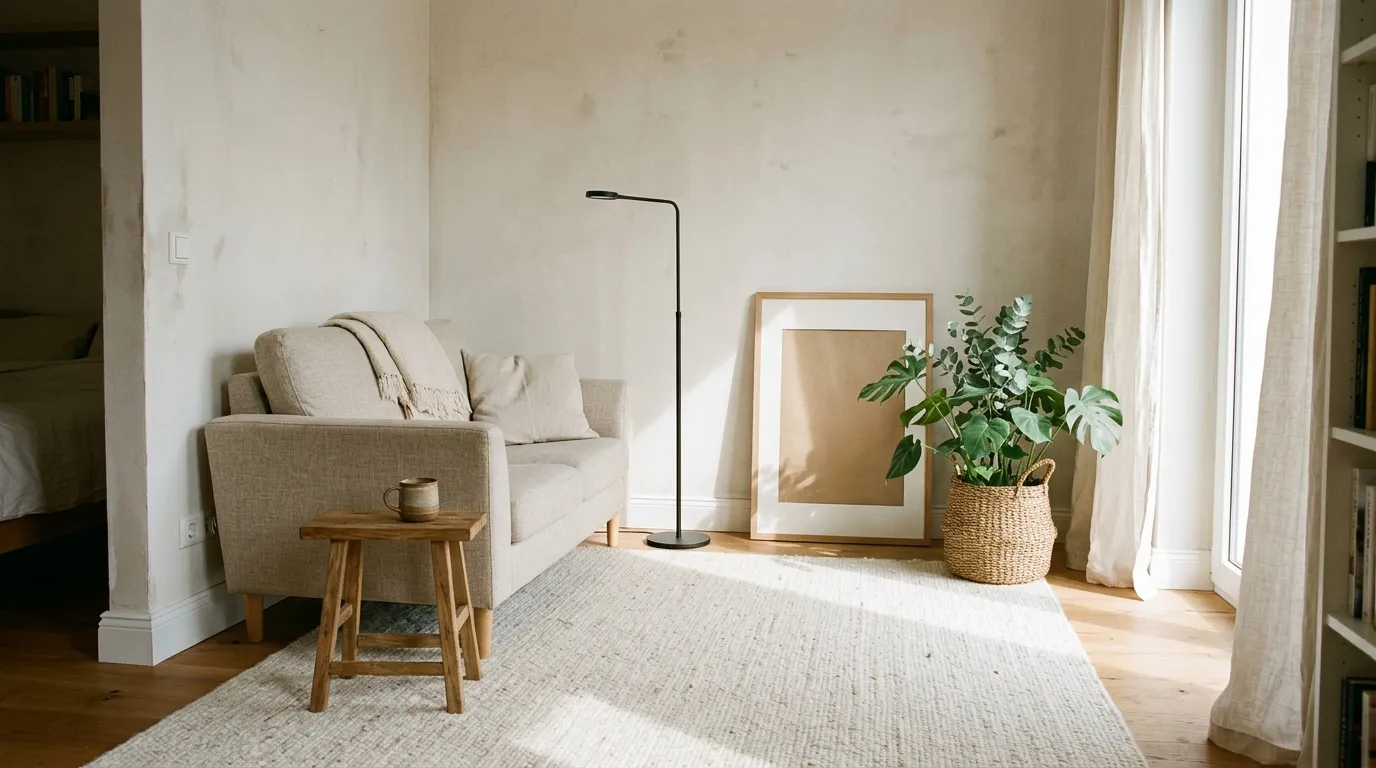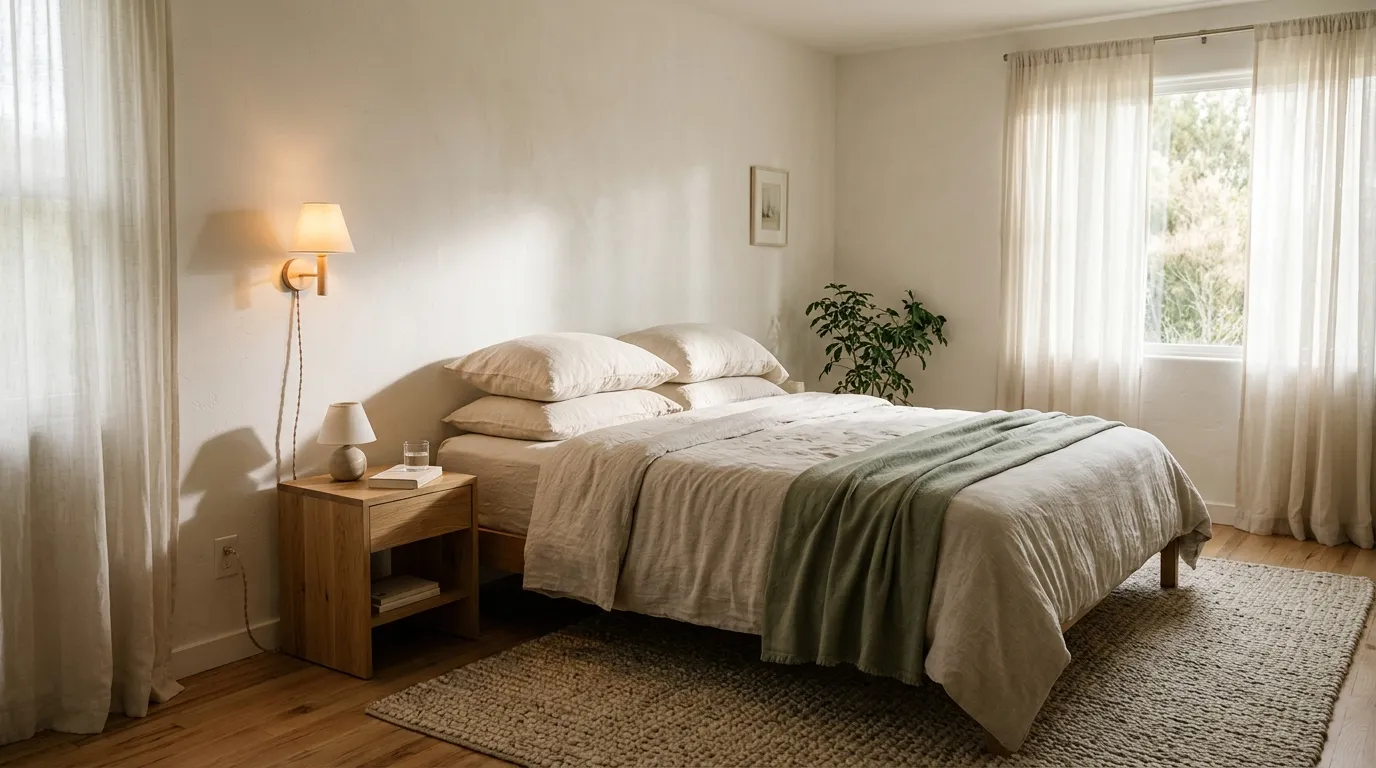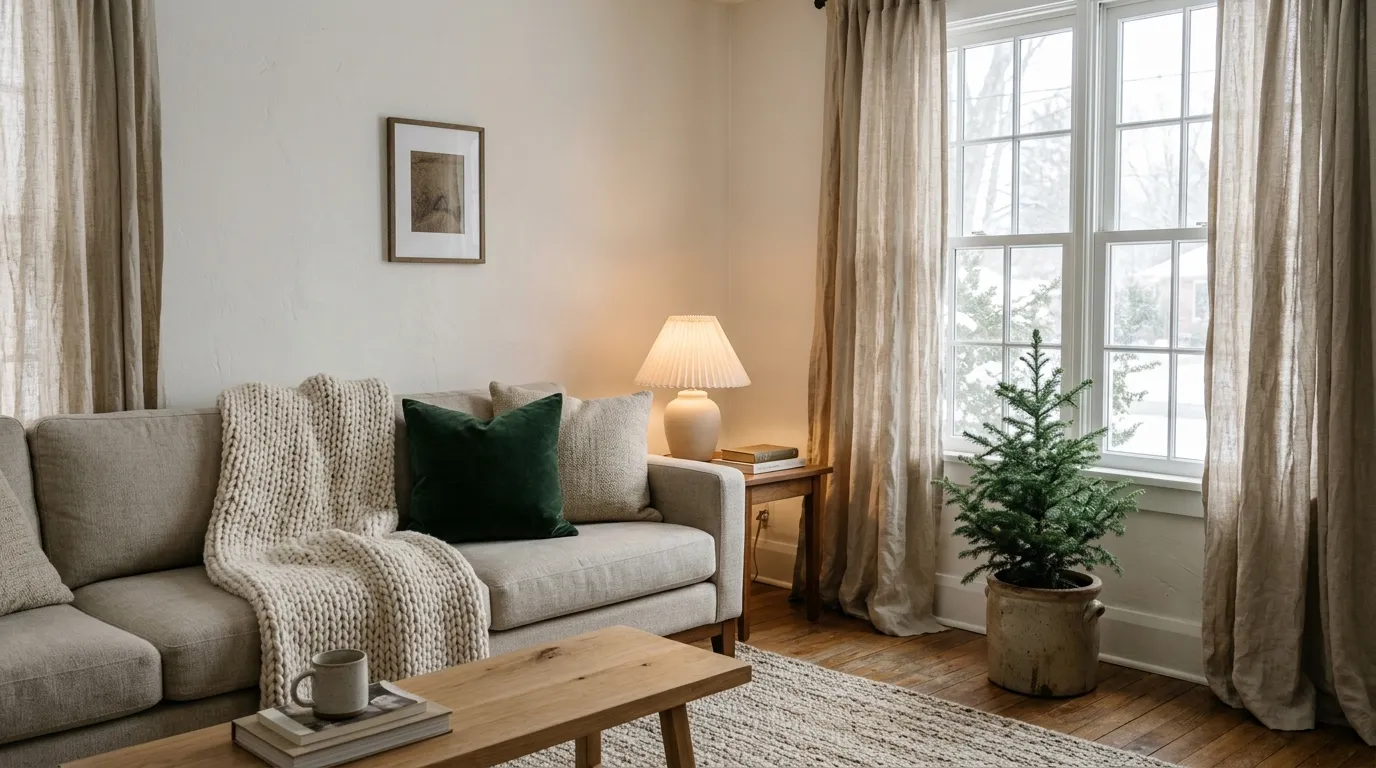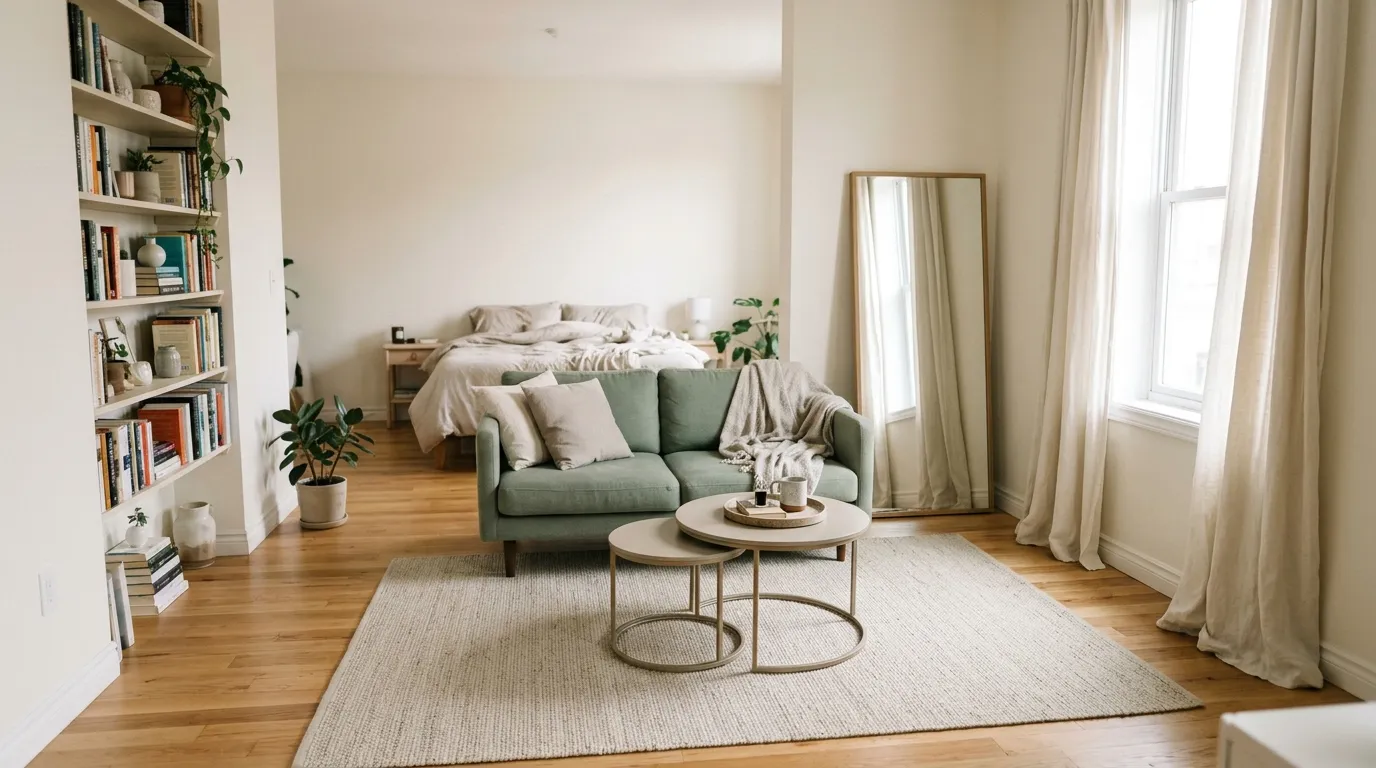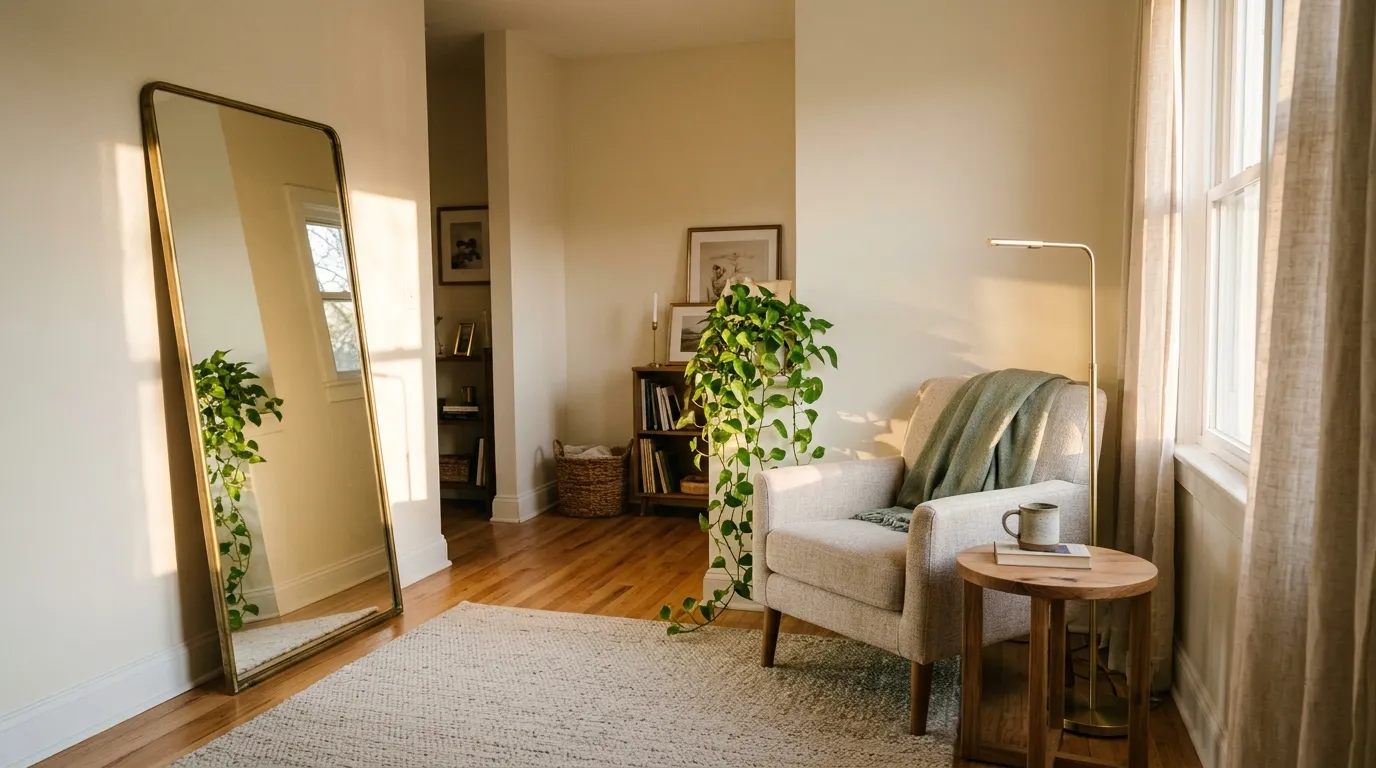

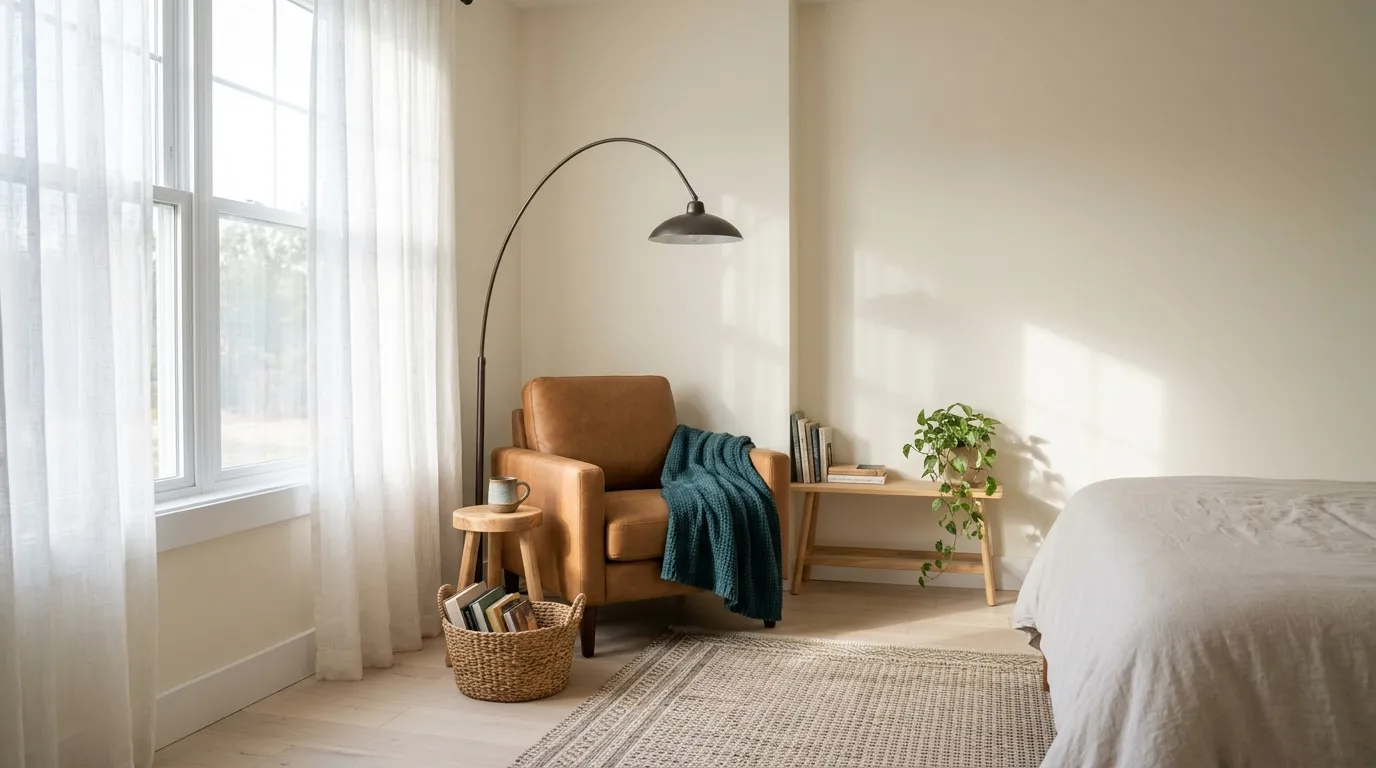
Reading in bed usually ends with the book sliding sideways, and reading on the sofa ends with your phone lighting up on the cushion beside you. If you want one place where the only job is the next chapter, it needs a spot of its own. This guide shows how to create a reading nook from a corner you already have, even a narrow gap beside a wardrobe.
The good news is that a nook is mostly decisions, not purchases. You need to choose the right spot, give it one good light, fit one seat, and keep a few things within reach.
I’ve ordered the six steps so the free decisions come before the ones that cost money. I’d start by walking around your place with a book in your hand.
Before You Start: Materials and Time
- Time: a Saturday afternoon, roughly 3 hours, plus a shopping trip
- Difficulty: easy
- Budget level: budget-friendly
- Renter-friendly: yes, with a lease check for anything involving paint or wall mounting
What You’ll Need
- Tape measure and painter’s tape
- Your current read, for testing corners and seats
- Something to sit on that holds your back, like a slim armchair or a stiff cushion for the floor
- A lamp that plugs into the wall
- A stool or small table that can hold a mug
- A throw and a pillow
- A basket or low shelf for upcoming reads
1. Audition Three Corners
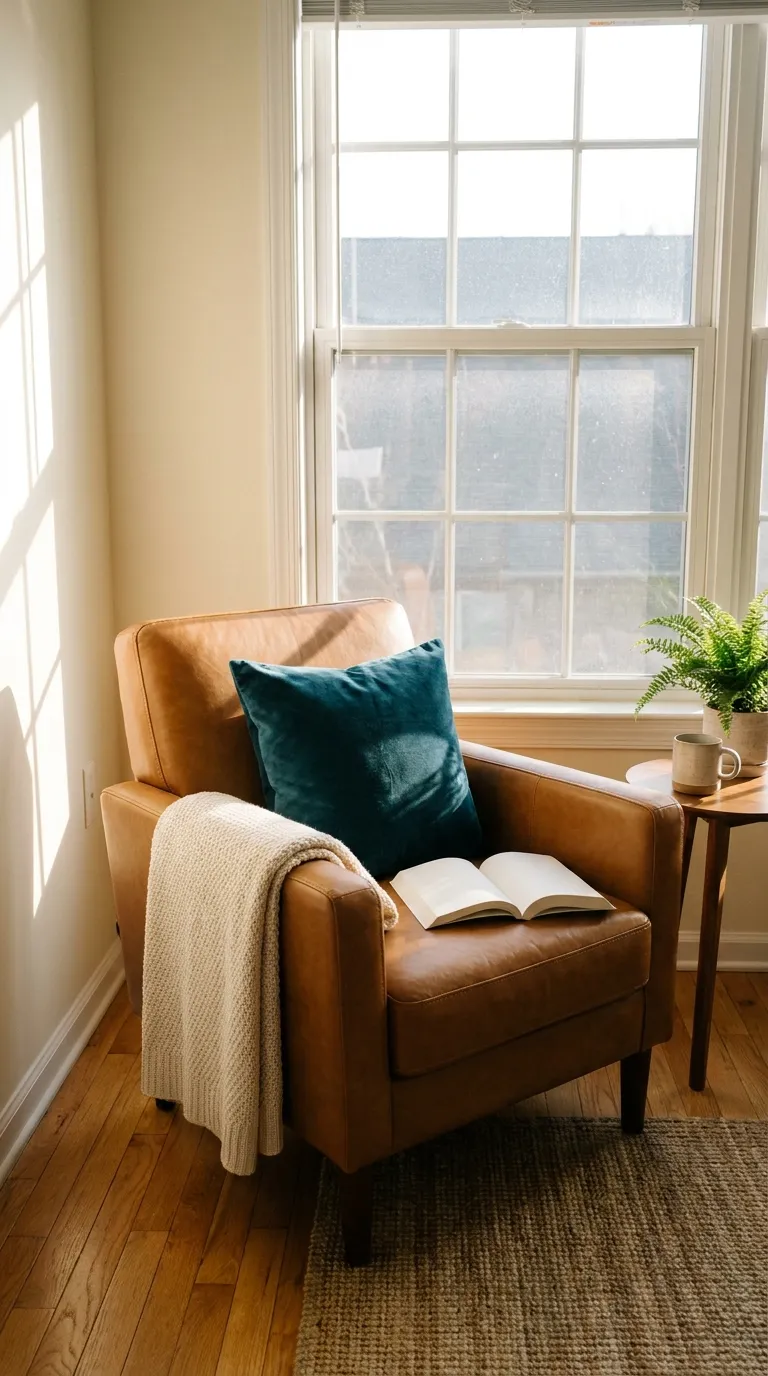
Nook corners tend to hide in plain sight: the bend at the end of a hallway, the gap between a wardrobe and a window, the wall beside the bed, the corner a door swings away from. List three of them before you fall for any.
Then take your current read to each one and sit for five minutes. One will make you keep turning pages, and another will feel like a bus stop.
How to Do It
- Give your three contenders nicknames, like “window end,” “hallway bend,” and “bed side”
- Show up at each one during the hour you normally read, and see whether sunshine reaches it
- Trace the route from each corner to the closest outlet for a lamp cord
- Cross off any spot that sits on a vent, on a radiator, or in a door’s sweep
- Count the open floor you have: a chair needs about 4 feet by 4 feet, while a floor seat gets by with about 3 feet by 3 feet
- Eliminate the contender that faces the TV or the most traveled path
Why It Works
A five-minute sit exposes what a glance misses, like glare on the page, kitchen clatter, or a breeze from the door. And because a corner already offers two walls to lean toward, the spot feels sheltered before you buy anything.
Common Mistakes to Avoid
- Favoring the quietest-looking corner over the brightest one
- Parking the seat where a door opens or a vent blows
- Skipping the comparison and taking corner number one
2. Plan the Light Before the Furniture
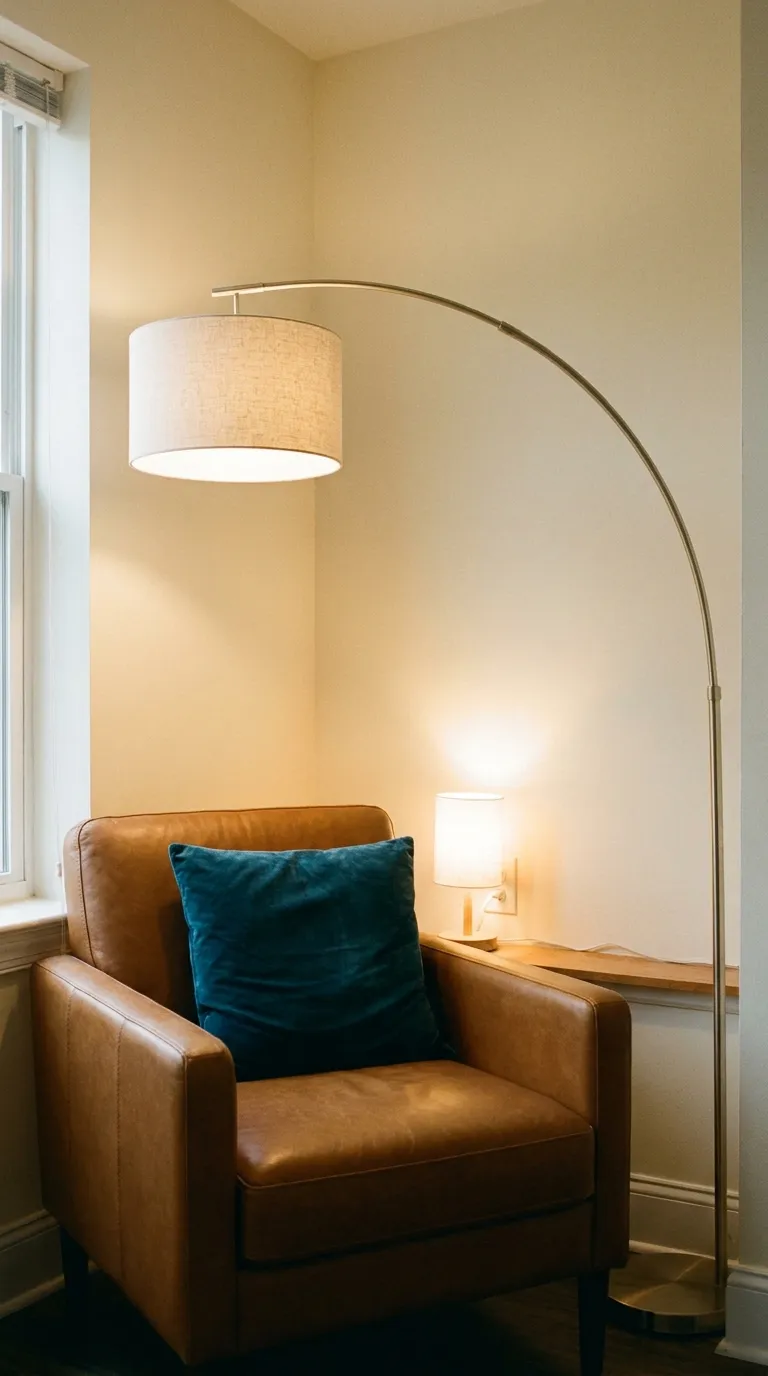
Decide where the light comes from before you decide where the chair goes. Window light is lovely until the sun drops, and a lone ceiling fixture casts your own shadow across the page.
Think in layers: one lamp that works for the page, and one dimmer source at a different height that softens everything around it.
How to Do It
- Set the main lamp at the seat’s side, angled slightly behind your shoulder, so the beam lands on the book instead of in your eyes
- Raise or lower it until the shade’s lower rim is near eye level while you sit
- Fit it with a warm white bulb that doesn’t exceed the wattage cap stamped on the lamp’s label
- Bring in a second, gentler light at a different level, perhaps a mini plug-in lamp on the bookshelf or fairy lights draped along it
- Press cords flat against the baseboard so they stay out of your path
- Leave breathing room between bulbs and any fabric or paper nearby
Why It Works
With a bright pool on the page and a dimmer glow beside it, you never read in your own shadow. The dim source also blurs the edges of the corner, which is what makes it feel like a separate little room.
Try it: pick the lamp position, shade height, bulb, second light, and cord route, then check your setup.
Common Mistakes to Avoid
- Asking the ceiling fixture to light the whole job
- Shining the lamp toward your face rather than past your shoulder
- Draping a cord over the route to the door
Renter Note
Anything that plugs into an outlet leaves with you. Adhesive cord clips come with a weight limit on the pack, so stay below it, and bring in a licensed electrician for any hardwired fixture once you have checked your lease.
3. Tape the Footprint
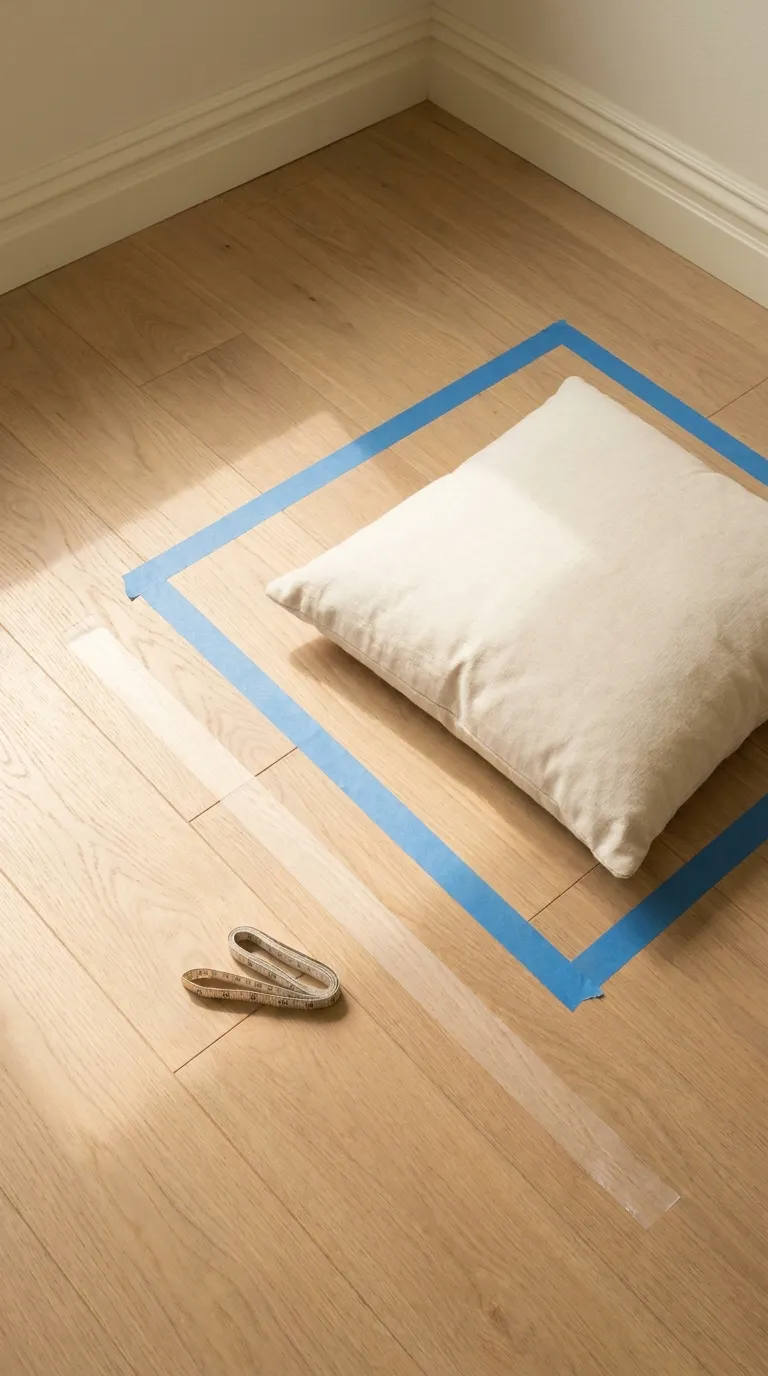
Showroom chairs shrink under high ceilings and wide floors. At home, the same chair can swallow a corner whole, and a roll of painter’s tape lets you test the fit for free.
Think of the tape as a quick furniture layout for one corner: it shows what fits, what blocks the path, and what has to wait.
How to Do It
- Jot down how far the corner extends along each wall
- Look up the seat’s width and depth, or measure the one you already own
- Peel-test a short strip of tape somewhere out of sight, then lay out the outline: an armchair with a side table takes 48 inches each way (4 feet by 4 feet), and a floor cushion takes 36 inches each way (3 feet by 3 feet)
- Keep 30 inches of open floor between the outline and the main route through the room
- Confirm that doors, drawers, and windows all open without touching the square
- Step into the outline holding your book and see how it feels
Why It Works
Tape converts measurements into something your feet can judge. One minute inside the outline tells you whether the nook fits its corner or crowds the room.
Common Mistakes to Avoid
- Recording how long the wall runs but not how deep the seat sits
- Ordering furniture before outlining it
- Leaving no open lane around the nook
4. Choose a Seat That Holds Your Back
Of everything in the nook, the seat deserves the most scrutiny. It decides whether you read there for ten minutes or ten chapters, so pay attention to back support, where your feet land, and how you sit when you aren’t thinking about it.
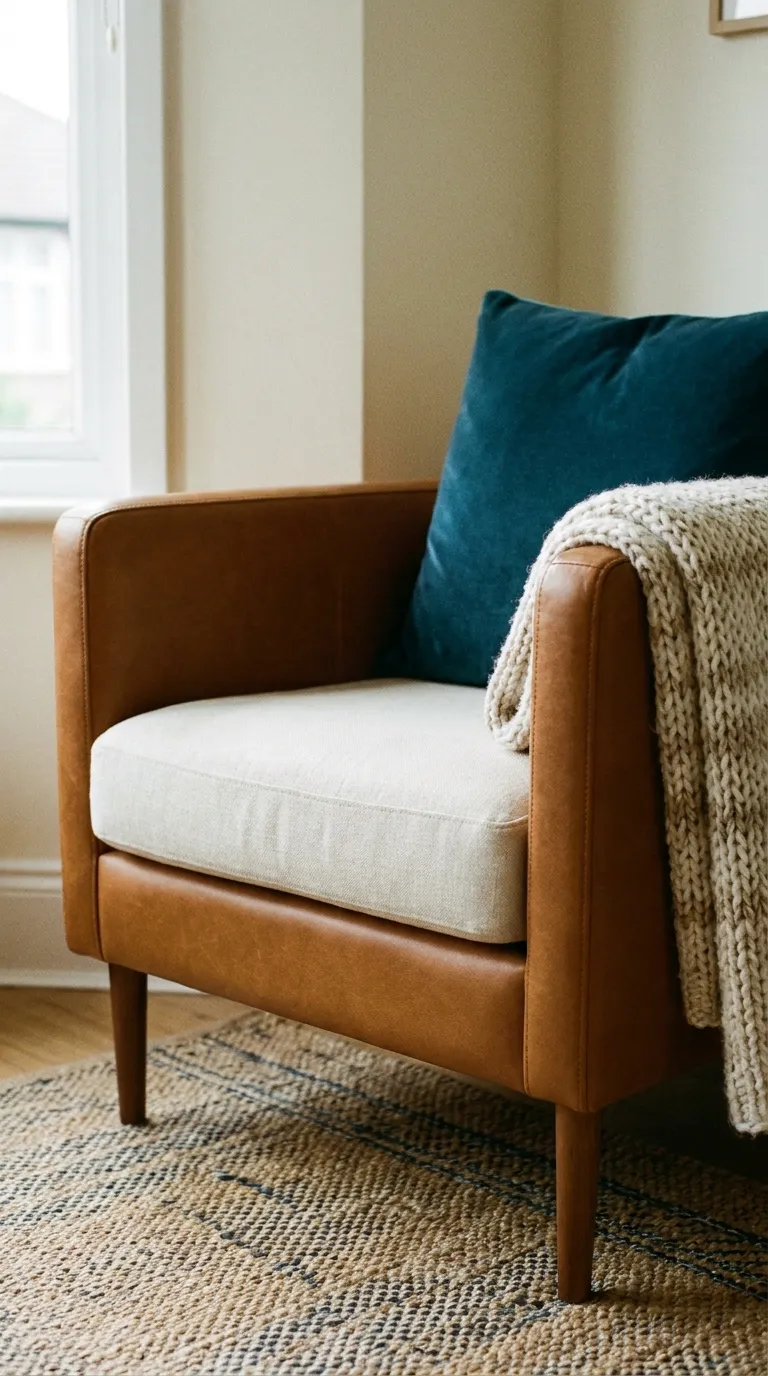
A compact armchair offers the best support. When the taped square is too snug for one, a firm floor cushion leaning on the wall is the fallback, though it tires you out sooner on long reads.
How to Do It
- Pick a chair or a floor seat based on which footprint your taped square can handle
- Test any chair for as long as it takes to read a chapter before you buy
- Notice whether your feet touch the floor and your back stays upright
- Floor seats work best pushed up to the wall, with a stiff cushion wedged behind your spine
- Angle the seat so you face the light source, not the doorway
- Drape a throw over an arm so it is there when you want it
Why It Works
A seat made for reading announces what the corner is for. Without one, the corner drifts back to holding bags and laundry.
Common Mistakes to Avoid
- Choosing a seat so deep that it leans you backward
- Trusting the product photo instead of your own back
- Recycling a straight chair from the kitchen
5. Write a Three-Color Plan
Corners look intentional when their colors echo each other. Limit yourself to three shades, and decide them before you buy textiles so nothing arrives that almost matches.
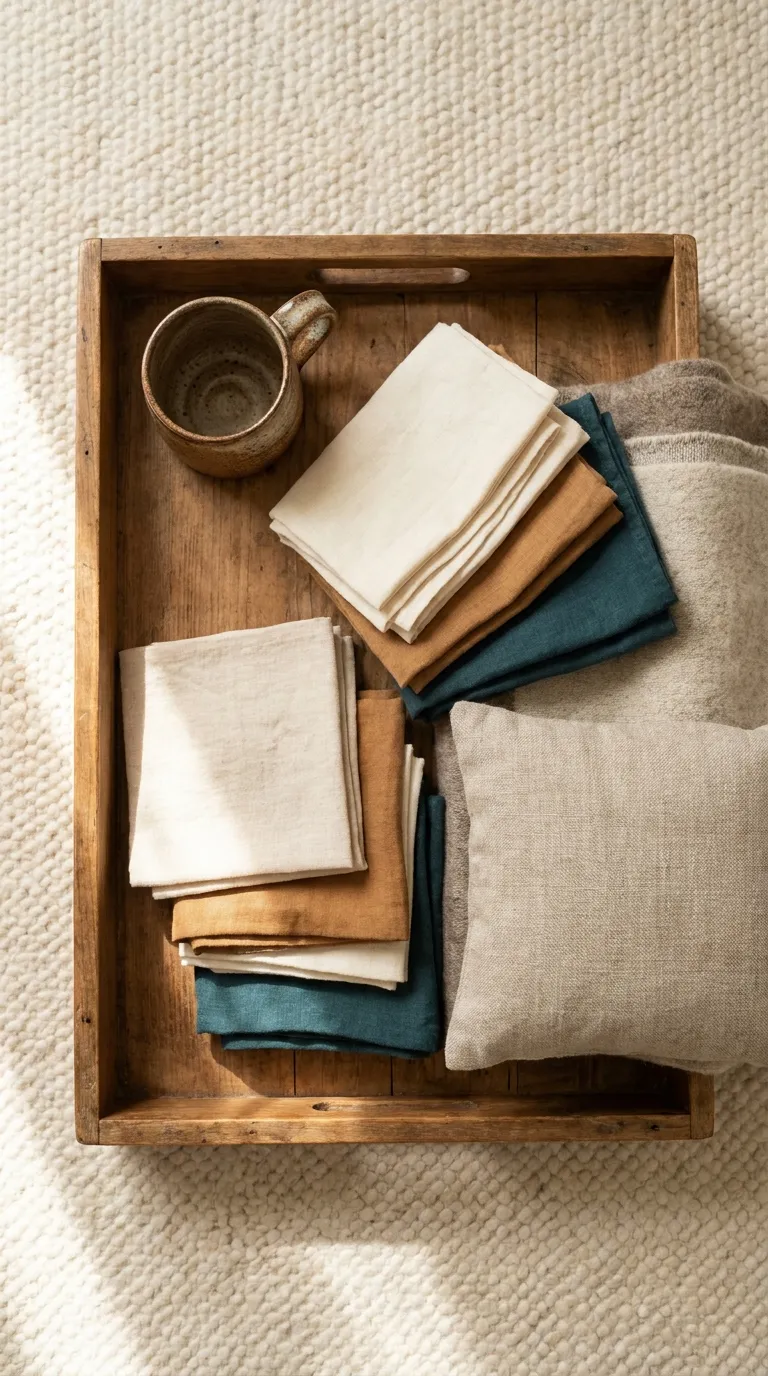
Begin with what is already there: the wall, the floor, the curtain. A color palette of cream, caramel, and deep teal is a warm place to start, though any trio you like does the same work.
How to Do It
- Look at the wall or floor right beside the nook; whatever shade you see is the base
- Select a main shade, for the seat or a rug, that stays in the same family as the base
- Save a single accent for something small, such as a lampshade, a pillow, or a throw
- Let the base cover about 60% of what you see, the main shade about 30%, and the accent about 10%
- Lay the fabrics side by side near a window and look at them in daylight before you shop further
Why It Works
When the same three colors keep reappearing, pieces from different shops look like a single decision. The small accent is the detail that makes the corner feel complete.
Pick a base shade and a style below to see five colors that sit well together.
Common Mistakes to Avoid
- Inviting extra colors in just because the price dropped
- Choosing fabric while standing under harsh shop lights
- Letting the accent take over as much of the corner as the base
Renter Note
Painting a wall is a lease question, and the product label and good ventilation matter too. Layering a rug, a throw, and a few cushions gets you the same look with nothing to undo at move-out.
6. Fill the Arm’s-Reach Zone
The last step is what keeps you seated. If your tea goes cold across the room, or the next book lives in the hallway, the nook turns into a place you keep leaving.
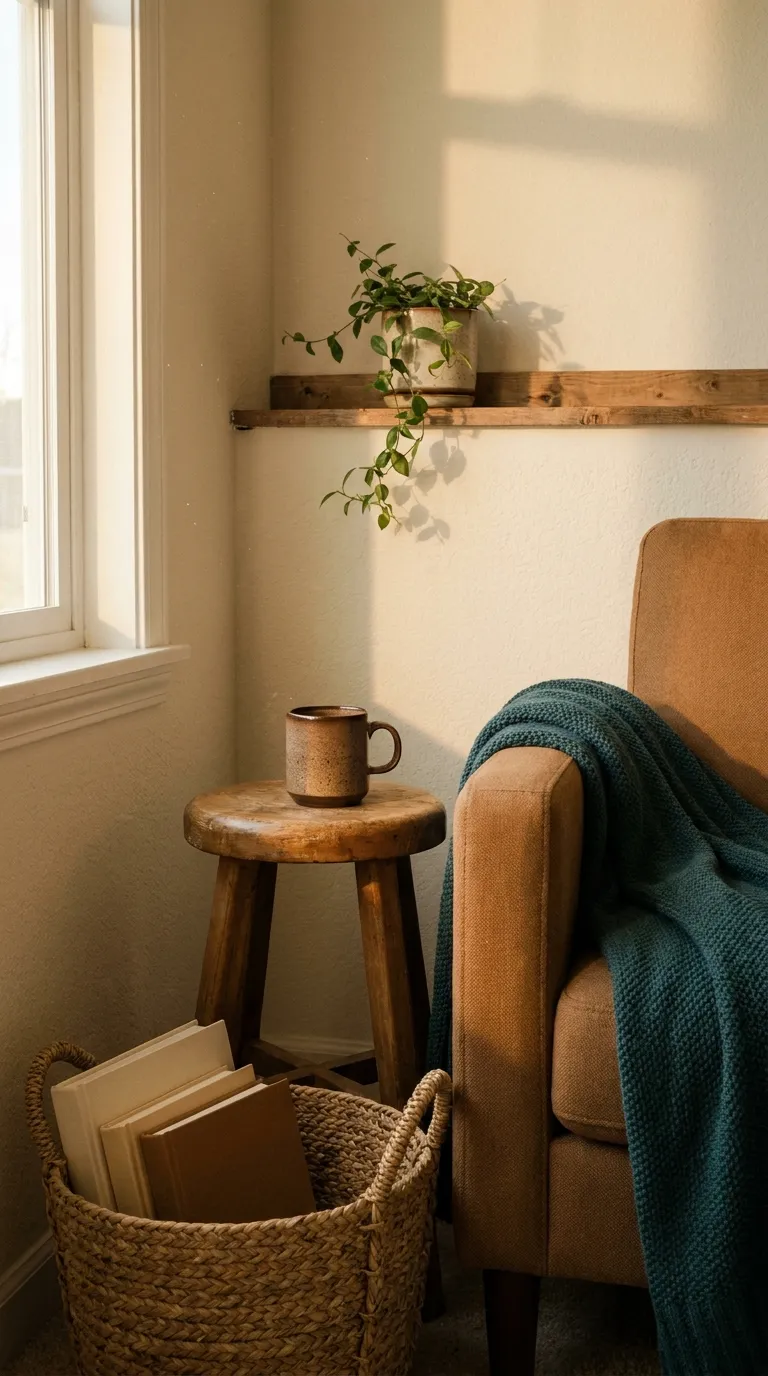
Define a small circle within arm’s length: a surface for a mug, a handful of upcoming books, and one object that makes the corner yours.
How to Do It
- Choose a stool or small table that comes up to about the arm of your chair, and tuck it alongside
- Reserve its top for a coaster, a mug, and whatever you’re reading right now
- Line up your next few books in a basket or on a low shelf you can reach without leaning
- Bolt any tall bookcase into the wall with anchors sized for its load, following the maker’s directions
- Finish with one personal touch: a framed print, or a small plant you’ve confirmed is pet-safe
- Sit down and test every item, then shift anything that makes you stand up
Why It Works
With everything a hand’s length away, you settle in once and stay put. Each object has a job, so the corner looks finished without looking busy.
Common Mistakes to Avoid
- A table so broad that it crowds the seat
- Books piled on the floor until the corner resembles storage
- A tall shelf left unsecured
Renter Note
Baskets, stools, and leaning shelves ask nothing of the wall. Should you want shelves mounted on it, get your landlord’s okay first and pick fasteners rated for a full row of books.
Quick Step Cheat Sheet
Use this table as a last pass once the corner is set up, one row per step.
| Step | Why It Works | Quick Fix |
|---|---|---|
| 1. Audition Three Corners | Sitting in each spot exposes glare | Retest at your usual hour |
| 2. Plan the Light Before the Furniture | A lamp for the page beats ceiling glare | Slide the lamp behind your shoulder |
| 3. Tape the Footprint | Outlines show scale before you buy | Redraw using the seat’s real depth |
| 4. Choose a Seat That Holds Your Back | Support is what keeps you reading | Prop a firm cushion behind you |
| 5. Write a Three-Color Plan | Repeated shades make the corner cohesive | Cut the accent down to 10% |
| 6. Fill the Arm’s-Reach Zone | Nothing to fetch means no reason to leave | Trade for a narrower table |
The Principles Behind These Steps
Spend Time Before Money
Sitting in corners, taping the floor, and holding fabrics up to the window cost nothing, and they settle most of what you will end up buying.
Treat Light as the Main Piece
The lamp is what pulls you into the chair. Pillows and prints are the fun part, but if the budget only stretches to one thing at first, make it the light.
Protect a Margin of Floor
A nook feels better with a little empty floor around it. Holding the 30-inch walkway open keeps the corner part of the room instead of a pile in the corner.
Common Reading Nook Mistakes Worth Skipping
Using the Seat as a Shelf for Mail
An empty chair attracts bags, envelopes, and laundry. Fix: set a basket by the door to catch them so the seat stays free.
Decorating Before Lighting
Cushions are tempting to shop for first. Fix: buy or move the lamp before anything else, then decorate around it.
Facing the Screen
A chair angled toward the TV turns the nook into a second sofa. Fix: turn it toward the window or the lamp.
Final Tips for Success
How to Create a Reading Nook When Money Is Tight
Shop the rooms you already have first: the desk lamp you rarely use, a cushion off the sofa, a stool from the entryway. If something is still missing, thrift stores and online marketplaces often list small chairs and side tables.
Basics Worth Owning
- A seat that supports your back
- A lamp with a stable base and a warm white bulb
- A surface for one mug
- One cozy layer, like a throw
- A basket that holds the next stack of books
Read in It Before You Add More
Use the corner for a few evenings before buying anything else. Whatever you keep reaching for, or tripping over, will tell you the next move.
Conclusion
A bare corner can turn into the best seat in the house with a lamp, a chair that fits, three repeating colors, and a table at arm’s length.
That is how to create a reading nook without remodeling anything: choose the spot by sitting in it, and let each purchase answer a problem you have already noticed.
Renters can relax, since lamps, stools, baskets, and cushions all pack up in an afternoon and move with you.
Save this guide for your next room reshuffle, and leave a book waiting on the arm of the chair.