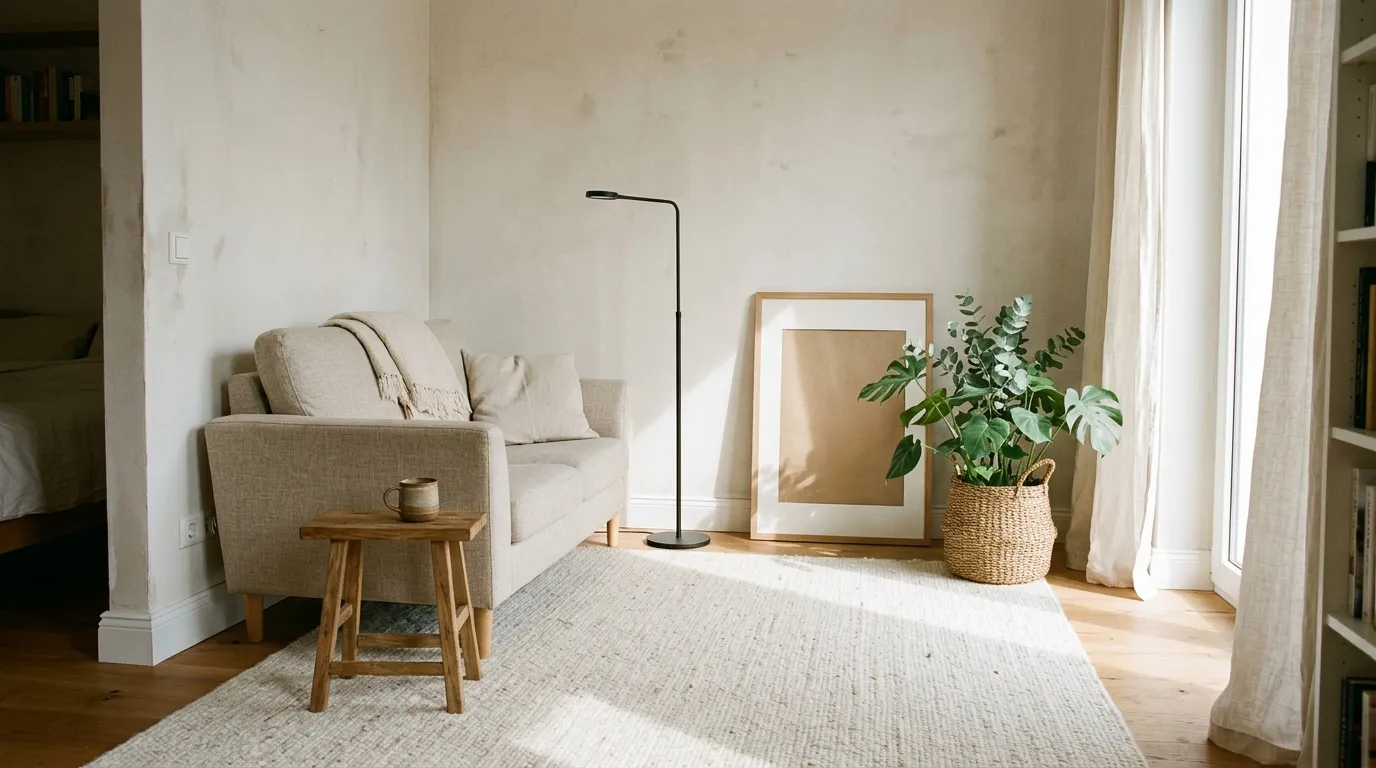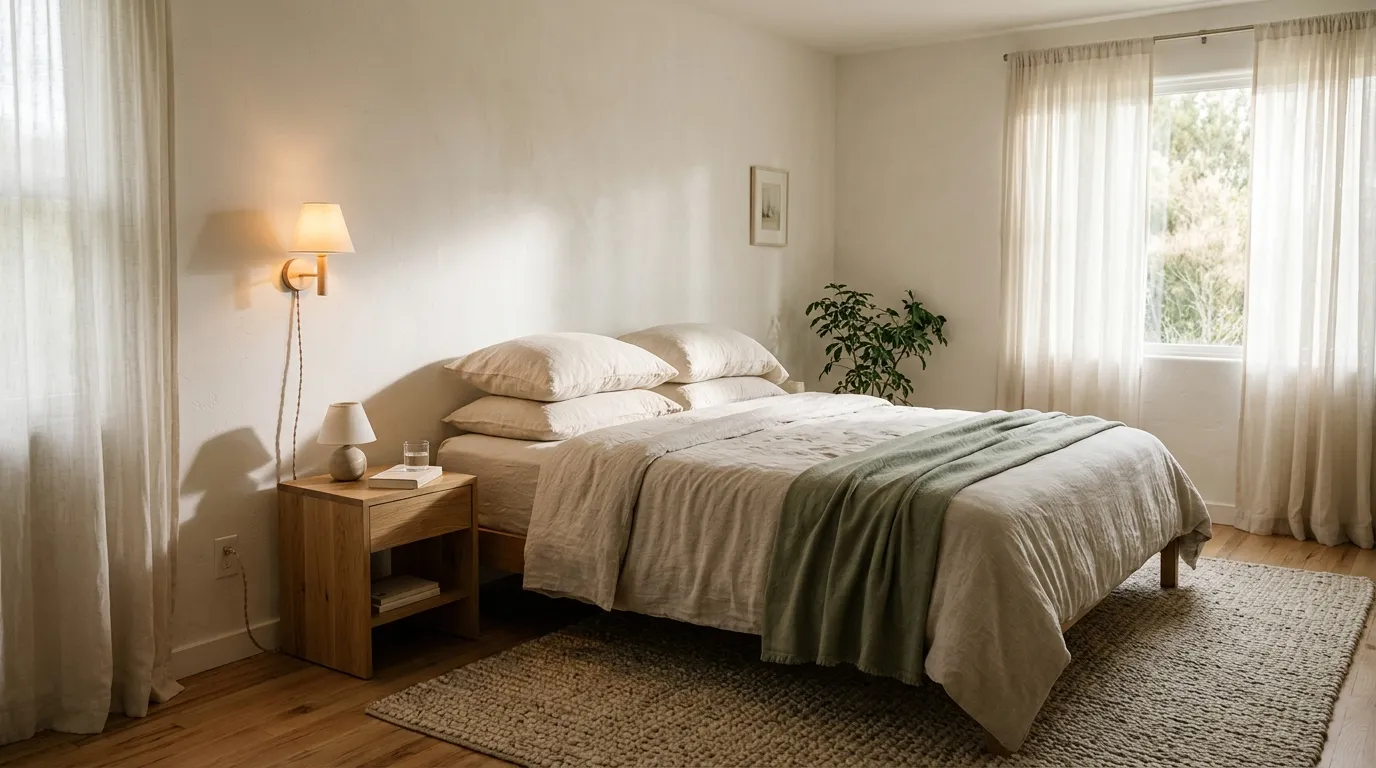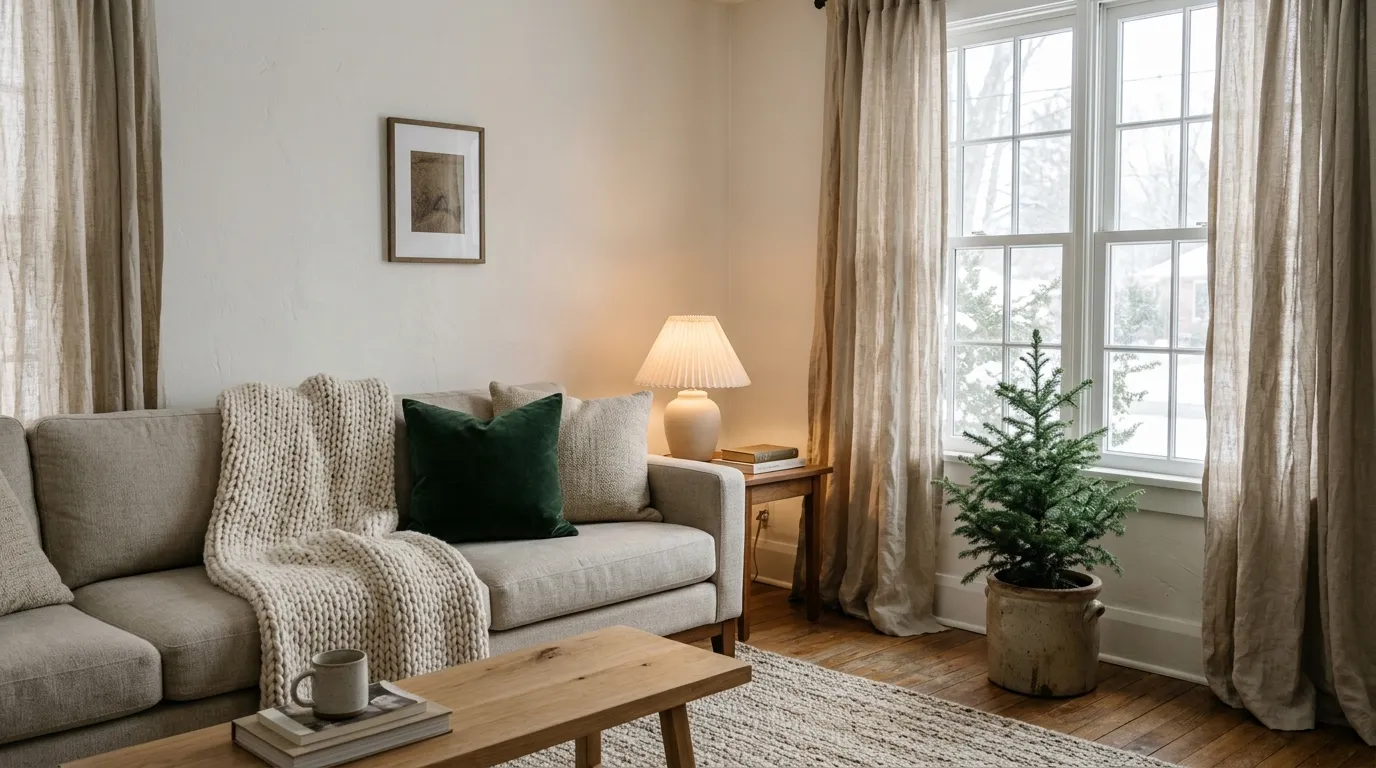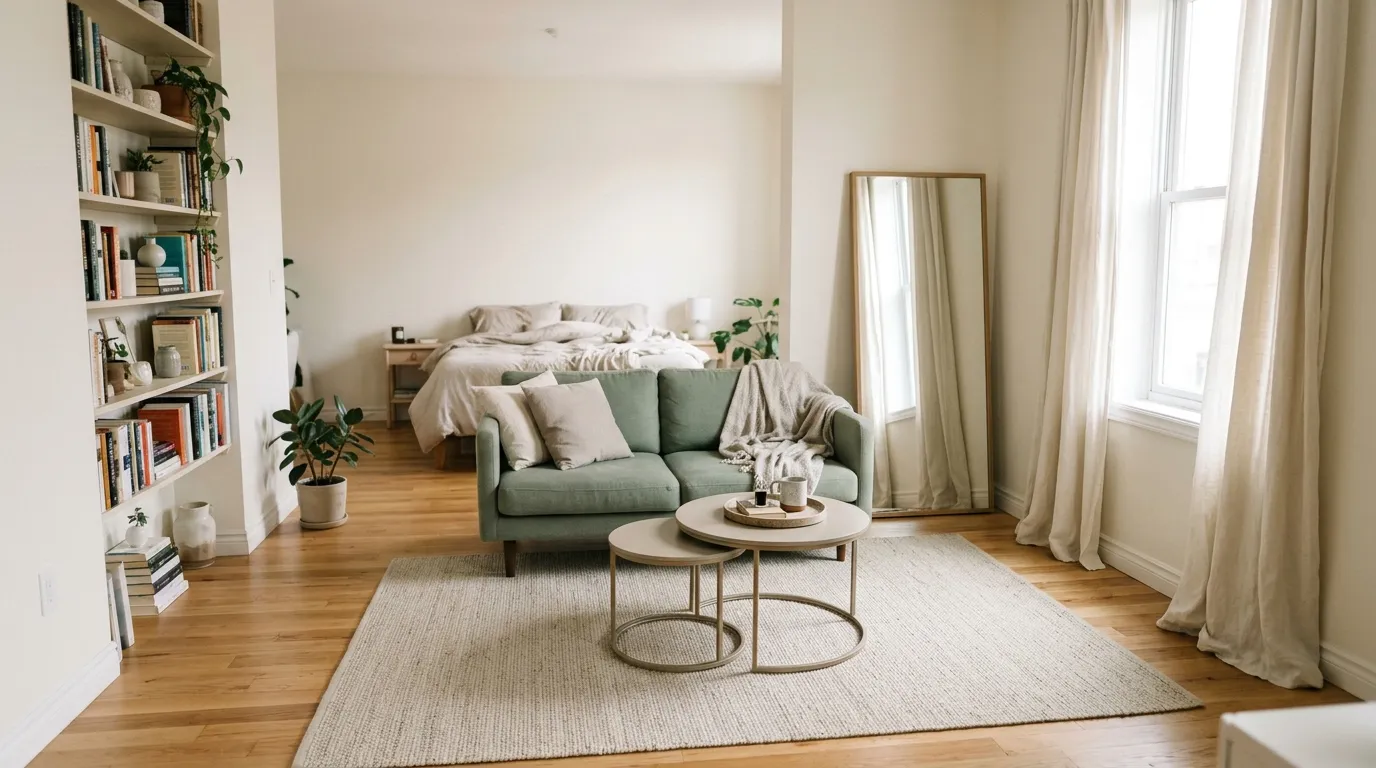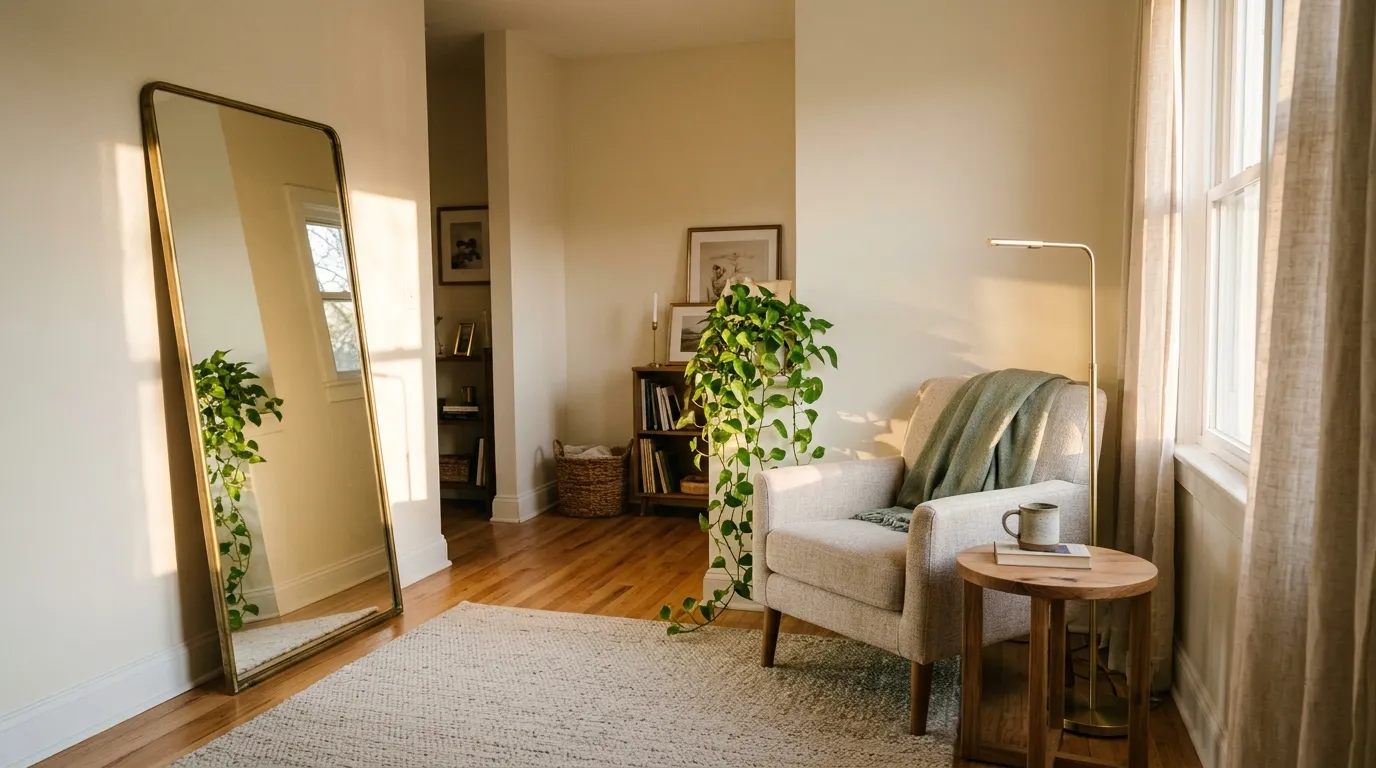

A framed print has been propped against the baseboard since move-in day, and the wall above it is still bare because the lease says no holes. That standoff is common, and it is solvable: there are plenty of ways to decorate walls without nails that look deliberate rather than makeshift.
Think of it as a small system rather than a shopping trip. Each wall gets tested, each frame gets weighed, and whatever cannot stick gets leaned or draped, so every choice can be reversed on moving day.
I’d work through the steps in order, from the least exciting (paperwork) to the most satisfying (lighting), and hold off shopping until you reach the hanger step.
Before You Start: Materials and Time
- Time: an afternoon for your first wall, plus a few spare days if you test wallpaper
- Difficulty: easy, with wallpaper as the one fiddly job
- Budget level: budget-friendly, since most of it is tape, paper, and a few hangers
- Renter-friendly: check your lease, because adhesive rules vary by building
What You’ll Need
- Low-tack painter’s tape for outlines
- A pencil and a notebook for measurements
- A retractable tape measure and a compact spirit level
- Hanging strips and hooks that peel away cleanly, in small and medium sizes
- A kitchen or bathroom scale for weighing frames
- A microfiber cloth for wiping down a test spot
- Grippy rug pad offcuts for the base of leaning pieces
- Small clips for tidying a lamp cord along the baseboard
- A light fabric panel, if you like texture (optional)
- A roll of peel and stick wallpaper, if you want a focal wall (optional)
- A plug-in wall light for evening glow (optional)
1. Learn What Your Lease Allows
Before buying anything, find out what your landlord actually permits. Leases tend to fall into three camps: small nail holes are fine, only adhesive products are fine, or nothing may touch the paint. Guess wrong and a bargain weekend project can end in a deposit deduction.
Your answer also shapes the rest of the plan. In a strict building, the leaning and plug-in ideas later on do the heavy lifting, because none of them leave a mark.
How to Do It
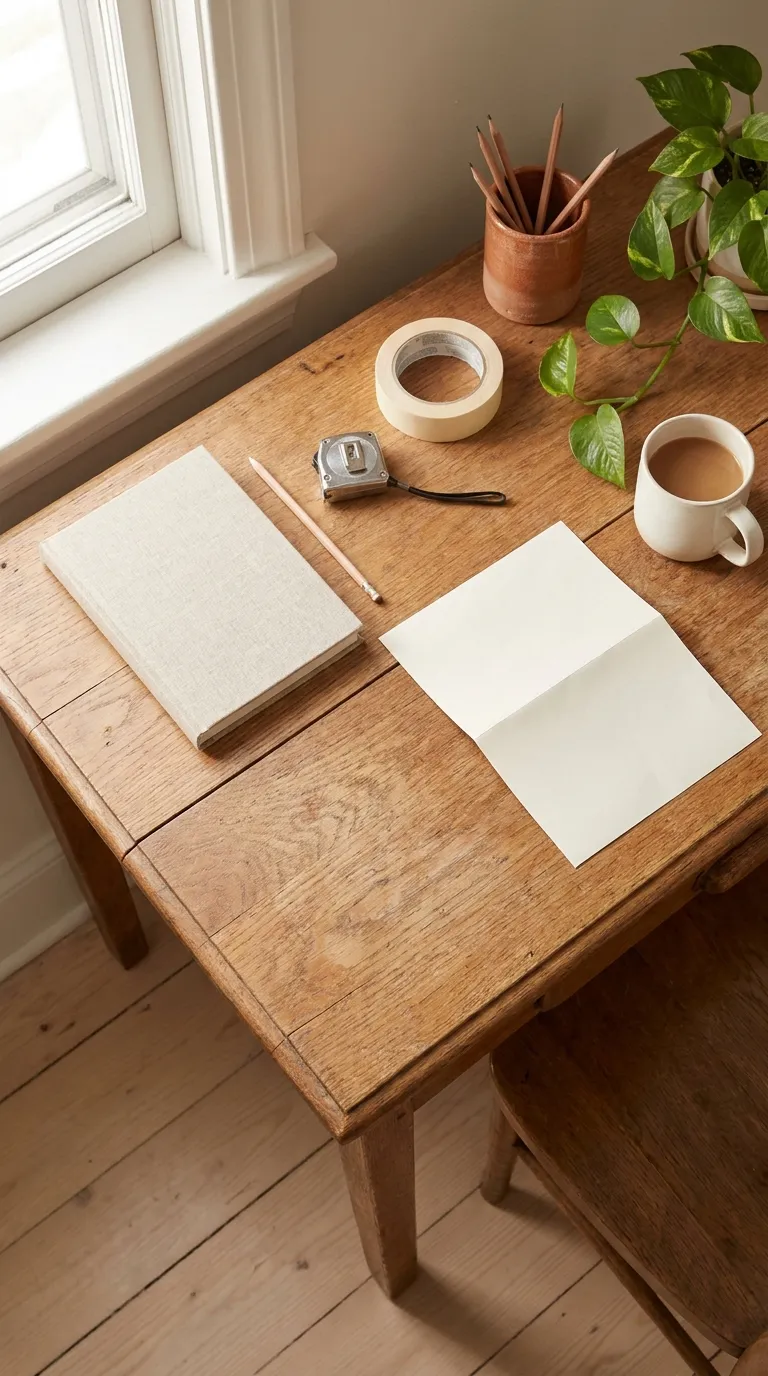
- Skim your lease for anything mentioning paint, decor, or changes to the unit, and highlight each rule
- Send a short email about any gray area and save the answer you get back
- Walk the apartment with your phone and take a daylight shot of each wall, corners included
- Write down which methods are on the table: holes, adhesive, both, or neither
- Split your wish list into things that can stick and things that must lean
Why It Works
With the rules in hand, you shop only for products you are allowed to use. The photos then give you a record of how every wall looked before you started.
Common Mistakes to Avoid
- Reading “removable” on a box as your landlord’s blessing
- Counting on a spoken okay when an email would do
- Documenting one wall and assuming the others look the same
A Simple Rule to Remember
No written answer means no approval.
Renter Note
Some leases ban adhesive products as firmly as nails, so check your lease before you open a single package. One email costs far less than a deposit argument.
2. Test a Hidden Patch First
Two walls in the same apartment can behave nothing alike. Paint that is flat, smooth, and fully hardened lets adhesive bond well, whereas texture, brick, and wallpaper tend to push it away. So give one hidden spot a trial run before an entire arrangement depends on the answer.
The cost is a little waiting, which is trivial next to peeling a row of failed hangers off a finished wall.
How to Do It
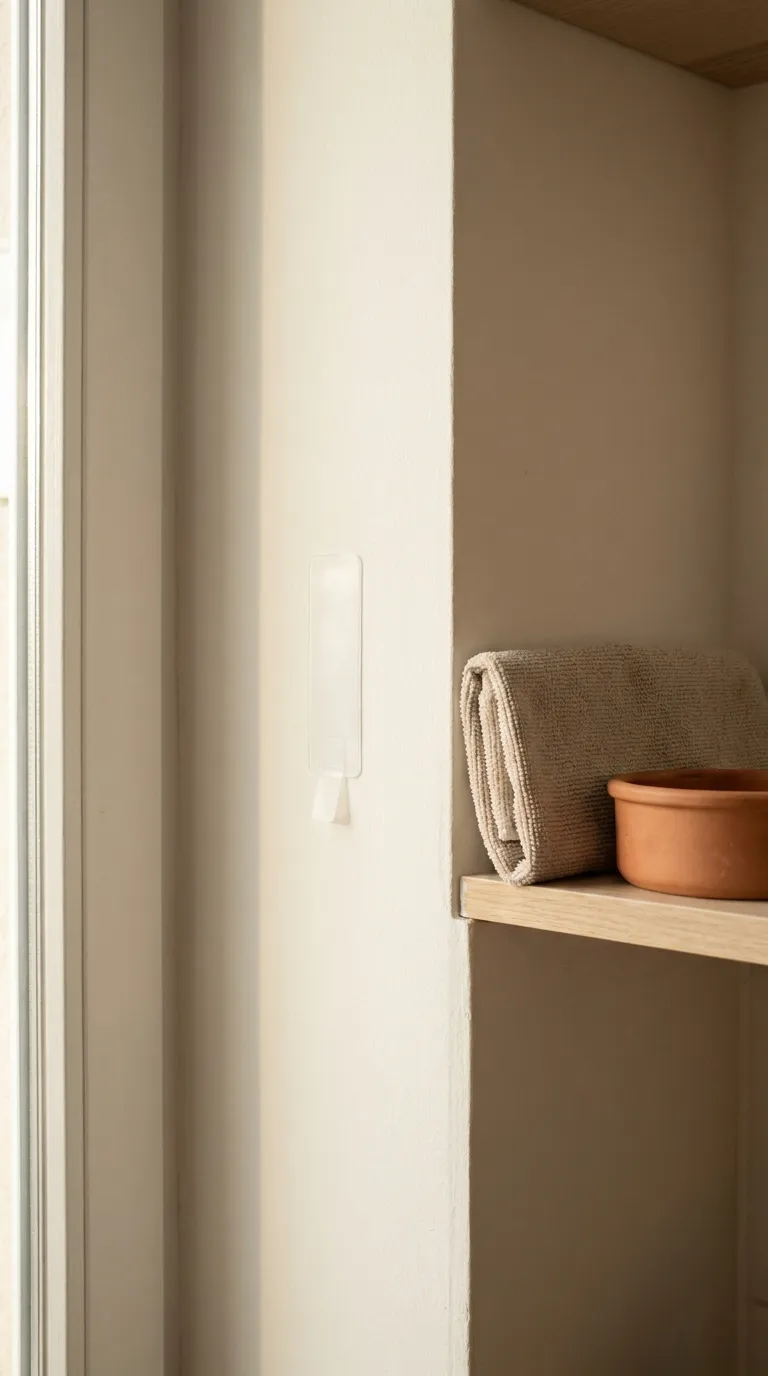
- Choose a spot that furniture or an open door normally covers
- Dab away dust with a damp microfiber cloth and wait until the surface feels completely dry
- Press a single small strip in place for as long as its packaging instructs
- Leave it alone for a few days, then peel it away following the maker’s peeling steps
- Inspect the paint: an intact surface gives you the go-ahead, while flaking or lifting means that wall is for leaning art only
Why It Works
The trial shows you the worst outcome in a place nobody sees, instead of a bald patch in the middle of your display. It also tells you early whether this wall will take adhesive at all.
Common Mistakes to Avoid
- Testing inside a closet when the room’s paint has a different finish
- Cutting the drying time short after wiping the wall
- Treating a brief press as equal to the stated press time
A Simple Rule to Remember
Test where nobody looks, then trust only what you tested.
Renter Note
Paint is the first thing a landlord inspects at move-out, so keep to the surfaces named on the label and read your lease for adhesive rules. A freshly painted wall needs time to harden before anything sticks to it.
3. Start With One Leaning Piece
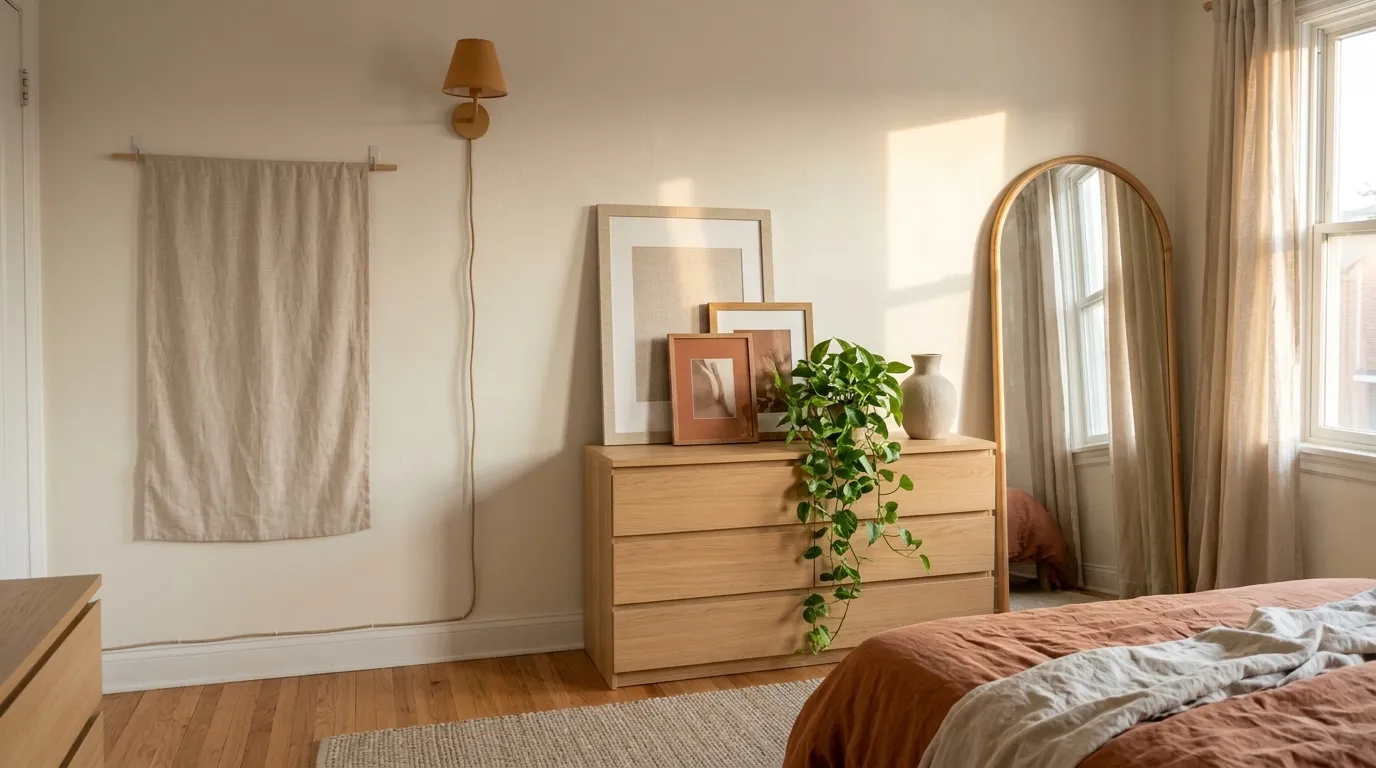
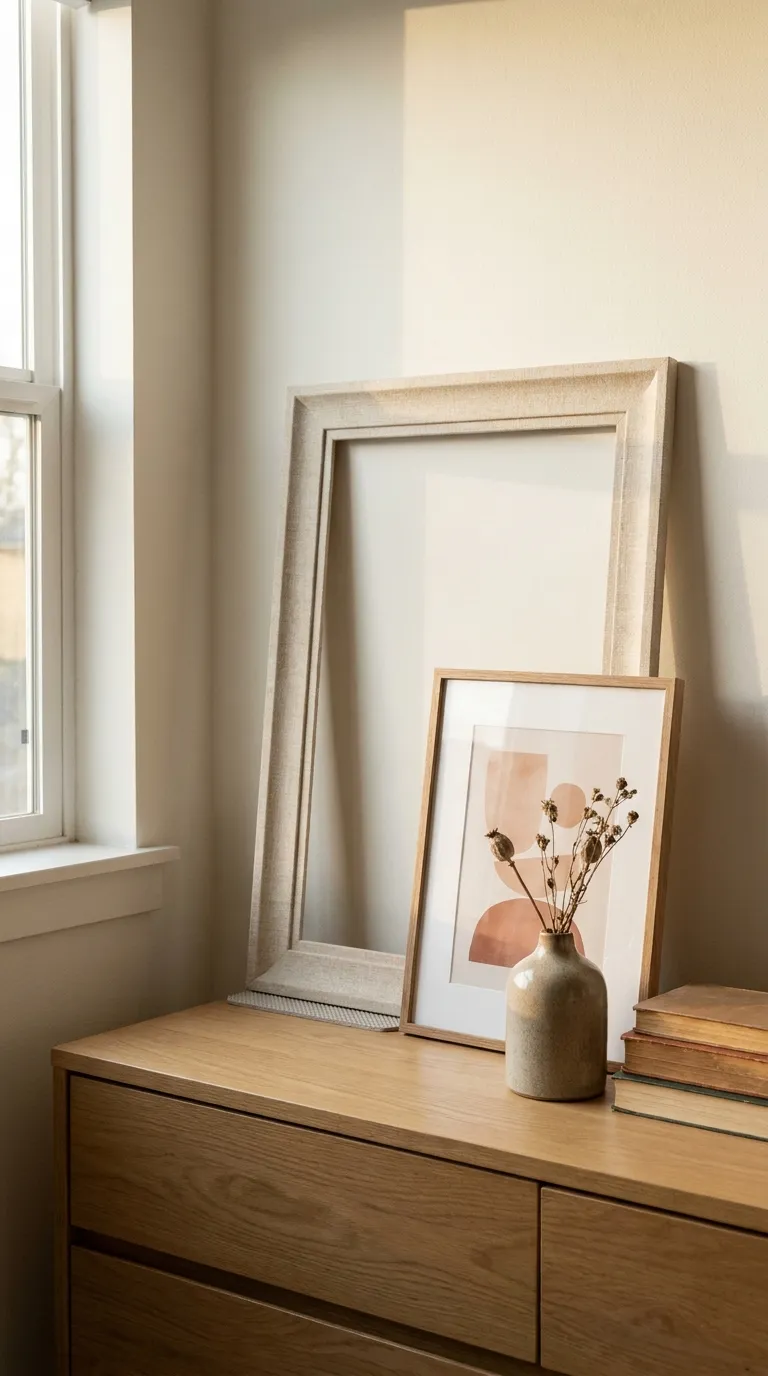
Leaning is the least risky method here, since nothing is attached to the wall at all. A single large frame resting on a dresser, a console, or a bookshelf, or standing on a clear patch of floor, sets the visual weight for the wall and shows you what else the space needs.
Expect to give up some floor or surface space, and remember that anything leaning can be knocked. It suits a bedroom corner better than a narrow hallway.
How to Do It
- Pick a flat, stable perch such as a dresser, a console, or a bookshelf, or a floor patch beyond the door swing
- Set the biggest frame furthest back, tipped gently against the wall
- Tuck a grippy rug pad under the bottom edge so the frame cannot slide
- Place a smaller frame in front so it covers a sliver of the larger one
- Add something small and low, such as a bud vase or a few paperbacks, to break up the hard line along the bottom
- Give the arrangement a gentle nudge to see whether anything wobbles
Why It Works
Pieces that overlap create depth, so the wall looks finished without hardware, and a swap takes minutes. The paint never knows anything happened.
Common Mistakes to Avoid
- Resting a heavy piece in a walkway where it will get bumped
- Putting a frame on a glossy surface with nothing underneath to grip
- Aligning every top edge at one height
A Simple Rule to Remember
Tallest at the back, smallest at the front, and no two tops at the same height.
Renter Note
Nothing touches the wall, so leaning is the safest route when a lease rules out adhesive. Keep tall pieces clear of doors and walkways so they cannot topple.
4. Arrange Everything on the Floor First
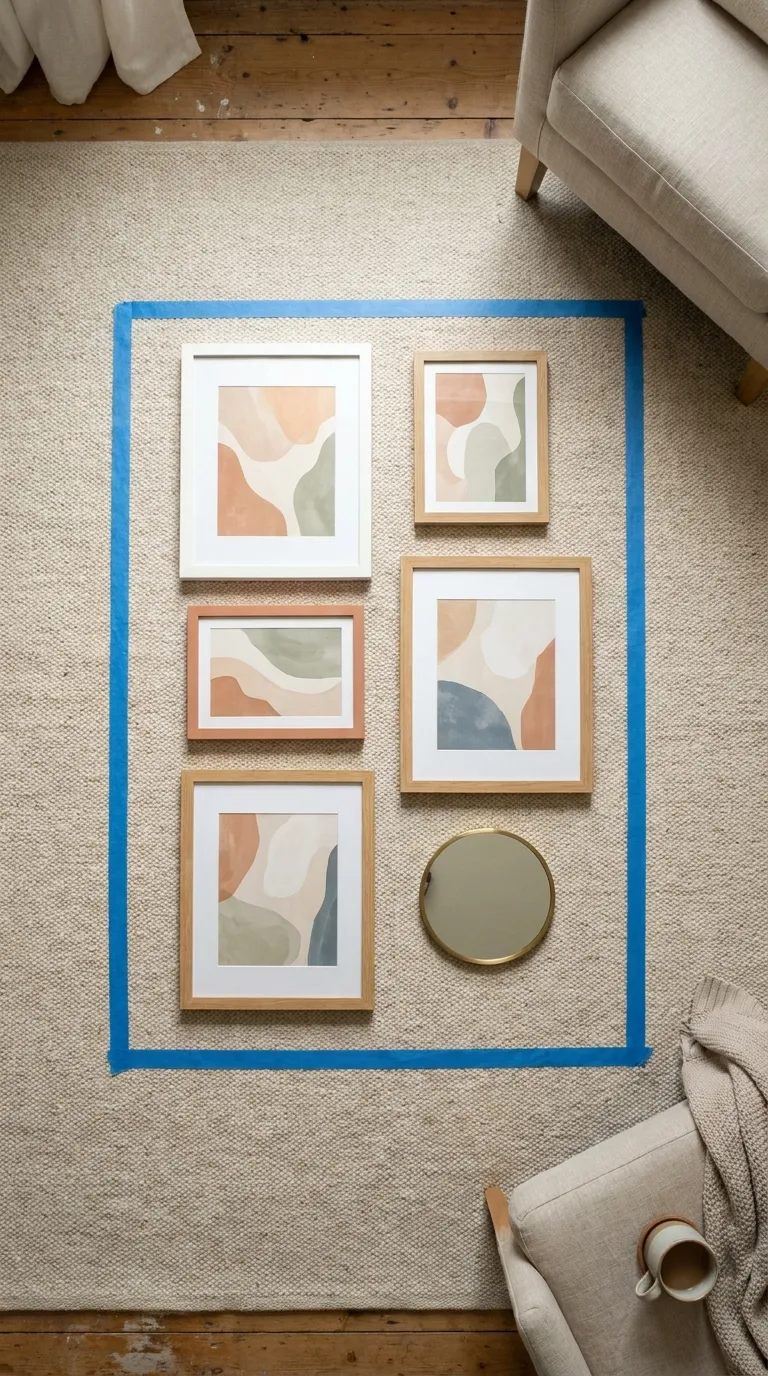
Designing on the floor lets you shuffle frames without committing to anything. Measure the stretch of wall you plan to fill, mark a rectangle that size with tape on the floor, and place your frames inside it, biggest first. The catch is perspective, since a floor view hides how the group looks at eye level.
Everything hangs from two measurements: 57 inches from the floor to the middle of the group, and 2 to 3 inches between neighboring frames. When you would rather not do the arithmetic yourself, trying a few frame counts on paper gives you a quick gallery wall layout check before anything goes up.
How to Do It
- Measure the wall area you want to cover and outline that size in tape on the floor
- Place frames inside the outline, largest first, and shuffle until the visual weight feels even
- Hold every gap to 2 to 3 inches, then photograph your favorite version
- Copy the outline onto the wall in tape, putting the middle of the group about 57 inches from the floor
- Walk to the far side of the room and nudge the tape until the shape looks balanced
Why It Works
The floor is a free rehearsal, and the tape outline carries your plan upward without a single sticky strip. Judging from across the room shows the scale as a visitor would see it.
Common Mistakes to Avoid
- Setting the group so high that it drifts away from everything beneath it
- Letting one side’s gaps grow wider than the other’s
- Planning from a phone photo instead of standing in front of the wall
A Simple Rule to Remember
Equal gaps of 2 to 3 inches, and a group center near 57 inches.
Type in your wall width and height, how many frames you own, and their size to preview the spacing.
Renter Note
Painter’s tape is gentle, though a test on a quiet corner is still smart, and peeling it slowly at a low angle protects the paint. Wait for any new paint to harden before taping.
5. Match Each Piece to a Hanger
Now pair every piece with a hanger, based on its weight and how its back is built. Flat-backed prints and light frames suit adhesive strips. Frames with a wire or sawtooth fitting suit hooks, which let them hang the way they were designed.
The number that decides everything is the load rating printed on the packaging. Glass makes frames heavier than they appear, so weigh first, stay well below the rating, and lean any piece that comes close.
How to Do It
- Put each frame on a kitchen or bathroom scale and jot down its weight
- Match flat-backed, light pieces to strips, and frames with wire or sawtooth fittings to hooks
- Pick hangers whose rating clears the frame’s weight by a comfortable margin
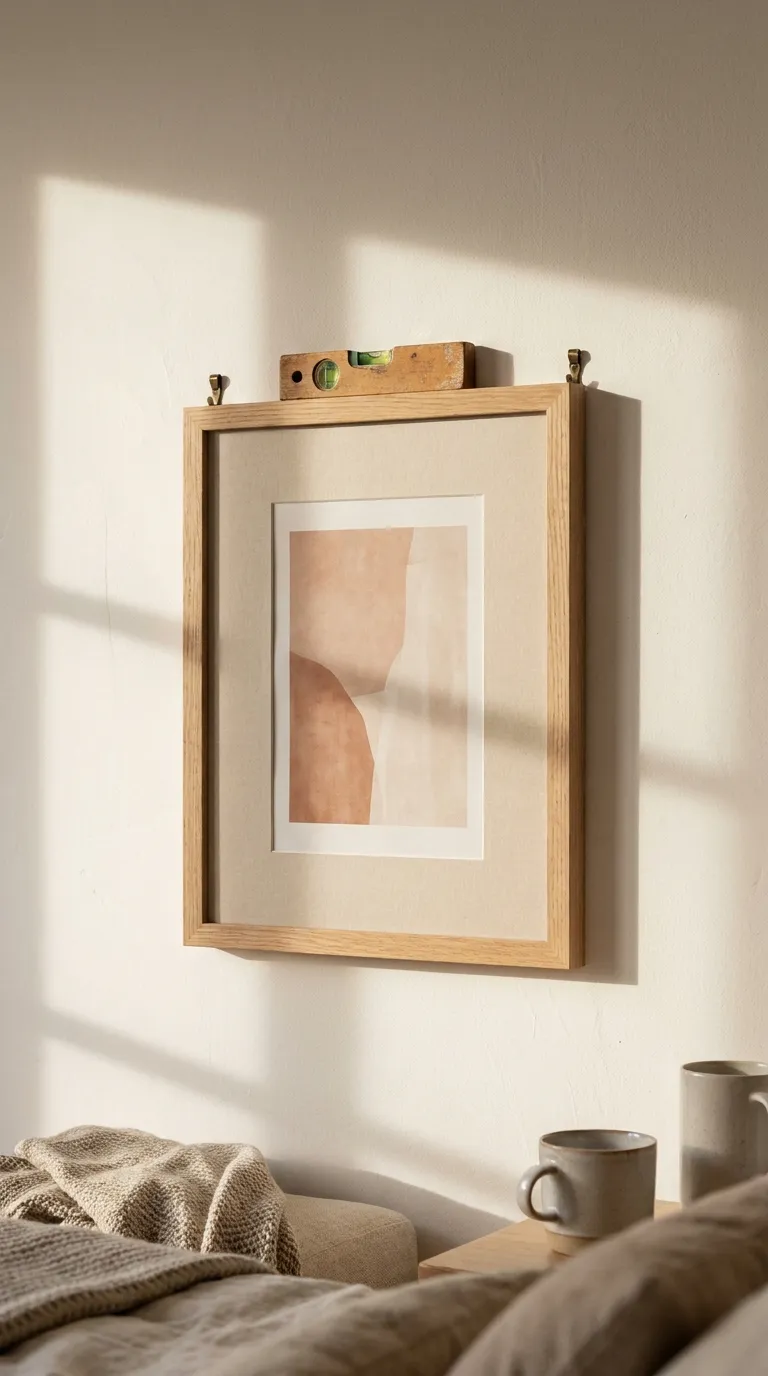
- Give any wide frame a pair of hooks, spaced and measured so they sit level with each other
- Press each hanger for as long as its packaging instructs, then hold off hanging until the advised waiting time is up
- Balance a small level on top of the frame and straighten it
Why It Works
A hanger spreads the frame’s load over a flat patch of wall, and its rating tells you how much that patch can bear. Staying under the rating is what keeps the frame up.
Common Mistakes to Avoid
- Estimating a frame’s weight by feel
- Trusting a lone hook with a wide frame, which then tilts
- Loading a hanger before its waiting period has passed
A Simple Rule to Remember
When a piece nears a hanger’s rating, choose a larger hanger or lean the piece instead.
Try it: pick the safest way to hang or place each piece.
Renter Note
Heavy mirrors and shelves belong on the floor, or on anchors rated for their weight and fitted according to the maker’s instructions, and only with your landlord’s okay. On moving day, peel each hanger away slowly, following its packaging, so the paint stays put.
6. Hang Fabric Across Several Hooks
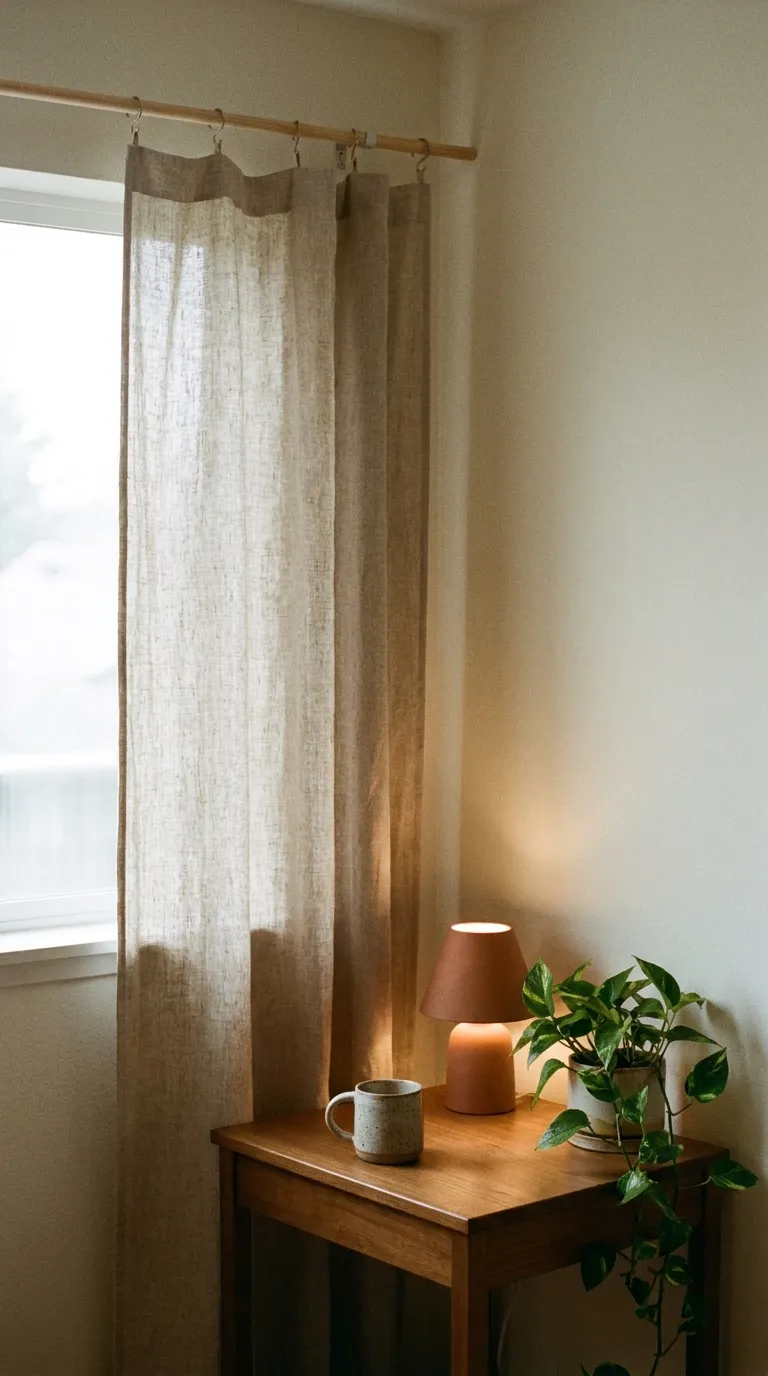
Fabric is among the gentlest ways to cover a wall. A linen panel behind a desk or a woven hanging above a bed brings color and texture, and it is light enough for adhesive hooks or clips.
Sagging is the trade-off. Cloth pulls on whatever holds it, so the load needs sharing, and it has to stay well away from heaters and candle flames.
How to Do It
- Pick something lightweight, such as cotton, linen, or a loose weave, and read its care tag
- Mark two or three evenly spaced spots along the top edge with painter’s tape and check them with a level
- Press adhesive hooks onto the marks, staying within the rating on the packaging
- Thread a slim dowel through the top hem, or clip the upper edge, then rest it on the hooks
- Smooth the cloth and check from across the room that it hangs straight
Why It Works
Several hooks share the load, so no single point does all the work and the cloth stays flat. You get texture on a hard wall without a hole.
Common Mistakes to Avoid
- Suspending heavy cloth from a single hook
- Placing it beside a heater or a candle
- Ironing or steaming without reading the care tag first
A Simple Rule to Remember
Two or three hooks, evenly spaced, every time.
Renter Note
Stick to removable hooks and clips suited to your wall, and check your lease before attaching anything. Pins and tacks leave holes, which undoes the whole idea.
7. Try One Peel and Stick Panel
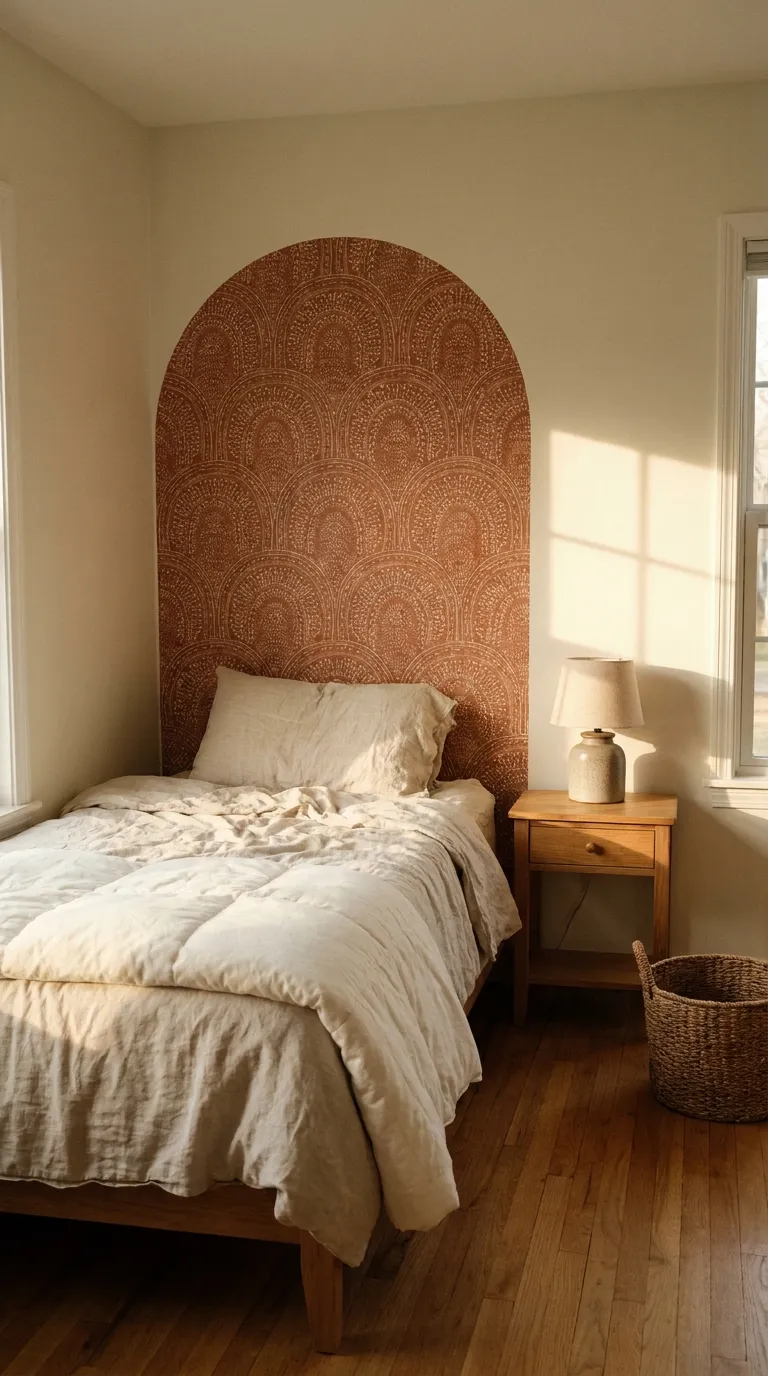
Of everything in this guide, peel and stick wallpaper changes a wall the most, and it also demands the most from your lease and your surface. Smooth, clean, hardened paint suits it; texture and fresh paint often do not.
Covering a whole room is optional. A single panel behind a bed, a desk, or a shelf makes a focal point and comes off far more easily later. Pouring your decor budget into one wall also goes further than spreading it thinly over four.
How to Do It
- Press a small offcut onto a hidden spot, wait a few days, and peel it away slowly to see how the paint reacts
- Wipe the wall, then wait until it is completely dry
- Measure the wall height and cut each strip a few inches longer
- Lift the top of the backing, press the strip on at the ceiling end, and work downward with a squeegee or a stiff card
- Line up each strip’s pattern edge with its neighbor before pressing it down
- Trim the overhang at the top and bottom with a sharp blade, taking your time
Why It Works
Starting at the top and working down pushes air ahead of your hand, which keeps bubbles out. One panel gives the room a center of attention, and not a single hole is needed.
Common Mistakes to Avoid
- Skipping the offcut test
- Pulling too fast at move-out and lifting paint
- Ordering for every wall before seeing how the first one behaves
A Simple Rule to Remember
Test it, cut it long, and smooth it from the top.
Renter Note
Of all these steps, wallpaper is the likeliest to affect the paint, so ask your landlord first. Follow the maker’s label for hanging and peeling, and open a window if you use any adhesive or cleaner.
8. Add a Mirror and Plug-In Light
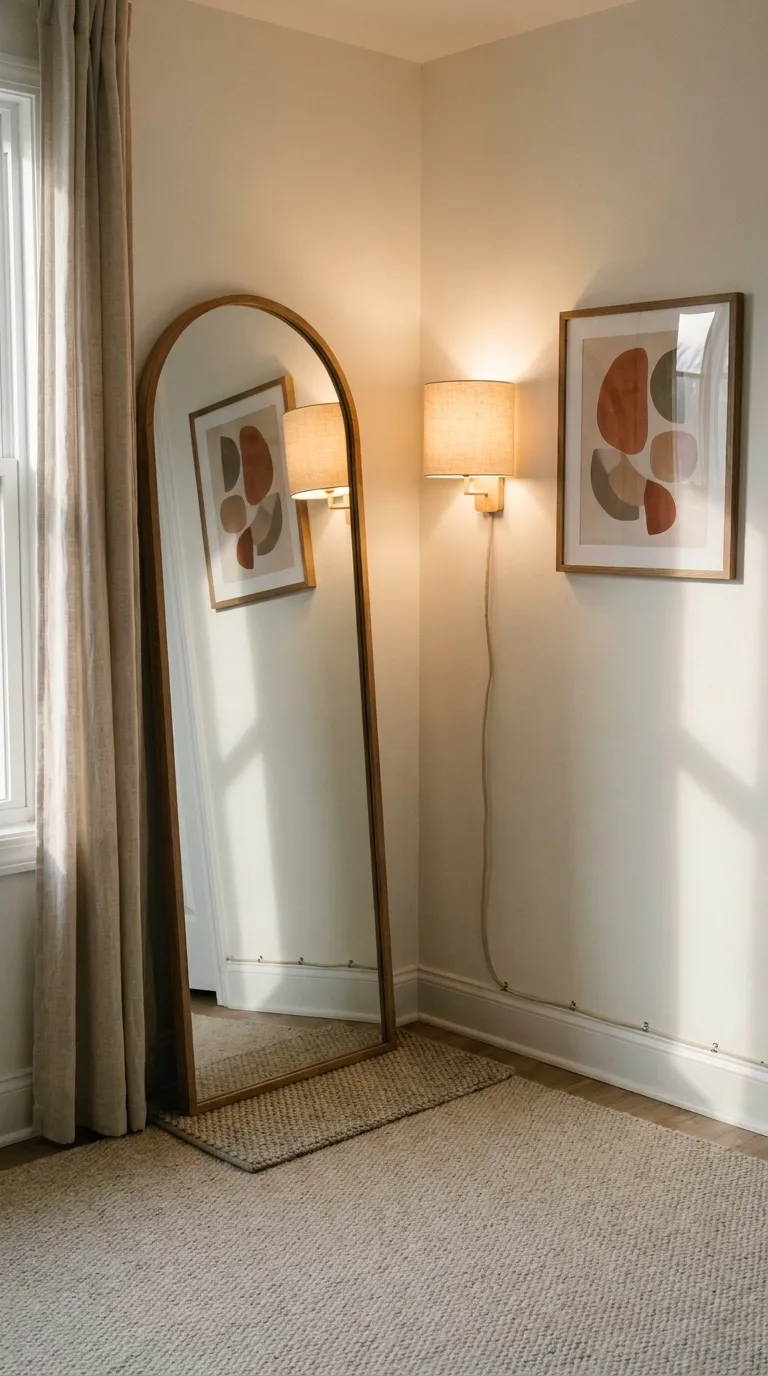
With color and texture in place, a mirror and a plug-in light add the finishing layer. A leaning mirror beside or across from a window sends daylight deeper into the room, and a plug-in sconce lights the wall after dark with no wiring involved.
Mirrors are heavy, so stand them on the floor against a sturdy wall instead of hanging them, unless you have anchors rated for the weight and install them per the maker’s instructions. Any electrical work beyond plugging something in is a job for a licensed electrician.
How to Do It
- Choose the position first: near a window, and outside the swing of any door
- Check the mirror’s weight before moving it, and get help if it is more than you can lift safely
- Set its bottom edge on a grippy pad or rug and tilt it slightly into the wall
- Choose a plug-in light with a cord that reaches the nearest outlet without strain
- Run the cord along the baseboard and secure it with small removable clips
- Place the light next to your art so the glow washes softly across the wall
Why It Works
Reflected daylight makes the wall read as wider, and a lamp on a cord gives the room a gentler evening layer, all without hardware in the plaster.
Common Mistakes to Avoid
- Parking a tall mirror in the path of a swinging door
- Trusting adhesive strips with a mirror’s weight
- Letting the lamp cord cross a place people walk
A Simple Rule to Remember
Mirror near the window, light near the art, cord along the baseboard.
Renter Note
Anchors and fixtures need your lease’s blessing, so check it first. Leaning mirrors and plug-in lights are the tenant-friendly path, and any anchor also needs your landlord’s okay plus the maker’s instructions.
Quick Step Cheat Sheet
Use this table when you want the whole plan at a glance.
| Step | Why It Works | Quick Fix |
|---|---|---|
| 1. Learn What Your Lease Allows | Written rules narrow your product choices | Email your landlord and save the reply |
| 2. Test a Hidden Patch First | A hidden spot reveals how paint reacts | Retest on the real wall finish |
| 3. Start With One Leaning Piece | Nothing touches paint, so nothing leaves marks | Slip a pad under slick edges |
| 4. Arrange Everything on the Floor First | Rearranging costs nothing before anything sticks | Retape the outline and recheck gaps |
| 5. Match Each Piece to a Hanger | Ratings only help above the real weight | Add a second hook or lean it |
| 6. Hang Fabric Across Several Hooks | A shared load stops sagging at one point | Add another hook along the top |
| 7. Try One Peel and Stick Panel | A single panel creates a focal wall | Run an offcut test and peel slowly |
| 8. Add a Mirror and Plug-In Light | Reflected daylight plus lamplight adds layers | Move the mirror out of the door swing |
The Principles Behind These Steps
Weight Ratings Are Ceilings, Not Targets
A rating marks the most a hanger should ever carry, so treat it as a ceiling. Pick frames comfortably under it, and let anything near the line rest on the floor.
Clean Wall, Dry Wall, Then Stick
Adhesive bonds to the wall, not to the dust sitting on it, so a quick wipe and a full dry matter more than pressing harder.
Rehearse Before You Commit
Once a strip has bonded, moving it risks the paint. Rehearsing with tape and a floor layout means each hanger goes on exactly once.
Mix Hung, Leaned, and Draped Pieces
A wall built only from frames can feel stiff. A few hung pieces, a leaning mirror, and a fabric panel give the eye places to rest and make the wall feel collected rather than ordered.
Common No-Nail Wall Mistakes Worth Skipping
Covering Every Inch of Wall
A group needs margins. Stopping short of the corners and the ceiling line lets the art read as chosen rather than crowded.
Buying Hangers Before Weighing Frames
Shopping first and weighing later is how you end up with strips rated too low. Weigh the frames, then buy for the heaviest one.
Treating Every Wall the Same
Brick, texture, wallpaper, and fresh paint all take adhesive differently. Test each wall on its own, and lean pieces against any wall that fails.
Final Tips for Success
How to Decorate Walls Without Nails and Still Move Out Clean
Finish a single wall before touching the next, because every wall behaves a little differently and the first one teaches you the most. Unhurried removal later is what keeps the paint intact.
Photograph the Finished Wall Too
Your before photos from the lease step are only half the record. An after photo, plus a picture of the peeling instructions on each package, gives you everything you need on moving day.
Rotate Pieces Instead of Buying More
A leaning frame, a hung print, and a fabric panel can swap places whenever the room feels stale. Rotating what you own is cheaper than starting a new wall.
Small Tools That Earn Their Drawer Space
- A pocket-size level for checking frames
- A retractable tape measure
- Low-tack tape for outlines
- A few spare hooks and strips for the next rearrangement
- Grippy rug pad offcuts for leaning pieces
- A handful of small cord clips
Conclusion
Protecting your deposit does not mean living with blank walls. With the lease read, the hangers weighed, and a few pieces leaning, you can decorate walls without nails and have a room that looks complete.
Let the floor layout settle the arrangement before anything sticks, and treat the first wall as practice for the rest.
Nothing here is permanent, so a piece that looks wrong can simply move.
Move-out day then becomes a short peel-and-pack job, with the walls looking the way they did in your first photos.
Save this guide for the next time a blank wall starts to bother you.