
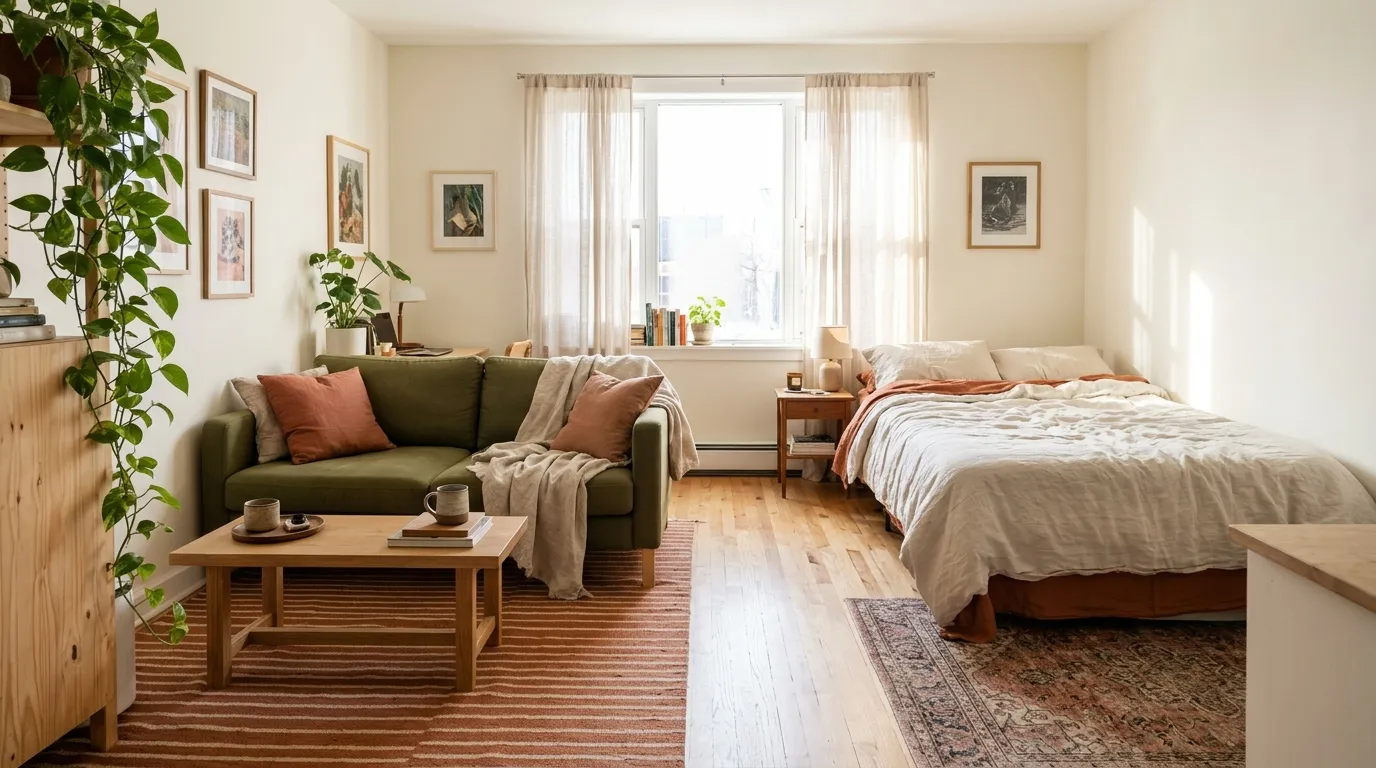
Think about the first ten steps you take each morning: out of bed, past the sofa, over to the kettle, maybe straight on to a desk. In a studio, all of that happens on one stretch of floor, and your rugs have to cope with every bit of it. A studio apartment rug layout is really a plan for that floor, and it works best when you make it before you shop.
A good plan answers three questions: how many rugs the room can carry, how big each one should be, and where each one lands. Settle those first and the floor looks planned rather than accidental.
I’d tackle the seven steps below in this order, starting with a pencil and ending with a roll of tape.
Before You Start: Materials and Time
- Time: an evening for planning, then a day or two of tape testing
- Difficulty: easy
- Budget level: budget-friendly
- Renter-friendly: yes
What You’ll Need
- A locking measuring tape
- Low-tack painter’s tape
- Graph paper or a notebook, plus a pencil
- A non-slip rug pad, bought after you pick the rug
1. Draw Your Floor Around Your Routes
Before you measure anything, spend one morning watching your own habits. The dash from bed to bathroom and the stop at the kettle are the stretches where a stray rug corner does the most damage, and the spot where your feet first land almost always deserves something soft.
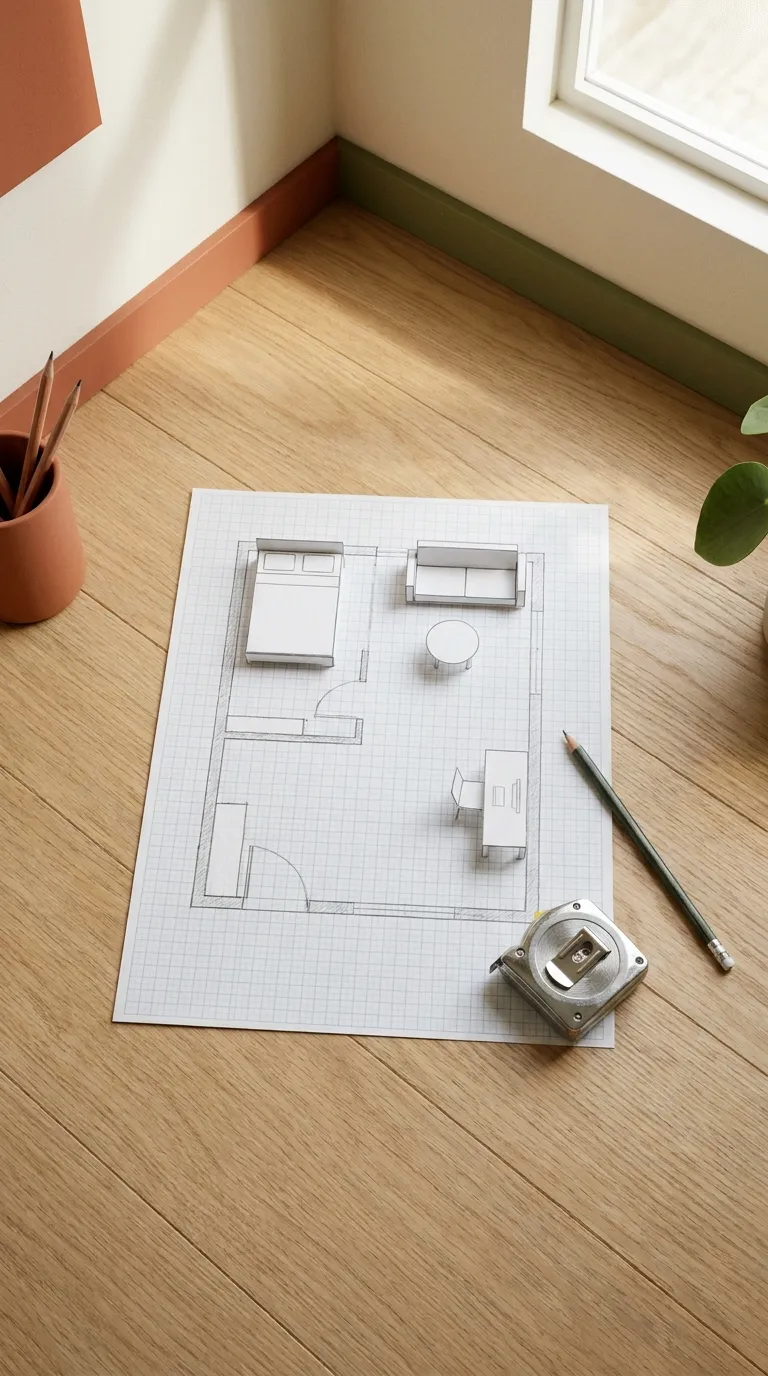
Next, shrink the room onto paper. A rough scale drawing with the bed, sofa, and table shows how much open floor you truly have and what each patch is used for. A basic floor plan like this needs no software and heads off buying for a room you don’t actually have.
How to Do It
- Stick a small note on the floor wherever your bare feet land first each morning and at your usual stops.
- Run the tape from corner to corner, then record the length and width in feet and inches.
- Redraw the room small on graph paper, with one square equal to 1 foot.
- Cut paper rectangles for the bed, sofa, table, and desk, and slide them around the drawing to match real life.
- Draw quarter-circle arcs for the entry door, closet doors, and oven door to show how far each one opens.
- Name each patch with a job (sleep, sit, work, or eat), then connect the patches with the paths you walk.
Why It Works
Your feet follow habits long before they follow décor, so a plan built on habits holds up. The drawing also tells you whether one big rug can cover neighboring jobs or whether each job needs its own.
Common Mistakes to Avoid
- Sizing everything from the open floor alone and forgetting what is already there
- Showing a closet door closed when it really sweeps a wide arc
- Absorbing a busy path into a nearby zone on paper
A Simple Rule to Remember
Zones decide rugs, not the other way around.
2. Crown One Lead Zone
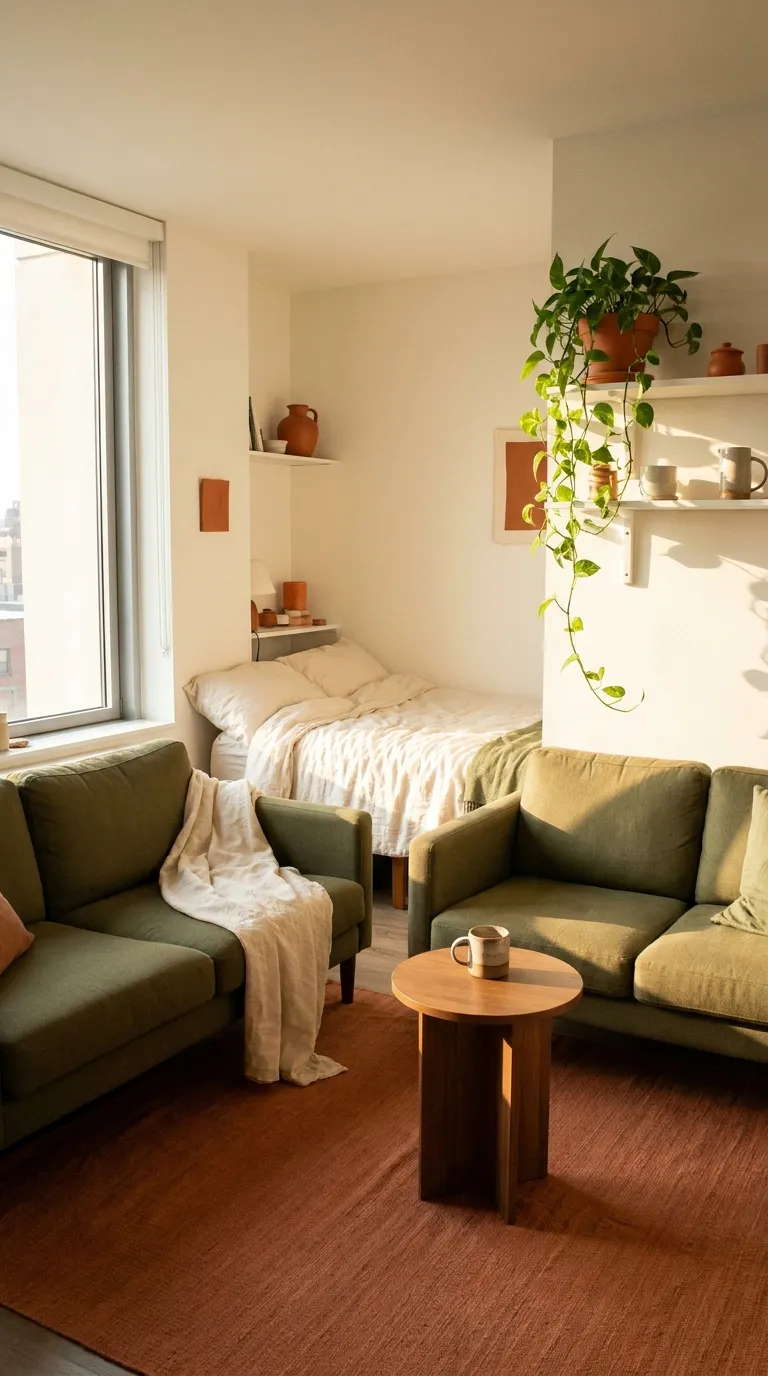
Studios do best with a clear hierarchy on the floor. The lead zone is the spot where your waking hours pile up, which for most people means the sofa area, and it gets the largest rug in the plan.
The cost is that the other areas get less. A bedside mat or a runner may be all they receive. Picture someone who eats dinner on the sofa and answers email there: that sofa corner leads, even if the bed looks more impressive.
How to Do It
- Hold your sketch at arm’s length and ask which zone you actually live in on a typical evening.
- Ring that zone in pencil.
- Place the biggest furniture piece inside the ring, then redraw the ring so it wraps around that piece with a small margin.
- Look for any walking path that cuts through the ring and slide the boundary away from it.
- For each remaining zone, choose one of three outcomes: a small rug, a runner, or bare floor.
Why It Works
A single leader gives the eye somewhere to begin, which keeps a one-room space from feeling like leftovers. It also steers the biggest slice of your budget toward the rug that takes the most wear and attention.
Common Mistakes to Avoid
- Spreading rugs of identical size across every zone
- Letting the prettiest corner win over the hardest-working one
- Placing the lead rug on the same strip of floor you cross to reach the bathroom
A Simple Rule to Remember
Let usage pick the leader.
3. Pick Pile, Shape, and Color by Job
With the lead zone settled, think about what the rug has to put up with. Texture, outline, and color shape how the floor feels underfoot and how it fits the room, and it is easier to choose them now than after you have fallen for a particular size.
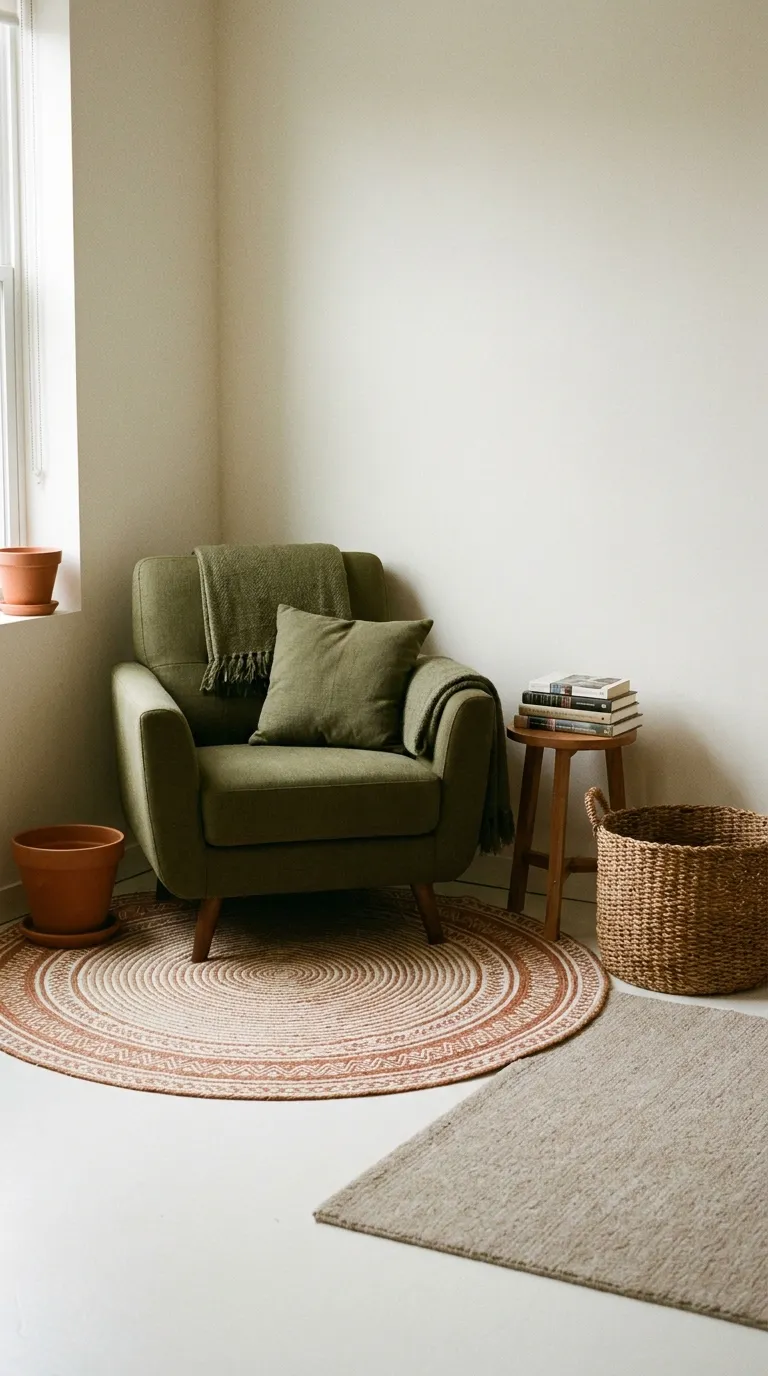
Anywhere a chair rolls or a door sweeps past, go for low pile or a flat weave, because deep fibers grab castors and door bottoms. Low pile is less cushy, so keep the plush texture for where bare feet land, which is often beside the bed.
How to Do It
- Walk the room asking what rolls, swings, or gets stepped on barefoot in each zone, and jot down the answers.
- Where wheels or doors travel, shortlist low-pile or flat-weave rugs only.
- Pair rectangles with sofa groups and circles with lone armchairs, so the rug repeats the furniture’s outline.
- Hold a curtain, throw, or paint chip against each candidate and keep the ones that blend.
- Shop for a pad matched to your flooring, and read the pad’s label before you lay it.
- Once the rug is unrolled, let it rest, then check for curled corners.
Why It Works
A quiet, related palette lets separate zones read as one scheme, while a pad keeps rugs from creeping. Matching texture to what happens on it keeps daily life simple.
Common Mistakes to Avoid
- Laying shaggy pile under a desk chair on wheels
- Giving both rugs a loud pattern
- Leaving the rug to slide around without a pad
A Simple Rule to Remember
When two rugs share a room, one stays quiet.
4. Size the Rug to the Furniture Group
Here you decide how much of the floor the rug owns. A scrap of a rug looks like a welcome mat adrift in the room, while an oversized one swallows the bare floor that gives a small space its breathing room.
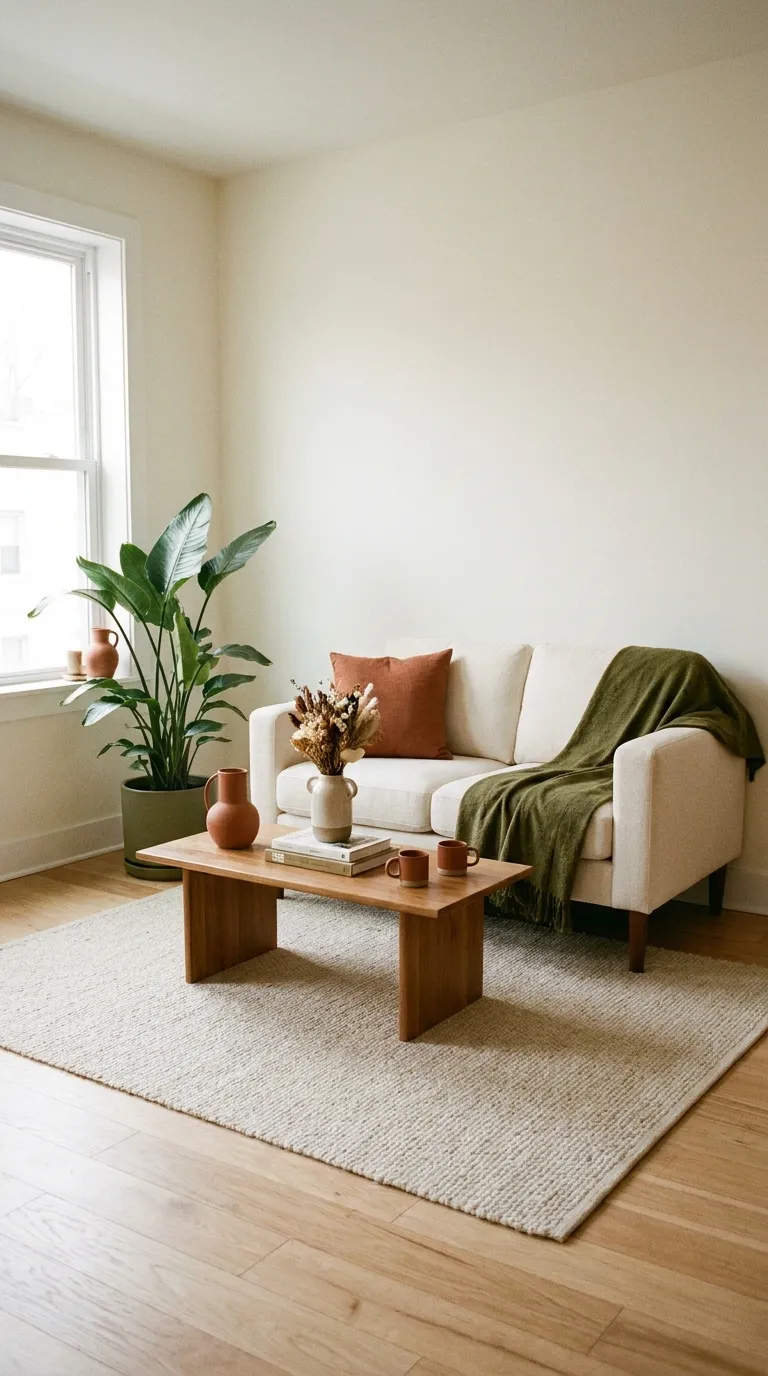
Work from the lead zone, not the room. The rug sits beneath the furniture group rather than running wall to wall, and it helps to write the rug size you are weighing as two numbers, length by width. Bigger rugs are also heavier to shift and can start pressing on the bed area.
How to Do It
- Note the zone’s two edges with your tape, longer side first, and write both numbers in feet.
- Look for a rug large enough to slide beneath every piece in the seating group.
- Mark 18 inches in from each wall; the rug’s edge should stop at or before that line.
- Open doors and drawers fully and see whether any of them catch the rug’s edge.
- Compare your numbers with the three common options below.
Here is how three popular options usually work out in a studio.
| Rug | Good match | Watch out for |
|---|---|---|
| 5×8 ft | A compact sofa nook | Back sofa legs stay off it |
| 6×9 ft | A typical sitting area | Wants empty floor on every side |
| 8×10 ft | A wide, roomy studio | May intrude on the bed zone |
Enter your room’s length and width in feet to get a standard rug suggestion for the seating area.
Why It Works
A rug that goes under the whole seating group binds the pieces into one cluster, and the empty margin stops a compact room from looking stuffed. Measuring the zone rather than the room also leaves floor for everything else.
Common Mistakes to Avoid
- Taking the room’s measurements when you should take the zone’s
- Buying a rug that ends short of the couch
- Forgetting to test how far drawers and doors travel
A Simple Rule to Remember
Stop the rug about 18 inches short of every wall.
5. Decide Which Legs Go on the Rug
Next comes a small choice with a big visual effect: where the furniture legs land. It changes how spacious the room feels more than you might expect, and it is free.
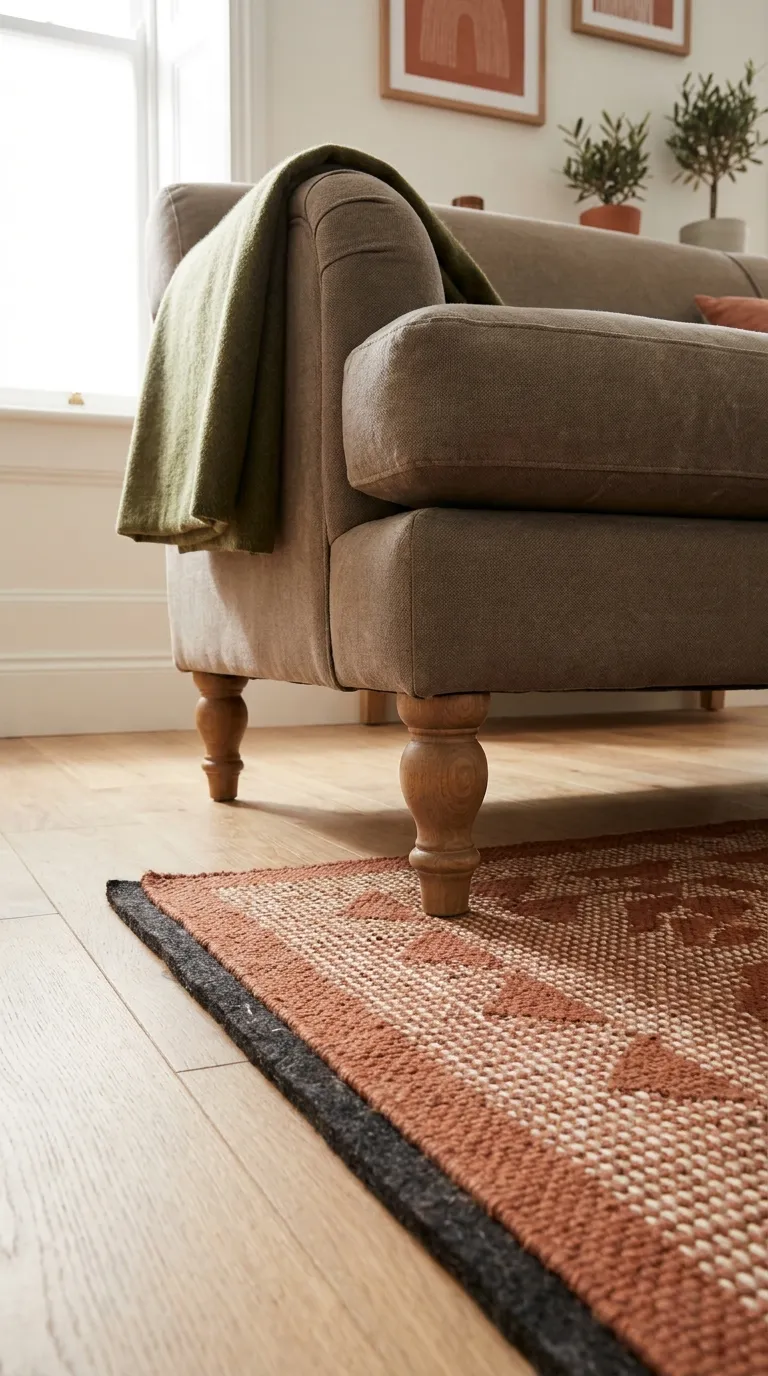
There are three setups: every leg on the rug, only the front legs on it, or every leg off. For a compact studio I’d choose the front-legs setup, since it joins sofa and rug while saving floor you cannot spare. The only catch is that the back legs stay on bare floor, which a rug pad makes steadier.
How to Do It
- Set the sofa or main chair on your sketch within the lead zone.
- Try each of the three setups on paper and note what changes.
- Settle on an arrangement where every seat has at least its front legs on the rug.
- Stretch the rug slightly past both ends of the sofa so it frames it.
- Check for a clear strip of about 30 inches around the zone for walking.
Try it: choose the best leg placement in each small studio scenario.
Why It Works
With the front legs on it, the sofa and rug look like one arrangement instead of two unrelated things. The room feels tied together while the walking route stays open.
Common Mistakes to Avoid
- Parking the rug in the middle with nothing standing on it
- Balancing a leg exactly on the rug’s edge so the piece teeters
- Tucking the rug so deep under the sofa that it hardly shows
A Simple Rule to Remember
Your main seat’s front legs belong on the rug.
6. Give the Bed Its Own Landing Spot
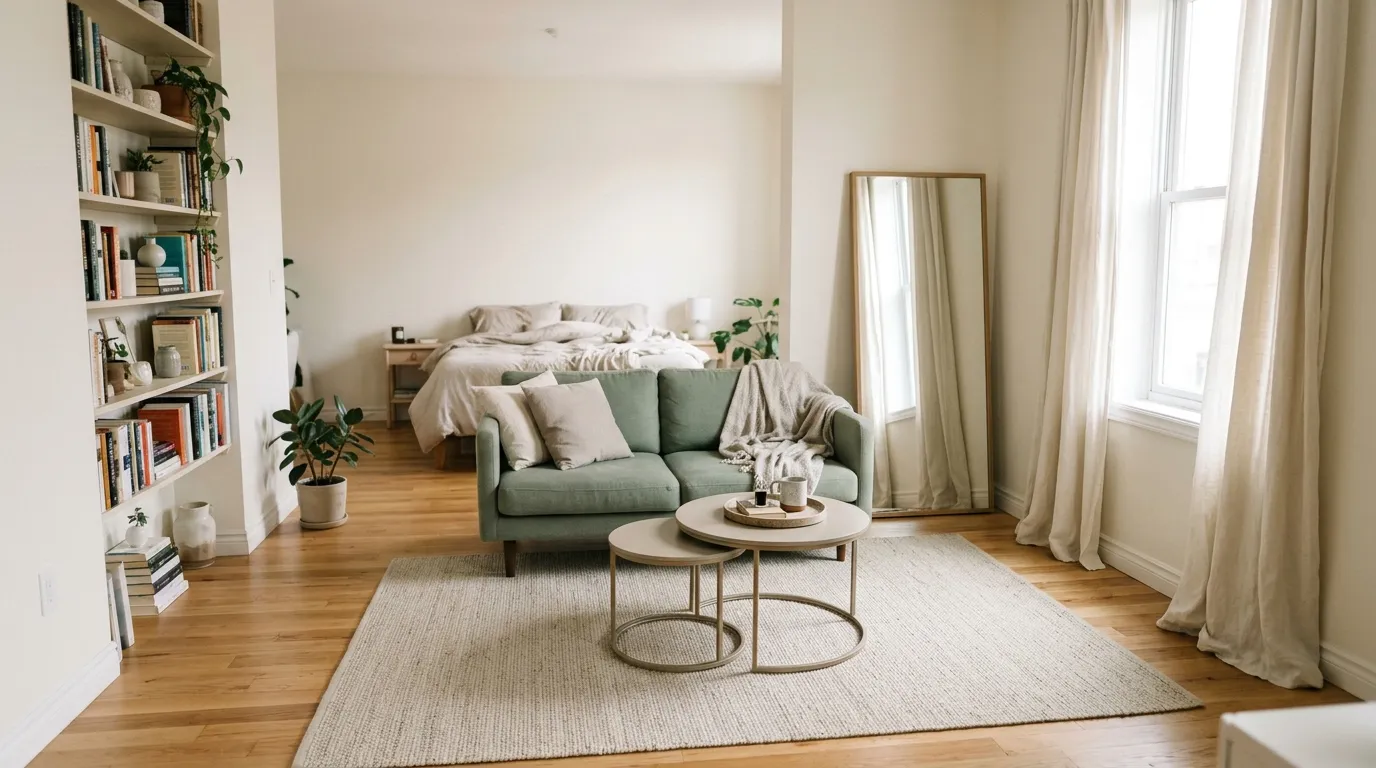
When a bed and a sofa share the room, they can merge into one big mass of furniture. A second rug beneath the bed marks the line between rest and daytime living, and it gives your first steps of the day a soft landing.
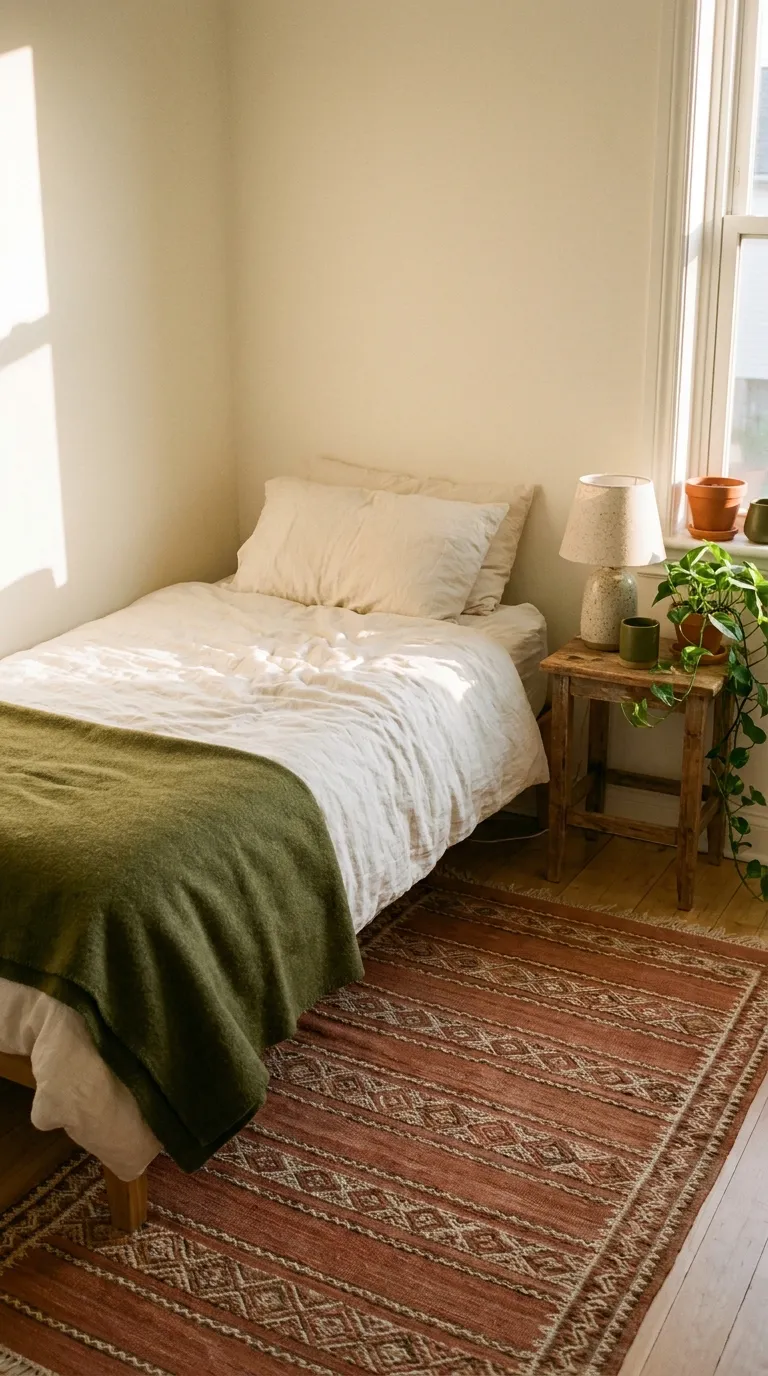
Do this after the lead zone is settled. Most beds look best with the rug starting at the foot and stopping roughly two-thirds of the way up, so the headboard end rests on bare floor. If the bed and sofa are only a few feet apart, one generous rug could beat two small ones, so look at your sketch before deciding.
How to Do It
- Add the bed to your sketch and measure the clearance on each side.
- Tuck the rug in from the foot end until it covers the lower two-thirds, with the headboard end uncovered.
- Let it reach at least 18 inches beyond each side so your feet land on it.
- If one wide rug feels heavy for the room, picture a pair of runners instead, one on each side of the bed.
- Choose the bed rug in a tone related to your lead rug, with a different pattern or shape.
- Keep a band of bare floor between the two rugs.
Why It Works
Each rug draws its own boundary, so the studio feels organized even without partitions. Staying in one color family keeps the floor from looking busy.
Common Mistakes to Avoid
- Putting a small mat only under the bedside table
- Pairing two rugs that nearly match, which reads as a mix-up
- Letting the rug edges overlap each other
A Simple Rule to Remember
One color family, one rug per zone.
7. Tape It Out and Walk It
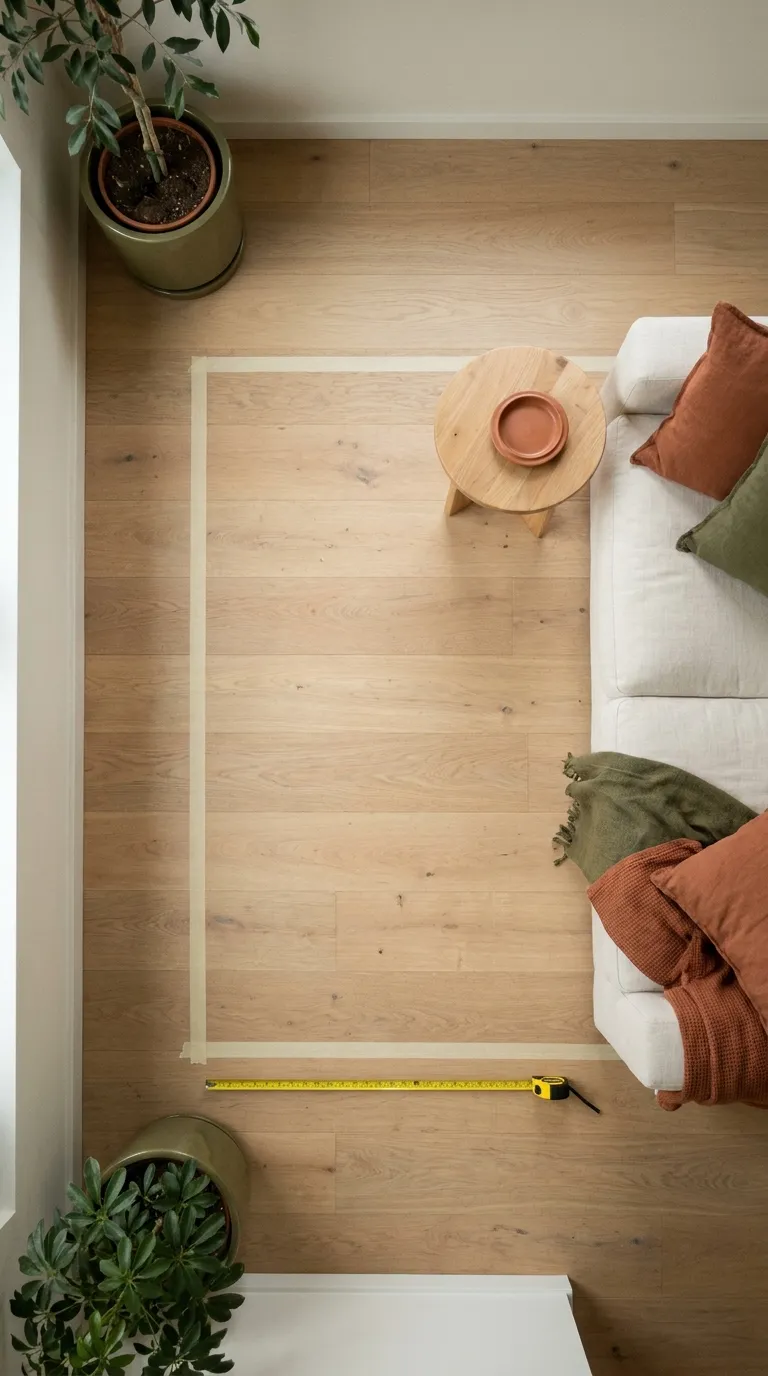
Neat fits on paper always flatter a plan, and tape tells the truth. Laid on the floor in the shape of each rug, it exposes a drawer that bumps the edge or a path to the bathroom that suddenly pinches.
Leave the outlines down for a day or two. The tape adds a little visual noise, yet moving it beats returning a rug. Your own daylight and your own furniture will answer questions the paper can’t.
How to Do It
- Stick tape around each planned rug at its exact dimensions.
- Test the tape on an unseen patch and read its label for your floor type.
- Move furniture into its home positions and note which legs sit inside each outline.
- Walk from the door to the bed, the sofa, and the desk along the shortest line you would naturally take.
- Slide the tape around until each trip feels easy, then order.
Why It Works
A taped outline shows the real footprint in your own light, beside your own furniture. Problems surface while they are still free to fix.
Common Mistakes to Avoid
- Inspecting the outlines only from the doorway
- Never walking the routes
- Leaving tape on a delicate floor for weeks
A Simple Rule to Remember
Outline first, order last.
Quick Step Cheat Sheet
Use this table as a last check before you shop.
| Step | Why It Works | Quick Fix |
|---|---|---|
| 1. Draw your floor | Reveals routes and jobs | Sketch and label each patch |
| 2. Crown a lead zone | Gives the floor one focus | Circle where you spend most hours |
| 3. Pick pile, shape, color | Keeps daily use easy | Pick flat weave near wheels |
| 4. Size to the furniture | Binds the seating group | Stop 18 inches short of walls |
| 5. Decide leg placement | Makes sofa and rug a pair | Rest the front legs on it |
| 6. Give the bed a rug | Separates rest from lounging | Cover the lower two-thirds |
| 7. Tape and walk it | Catches problems early | Live with outlines a day or two |
The Principles Behind These Steps
Treat Ordering as the Last Step
Everything before the order button is free: sketching, measuring, taping. Finish all of it first, and the purchase becomes a confirmation of a plan instead of a gamble.
Let the Biggest Piece Lead
In every zone one piece dictates the rest, usually the sofa or the bed. Fix that piece in place, then let the rug and the smaller furniture respond to it.
Give Edges Room to Breathe
Open floor around a rug makes a compact room look wider. Roughly 18 inches to the walls and about 30 inches for walking keep the studio airy.
Rehearse With Tape
Moving tape takes seconds, while sending back a delivered rug takes much longer. Treat the outline as a dress rehearsal for the real thing.
Common Studio Apartment Rug Layout Mistakes Worth Skipping
A Rug That Ends Before the Sofa
When the rug finishes before the seating does, the whole group looks unfinished. Fix: choose one that slides far enough under the seating for the front legs to rest on it.
Edges Sitting in Your Walking Path
A rug corner jutting into the route from door to bed gets caught by socks and slippers. Fix: hold roughly 30 inches clear down the lines you walk most.
Two Rugs Competing for Attention
When both rugs shout, the eye has nowhere to rest. Fix: let one stay calm, let the other carry the pattern, and keep them in one color family.
Plush Pile Where Things Roll
Deep fibers trap castors and the bottom edge of a door. Fix: use low pile or a flat weave there, and keep the deeper texture for the bedside.
Final Tips for Success
Test Each Rug With a Midnight Walk
Once a rug lands, cross the room the way you would half asleep, from bed to door to kettle. If you sidestep an edge, shift the rug.
Basics Worth Owning
- Locking measuring tape
- Low-tack painter’s tape
- Non-slip rug pad
- Graph paper and a sharp pencil
Redraw When Furniture Moves
A new bookcase, a swapped armchair, or a bed turned ninety degrees changes the zones. Redraw the sketch and re-measure before you touch the rugs.
Conclusion
A good studio apartment rug layout starts with a drawing instead of a purchase. Follow your routes, crown one lead zone, and let each spot’s job decide the pile and color.
From there, fit the rug to the furniture group, put the front legs of your main seat on it, and add a second rug under the bed if the floor can spare it.
Finish with tape and a few trips across the room, and one floor can handle every job without feeling crowded.
Save this guide for the next time you rearrange the room.