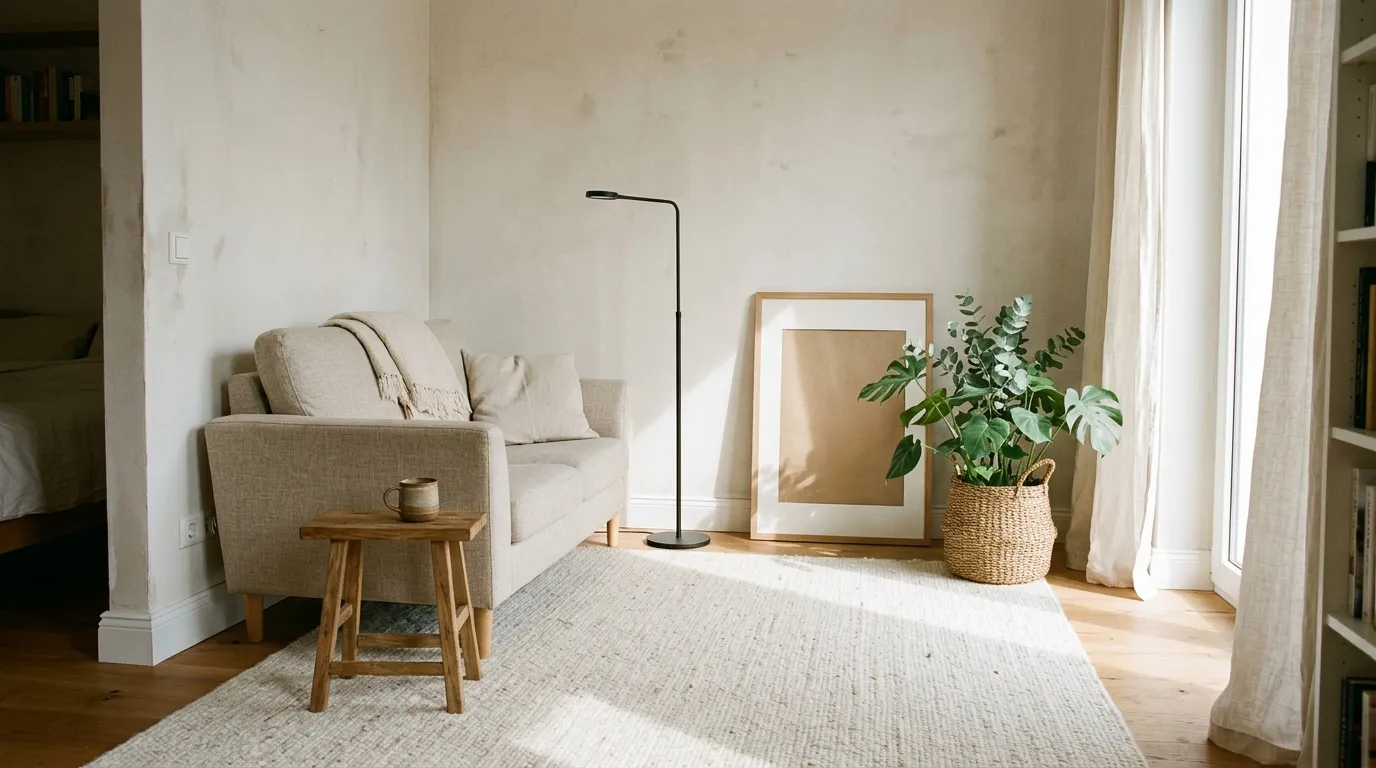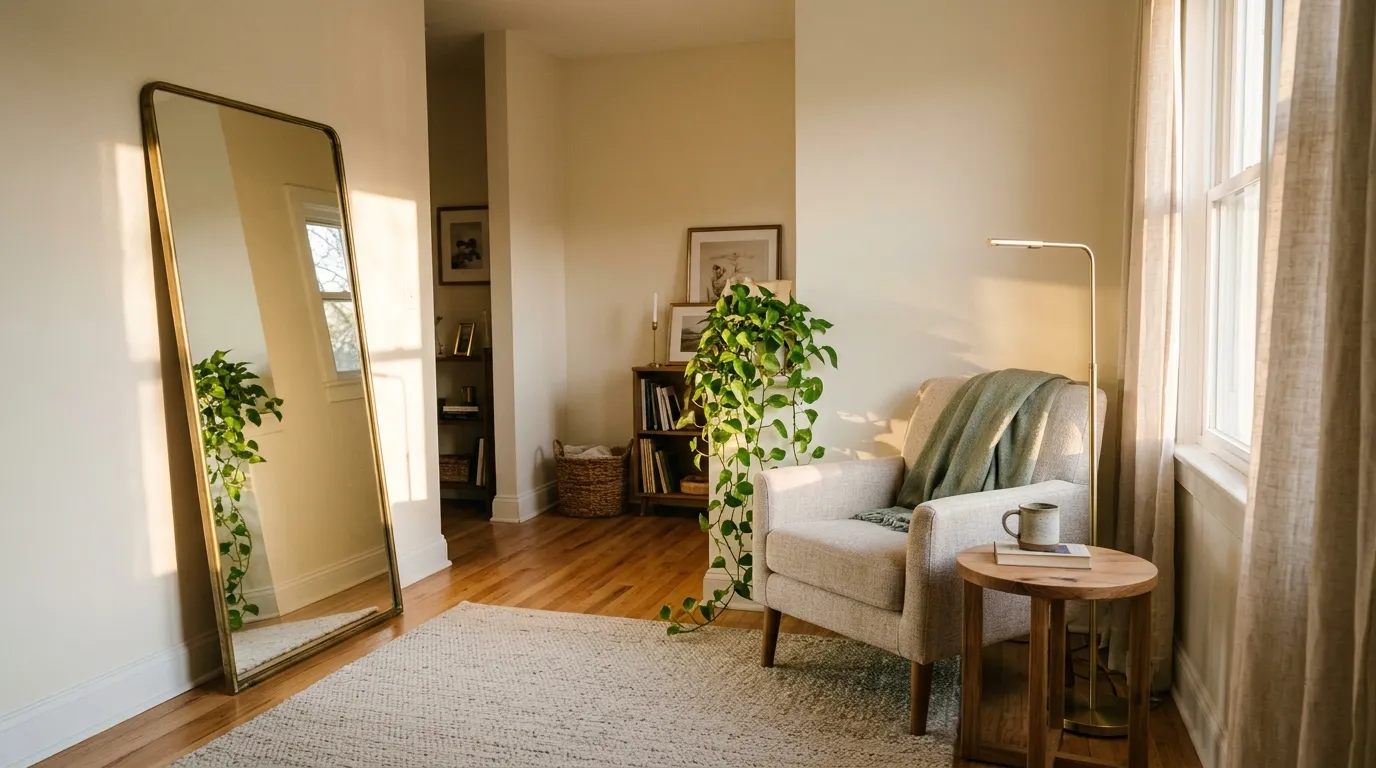

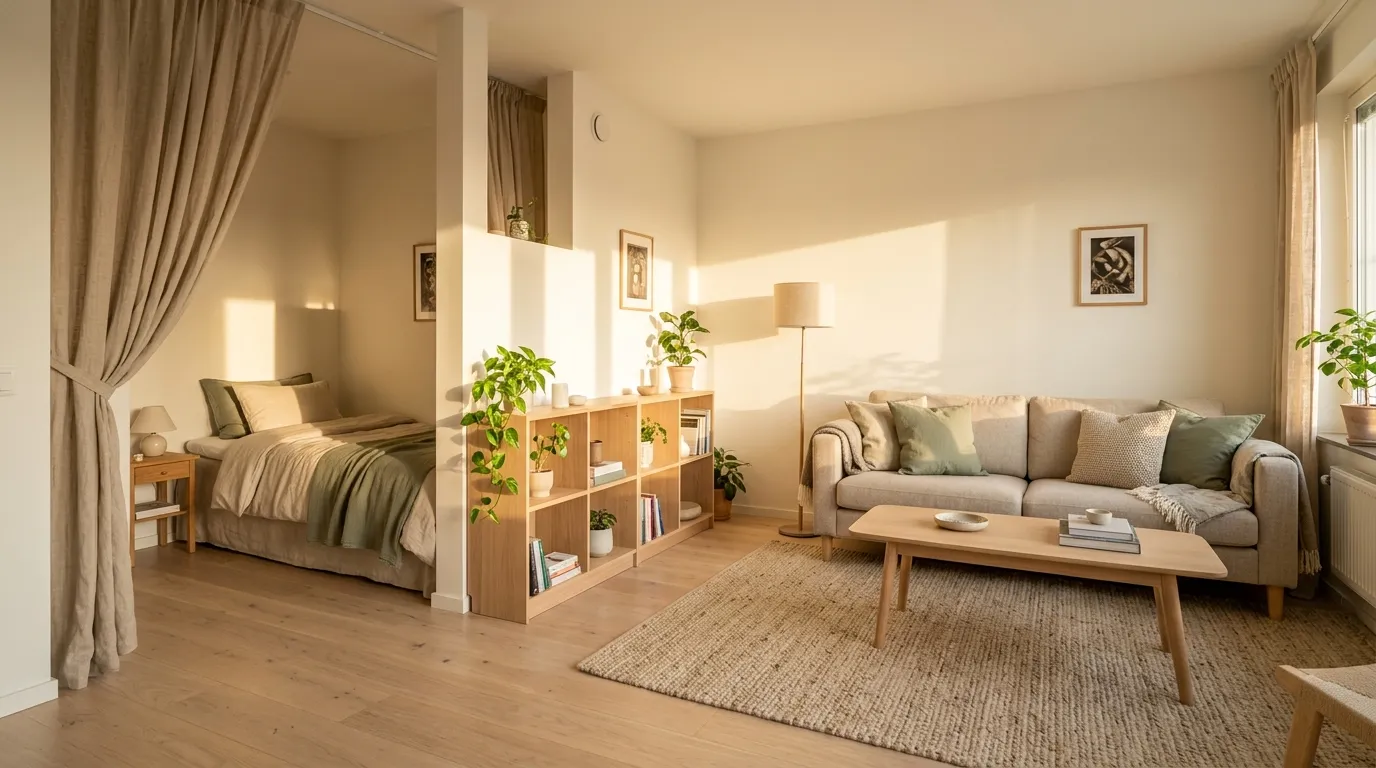
The kettle clicks off, your laptop is already open, and the bed you just left is still sitting in the corner of your eye. When one room holds every part of your day, working out how to divide a studio apartment becomes less about decorating and more about comfort.
Good news: a studio rarely needs construction. It needs edges the eye can see, a job for each corner, and a separate glow for each job, all made from things that pack up when you do.
I’d begin by studying the room before shopping for anything. The eight steps below take you from an empty floor to a studio that reads as distinct zones.
Before You Start: Materials and Time
- Time: one weekend afternoon, plus three evenings of living with the plan
- Difficulty: easy
- Budget level: budget-friendly
- Renter-friendly: check your lease (only a tall shelf or a ceiling track involves drilling)
What You’ll Need
- A roll of painter’s tape
- A tape measure
- Paper and a pencil
- One area rug sized for the seating spot, plus a non-slip pad
- A low bookcase with an open back
- A curtain on a spring-loaded rod, or a freestanding screen
- Two or three plug-in lamps with warm bulbs
1. Map the Fixed Points
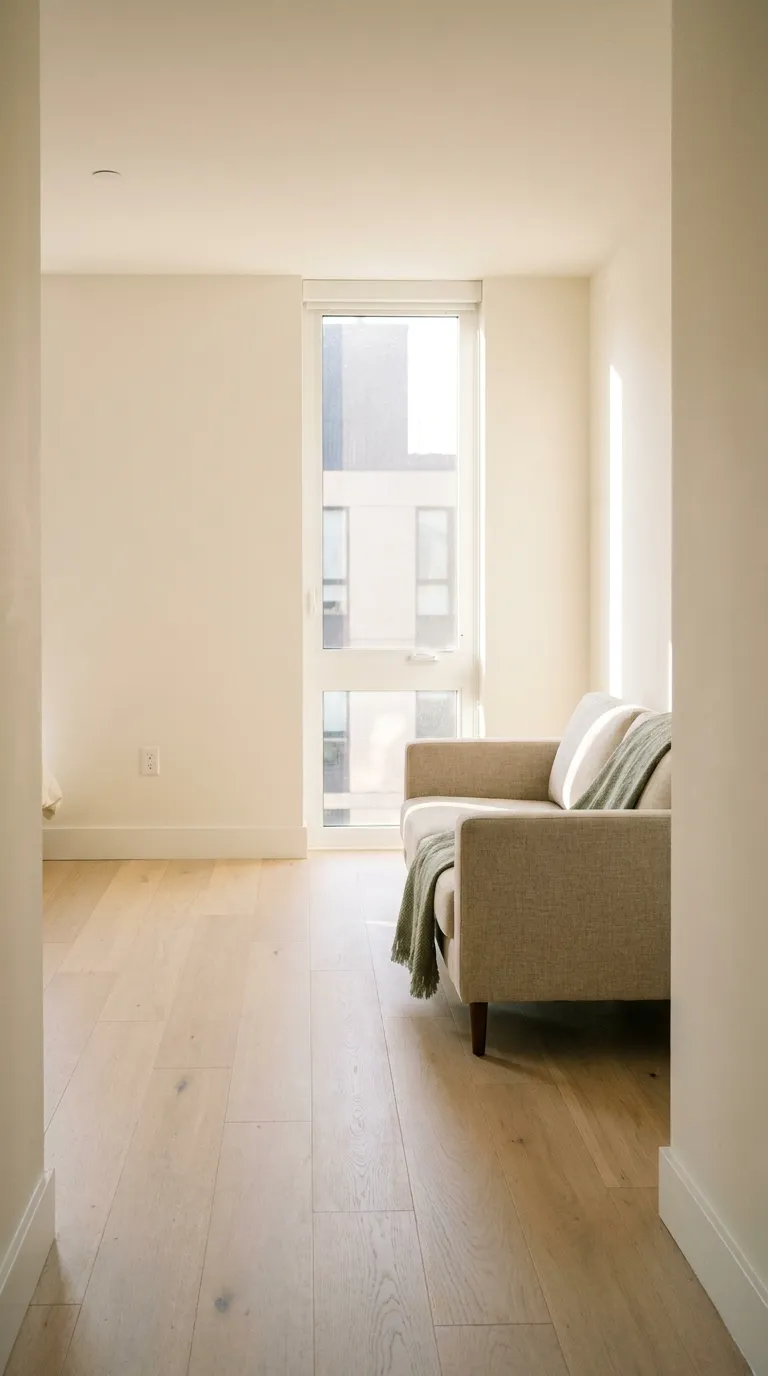
Walk in the front door and pretend you’re a stranger sizing up the place. Which things are bolted down? The windows, the closet, the radiator under the sill, and the two outlets that happen to sit on opposite walls all set the rules long before a sofa gets a vote.
Most layout regrets start with a skipped survey. A wardrobe gets parked over the only vent, or the reading chair lands where the lamp cord can’t reach. A short walk-through now costs far less than shoving a dresser across the floor twice.
How to Do It
- Draw the room as a plain rectangle and label two walls with their lengths
- Add small symbols for windows, doors, radiators, and outlets
- Check the sun at two times of day and lightly shade the bright patches
- Trace how you move from the entrance to the sink, the closet, and the bed
- Record how much unbroken wall each side offers for furniture
Why It Works
A labeled sketch turns a roomful of guesses into a short list of possibilities. You’ll know where the daylight lands, which walls can take a tall piece, and which strip of floor has to stay empty.
Common Mistakes to Avoid
- Discovering at bedtime that the only outlet sits behind the bookcase
- Ignoring the route to the bathroom
- Relying on a mental picture instead of numbers
A Simple Rule to Remember
Survey first, because the sofa can wait.
2. Follow Your Day Through the Room
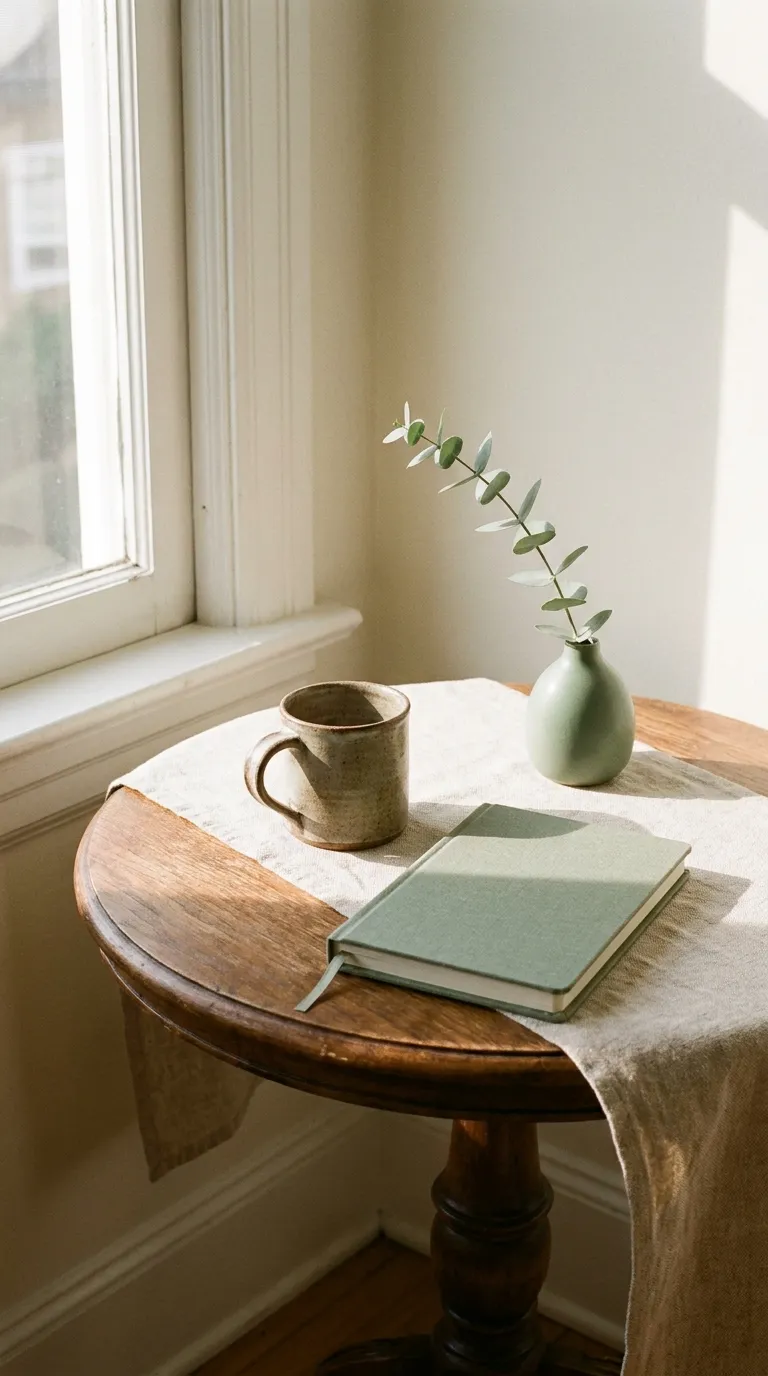
Think of a studio as a small town with several districts. Before drawing any borders, figure out which districts you actually visit. Replay yesterday hour by hour: coffee, email, lunch, a call, a show, bed.
A common split is sleeping, working, eating, lounging, and storing. Someone who rarely cooks might skip a full dining area, and someone who studies at home might need two work surfaces. Let your own routine write the list.
How to Do It
- List yesterday’s activities in order, with the spot where each one happened
- Put a star next to the two that ate up the most hours
- Reserve the window wall or the biggest open patch for those two
- Let low-use activities share a surface, like a drop-leaf table that serves meals and homework
- Decide where shoes, bags, and bedding will live before any furniture arrives
Why It Works
Counting hours instead of guessing preferences gives you a fair way to hand out space. The busiest zones claim the choice real estate, and the occasional ones squeeze in nearby.
Common Mistakes to Avoid
- Building a dining area for dinner parties you don’t host
- Giving a hobby the same footprint as your bed
- Remembering storage only after the shelves are placed
A Simple Rule to Remember
Hours decide who gets the window.
3. Settle the Bed Zone First
Of everything in the room, the bed takes the most floor and draws the most attention. Choose its spot first and the rest of the layout organizes itself around that fixed block. Choose it last and you’ll be wedging it into whatever gap remains.
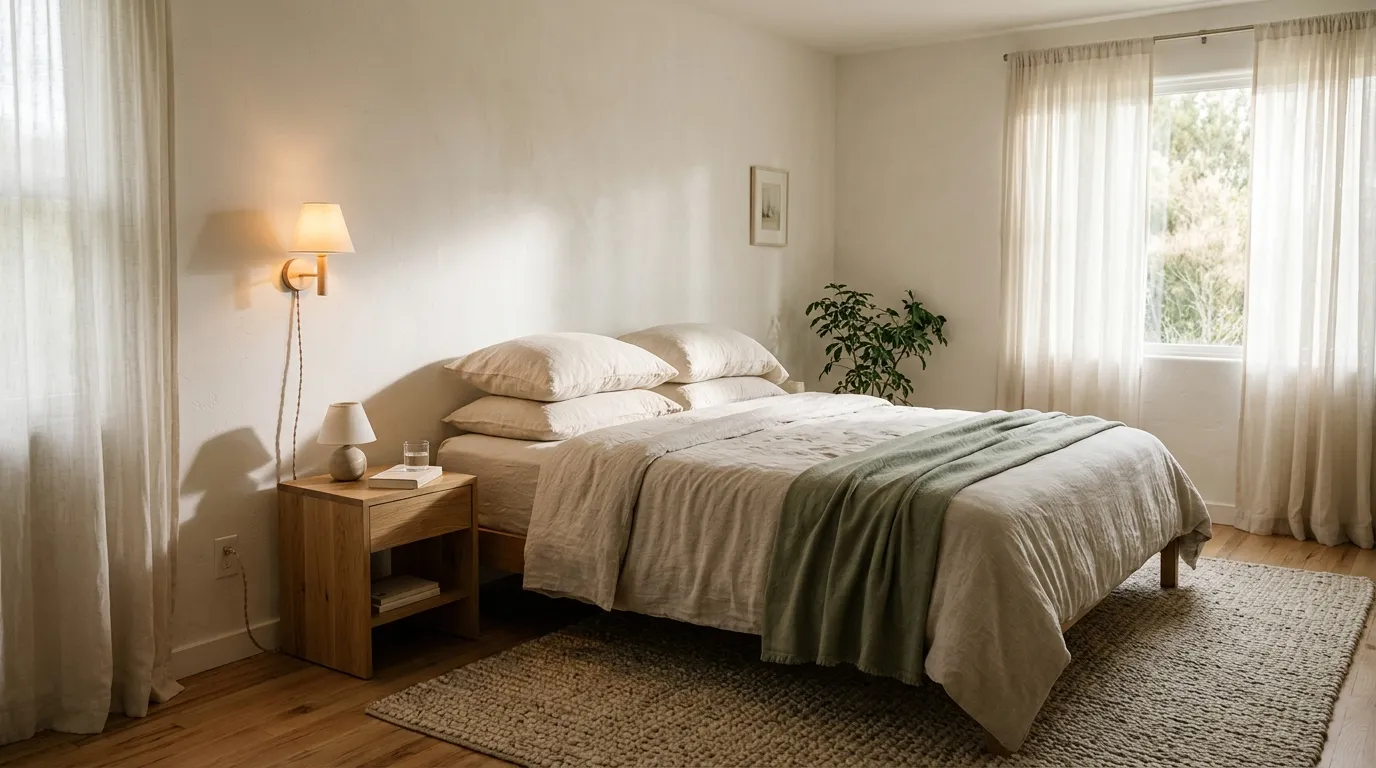
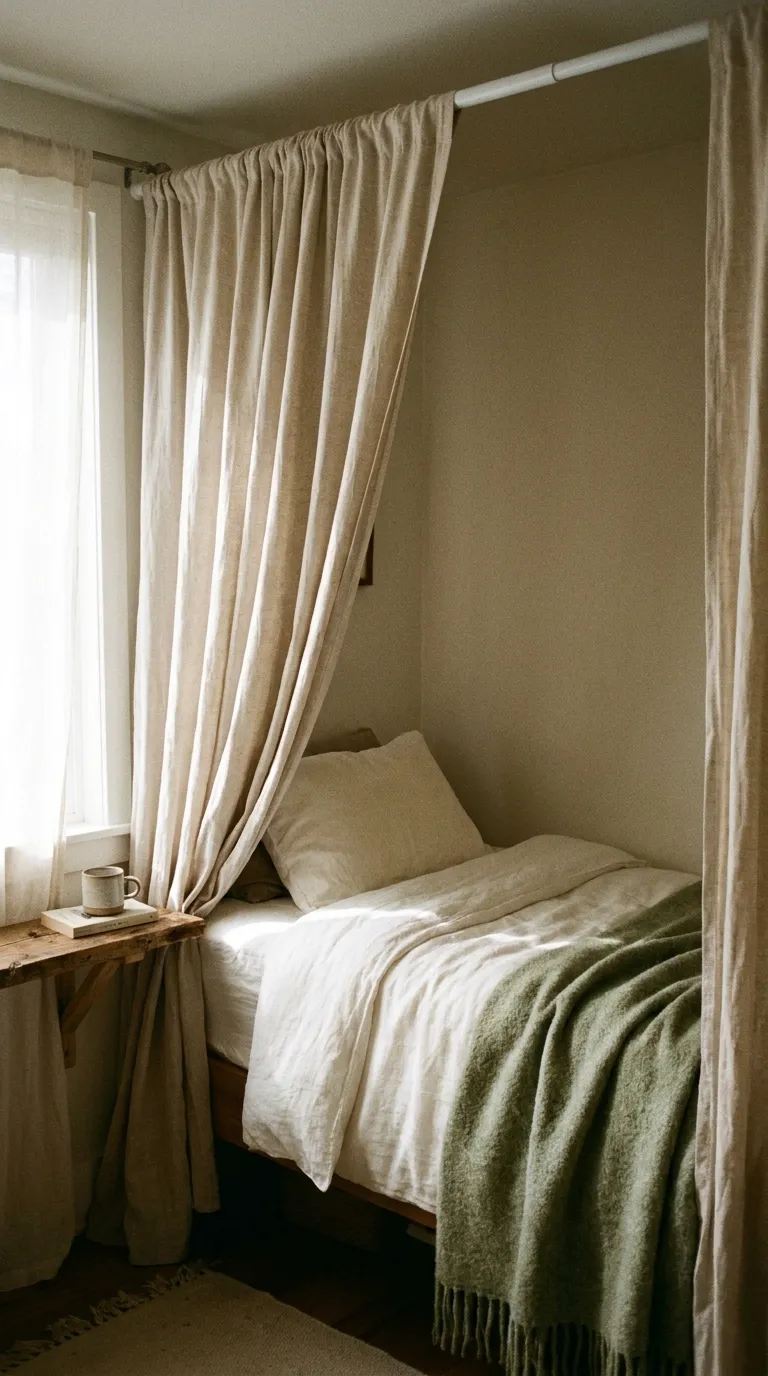
Separation can be as light as fabric. A panel of linen or a freestanding screen hides the pillows during the day, then gives the bed a sheltered edge after dark.
How to Do It
- Aim the head of the bed at the wall that sits farthest from the entry door
- Span two walls with a spring-loaded curtain rod and hang a light panel, or stand a screen at the foot
- Pick oatmeal or sage fabric so the panel melts into the walls
- Put a small table or wall-hung shelf within reach of the pillow
- Keep the panel pushed back until evening so daylight reaches the main room
Why It Works
Fabric is a gentler border than furniture. During the day it’s a soft backdrop, and at night it closes around the bed so the sleeping corner feels like its own small room.
Common Mistakes to Avoid
- Pairing a thick velvet drape with a thin rod
- Walling the bed off from daylight
- Picking a screen so short it hides nothing
Renter Note
Spring-loaded rods grip by pressure, so they leave the walls untouched. Anything screwed into the ceiling is a different story: read your lease before you pick up a drill, and respect the weight rating printed with the hardware.
A Simple Rule to Remember
Bed boundary first, everything else second.
4. Pick One Main Divider
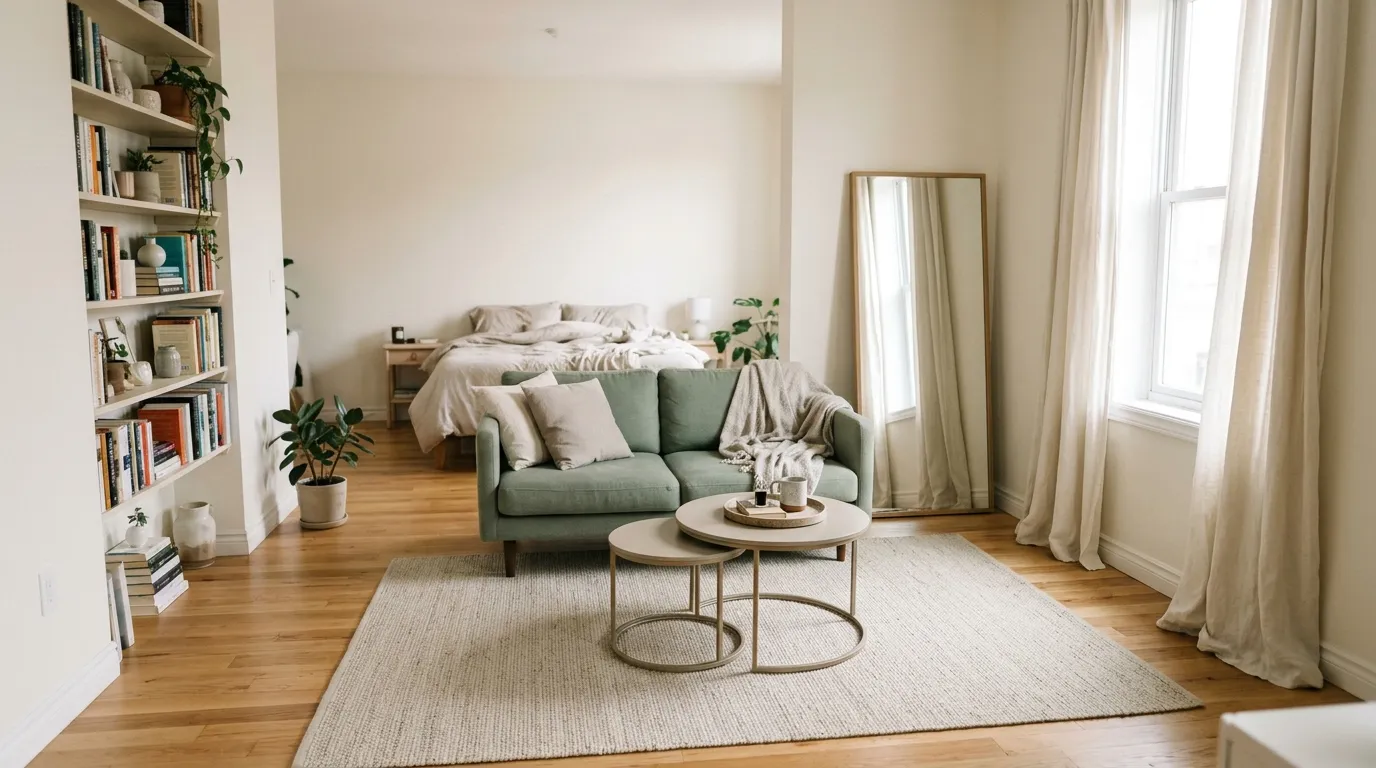
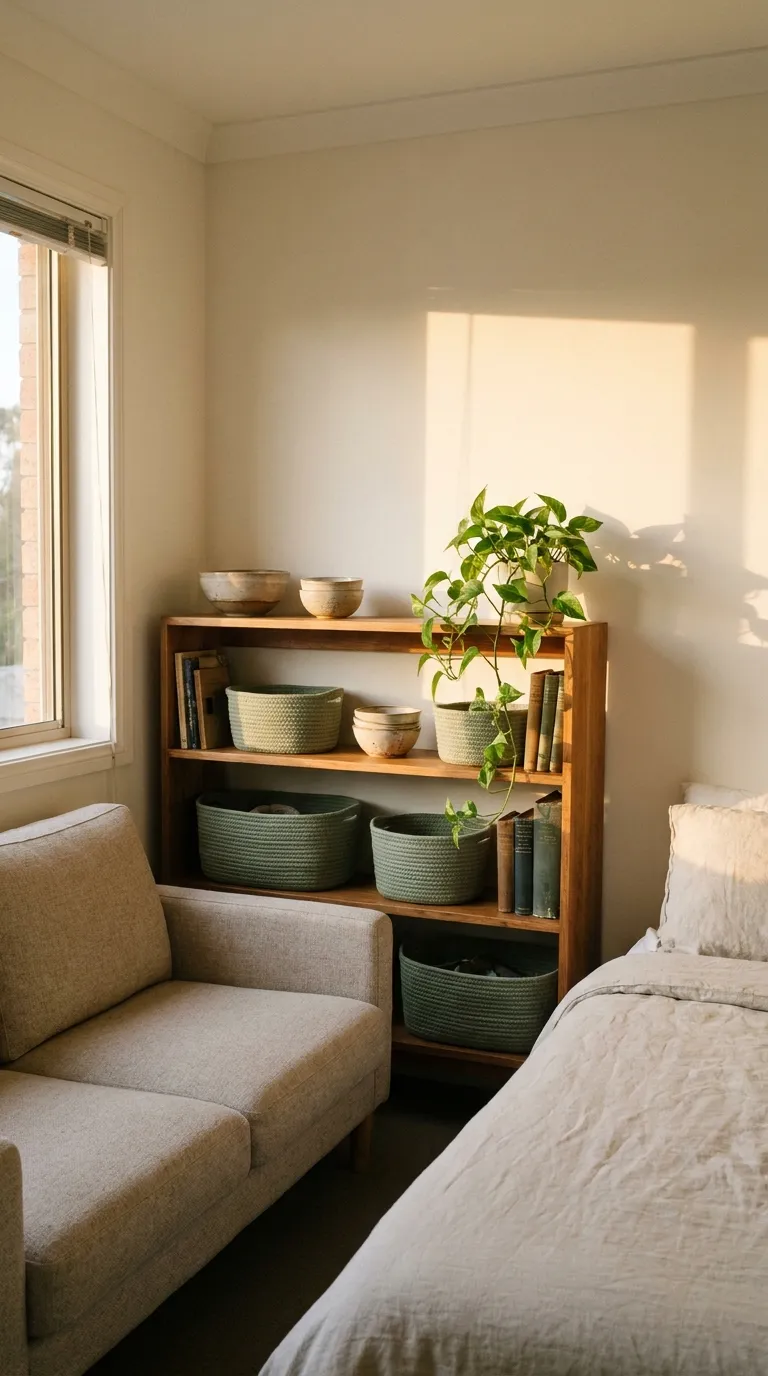
Think of a divider as a punctuation mark: it should separate without ending the sentence. A shelf, a console, or the back of a sofa can do that while also holding books, plants, or baskets.
Pick a single piece and keep it open or low. Something near 42 inches tall defines a border yet lets you glance across the studio. Floor-to-ceiling bulk does the opposite: it darkens the room and can seal off the window.
How to Do It
- Name the one border that matters most, typically bed versus lounge
- Choose a bookcase without a back panel, or a low shelf, around 42 inches tall
- No shelf yet? Park the sofa with its back toward the bed and add a slim table behind it
- Load the shelves loosely and leave open slots for light to slip through
- Run through your doorway and hallway measurements before ordering, and check if it fits around any tight corner
Why It Works
A see-through border still signals a change of zone. You gain storage and structure without the heaviness of a wall.
Stacking up several dividers chops a studio into hallways. Let one piece lead, and let a rug and a lamp handle the rest.
Common Mistakes to Avoid
- Picking a unit that scrapes the ceiling
- Leaving the back of an open shelf as a cluttered view from the other zone
- Wedging the shelf against the bed frame
Renter Note
A tall unit can tip, so it needs anchors that match its weight, installed the way the manufacturer describes. Because anchoring means holes in the wall, confirm with your lease. If holes are off the table, go with a shorter piece that stands securely on its own.
A Simple Rule to Remember
Lead with one piece, low and open.
5. Tape Out the Layout First
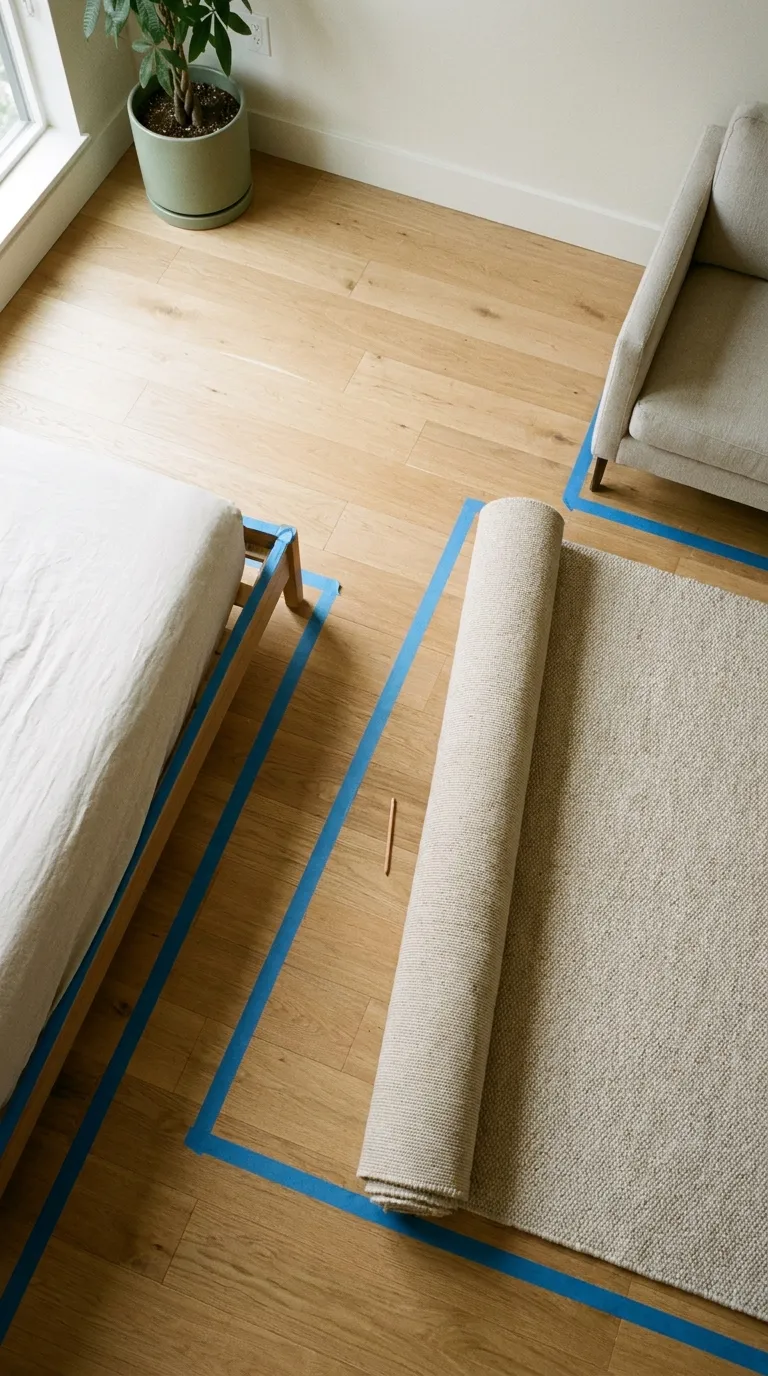
Paper plans lie a little, and tape on the floor tells the truth. Press painter’s tape down at actual size and you can stand inside your future layout before buying a thing.
Include furniture footprints as well as zones. If two rectangles collide or one crowds a door arc, you’ll notice immediately and fix it by peeling a strip instead of hauling a couch.
How to Do It
- Press tape on a hidden strip of flooring to confirm it lifts cleanly
- Outline the bed, then the biggest item in each remaining zone, at true dimensions
- Mark where the rugs and the divider will sit
- Keep walking lanes at 30 inches or wider, stretching to 36 inches along the routes you use most
- Leave everything in place for three days and walk the lanes with a heavy bag in hand
- Shift one rectangle at a time until doors, windows, and outlets stay clear
Why It Works
Real-size outlines reveal scale in a way a drawing can’t, and a few days of living inside them flags small collisions, like a cabinet door that swings into an armchair. Crowding is mostly about floor coverage: when furniture covers too much of the floor, even a well-styled studio feels tight.
Before you arrange your furniture permanently, find out how much floor it covers. Type in the room’s size and the pieces you own.
Common Mistakes to Avoid
- Pressing furniture against every wall just to use the space
- Letting a door swing into a taped rectangle
- Deciding after a single evening
A Simple Rule to Remember
If it’s taped and walkable, it’s ready to buy.
6. Anchor Each Area With a Rug
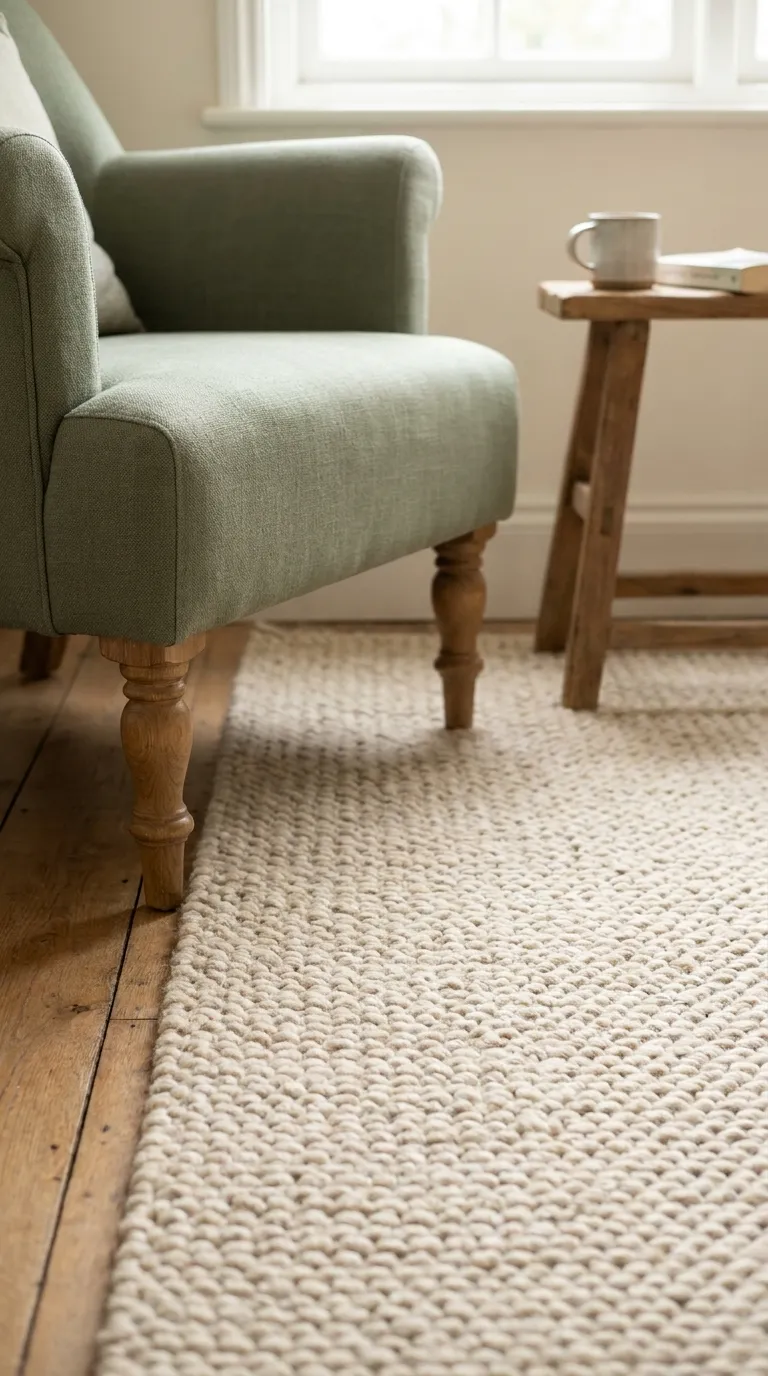
Rugs mark territory quietly. Their edges form lines the eye follows, so anything standing on one reads as part of the same zone. Even in the tiniest studio, one rug under the seating group separates lounging from sleeping.
The usual stumble is buying too small. When furniture hovers around the rim of a rug instead of resting on it, the area looks like scattered pieces instead of a group.
How to Do It
- Use your taped boundary to get the length and width for the rug
- Buy a size where at least the front legs of the sofa and the chair sit on it
- Add another rug at the desk or beside the bed only if floor space allows
- Stick to colors that relate to each other and leave a few inches of bare floor between rugs
- Put a non-slip pad beneath each rug, following the pad’s directions
Why It Works
Rugs give a zone a clear edge with zero hardware, and the softer surface makes the lounge feel distinct from the bed even when the two sit only a few feet apart.
Common Mistakes to Avoid
- A rug that stops short of every furniture leg
- Two loud patterns meeting at the edges
- Skipping the pad and tripping on a curled corner
A Simple Rule to Remember
Choose the rug, then park the furniture on it.
Try it: play three quick rounds on walkways, dividers, and rugs.
7. Give Every Zone Its Own Light
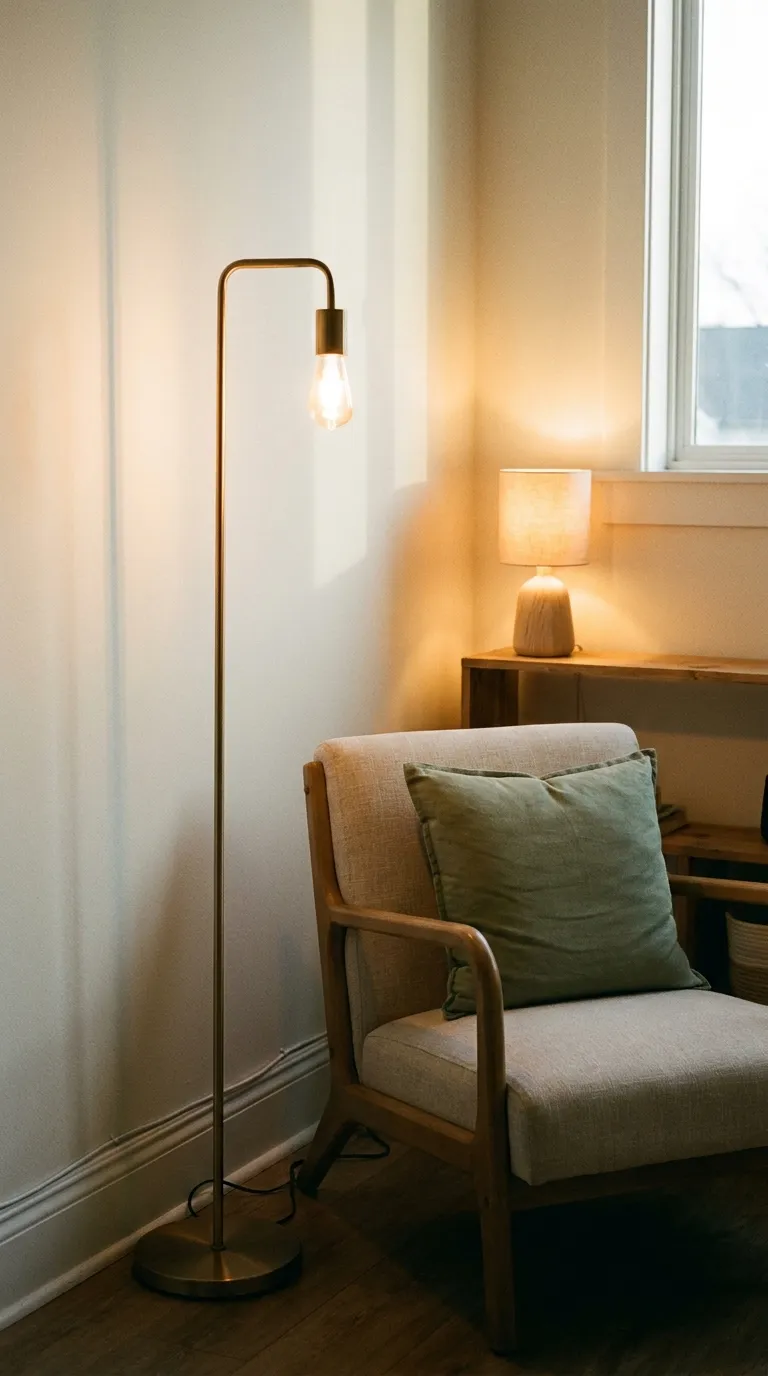
One overhead fixture treats the whole studio like a single room, and lamps break that spell. Each pool of light says “this area is open” while the rest of the room fades back.
Plug-in lamps are enough, with no wiring and nothing to leave behind. Switching which lamp is on is also the fastest way to turn a space from work mode into wind-down mode.
How to Do It
- Aim a desk lamp at the work surface
- Place a floor or table lamp near the sofa for gentle light
- Set a compact lamp beside the bed, tucked at the curtain edge or behind the screen
- Screw in warm-toned bulbs wherever you relax or sleep
- Turn off lamps in unused zones so the active one glows
- Route cords along the baseboard with covers so nobody trips on them
Why It Works
Light gathers attention. A lit corner feels like a place, while unlit areas recede, so you get borders made purely of brightness.
Common Mistakes to Avoid
- Depending on a single ceiling light
- Bulbs in clashing white tones
- A cord stretched across the doorway path
Renter Note
Lamps that plug in are the safe path in a rental. Swapping a fixture or adding an outlet counts as electrical work, so bring in a licensed electrician and read your lease before anything gets changed.
A Simple Rule to Remember
One lamp per zone.
8. Repeat a Few Colors Across Zones
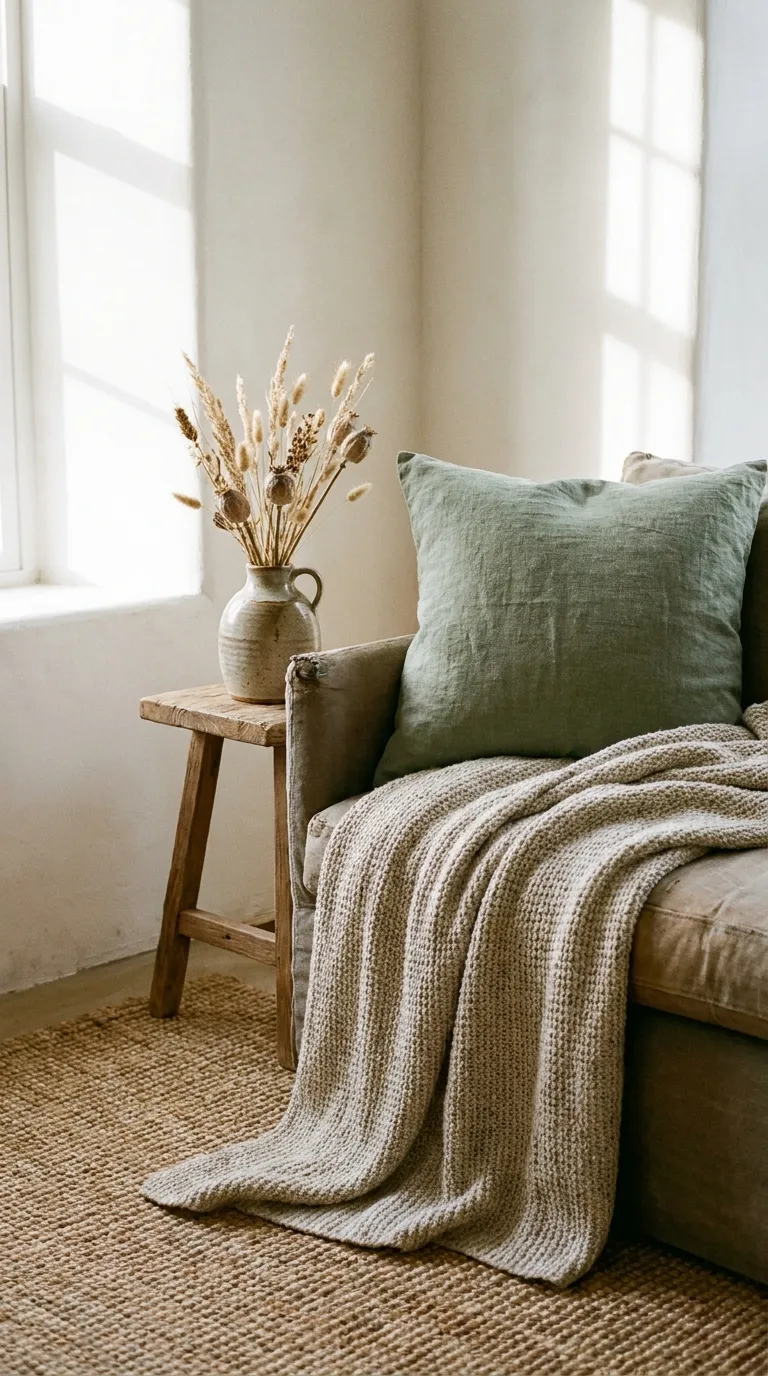
Once the zones exist, keep them from drifting apart. A studio where each corner has its own palette feels like a furniture showroom, while a shared set of colors and a repeated material hold the room together.
You don’t need new things for this. Shop your own belongings and redistribute them: repeat, don’t match.
How to Do It
- Pick a small palette, such as warm white, oatmeal, and sage, and let every zone borrow from it
- Choose a recurring material, such as wood, linen, or woven baskets
- Move a pillow or vase that echoes the rug into the neighboring zone
- Keep bulky furniture neutral and give the accents to small objects
- Check from the entrance that your eye can sweep across without snagging
Why It Works
Echoes tell the eye these areas belong together. The studio feels like one calm room with sections, not a row of separate booths.
Common Mistakes to Avoid
- Assigning each zone its own theme
- Layering several competing prints
- Matching so precisely that the room looks flat
A Simple Rule to Remember
Borrow colors between neighbors.
Quick Step Cheat Sheet
Keep this table nearby when you start moving furniture.
| Step | Why It Works | Quick Fix |
|---|---|---|
| 1. Map the Fixed Points | Reveals usable walls and clear paths | Add missing outlets to the sketch |
| 2. Follow Your Day Through the Room | Hours of use decide space | Combine low-use activities |
| 3. Settle the Bed Zone First | Fabric edge shelters the biggest piece | Hang a spring-rod panel |
| 4. Pick One Main Divider | Open borders let light through | Trade a tall piece for a short one |
| 5. Tape Out the Layout First | Real-size tape exposes crowding | Peel one outline away |
| 6. Anchor Each Area With a Rug | Rug edges draw visible zone lines | Size up and add a pad |
| 7. Give Every Zone Its Own Light | Light pools separate areas | Plug in one lamp per zone |
| 8. Repeat a Few Colors Across Zones | Echoed colors unify the room | Move a rug-colored accent next door |
The Principles Behind These Steps
How to Divide a Studio Apartment When Drilling Isn’t Allowed
Floor coverings, pressure-fit rods, freestanding shelves, and plug-in lamps all create edges without a single hole. Think of the room in layers rather than partitions: the floor, the mid-height line, and the light.
Let Daylight Travel
Each divider trades privacy against brightness. Sheer fabric, low shelves, and lamps preserve the sun’s reach, so even the bed corner doesn’t feel like a cave.
Protect Your Walking Lanes
If you need to turn sideways to reach the bed, something is oversized. Remove a piece before adding anything else.
Move in Small Steps
Adjust the sleeping area, live with it for a few days, then continue. Little moves are simple to reverse, and they teach you what you actually use.
Common Studio Zone Mistakes Worth Skipping
Hugging Every Wall
Pushing all the furniture to the perimeter looks orderly but leaves a hollow center and no edges. Bring one piece inward so it can mark a border.
Ordering First, Measuring Later
A sofa that looked petite online can swallow a corner. Tape its footprint, then buy.
Giving Each Zone a Different Personality
Too many looks chop the studio into booths. Let one color or material appear in every zone.
Final Tips for Success
Begin With Your Busiest Corner
Whichever zone eats the most hours, whether desk or sofa, deserves the first fix. The others can be arranged around it.
Favor Pieces That Travel
Leases end, jobs change, and layouts evolve. Rugs, screens, and plug-in lamps pack up easily.
Basics Worth Owning
These few items cover most of the work:
- Painter’s tape and a measuring tape
- Non-slip pads in rug sizes
- A pressure-fit curtain rod
- One plug-in lamp per zone
- A low bookcase with an open back
Conclusion
Figuring out how to divide a studio apartment really comes down to a handful of habits: survey the room, rank your routines, and let shelves, rugs, fabric, and lamps do the border work.
No construction or big spending is required, just a clear sense of what each corner is for.
Pick the busiest corner, try the changes for a few evenings, then move on to the next. Save this guide for the next time the furniture starts to feel stuck.